
Measure, cut, join, and finish solid wood to build a sturdy dining table.
If you want to learn how to make a dining table, you are in the right place. I have built many tables for homes, offices, and cafes. In this guide, I will share simple steps, pro tips, and hard lessons.
You will see what to buy, how to plan, and how to build a table that lasts for years. Follow along, and you will gain skill and confidence.
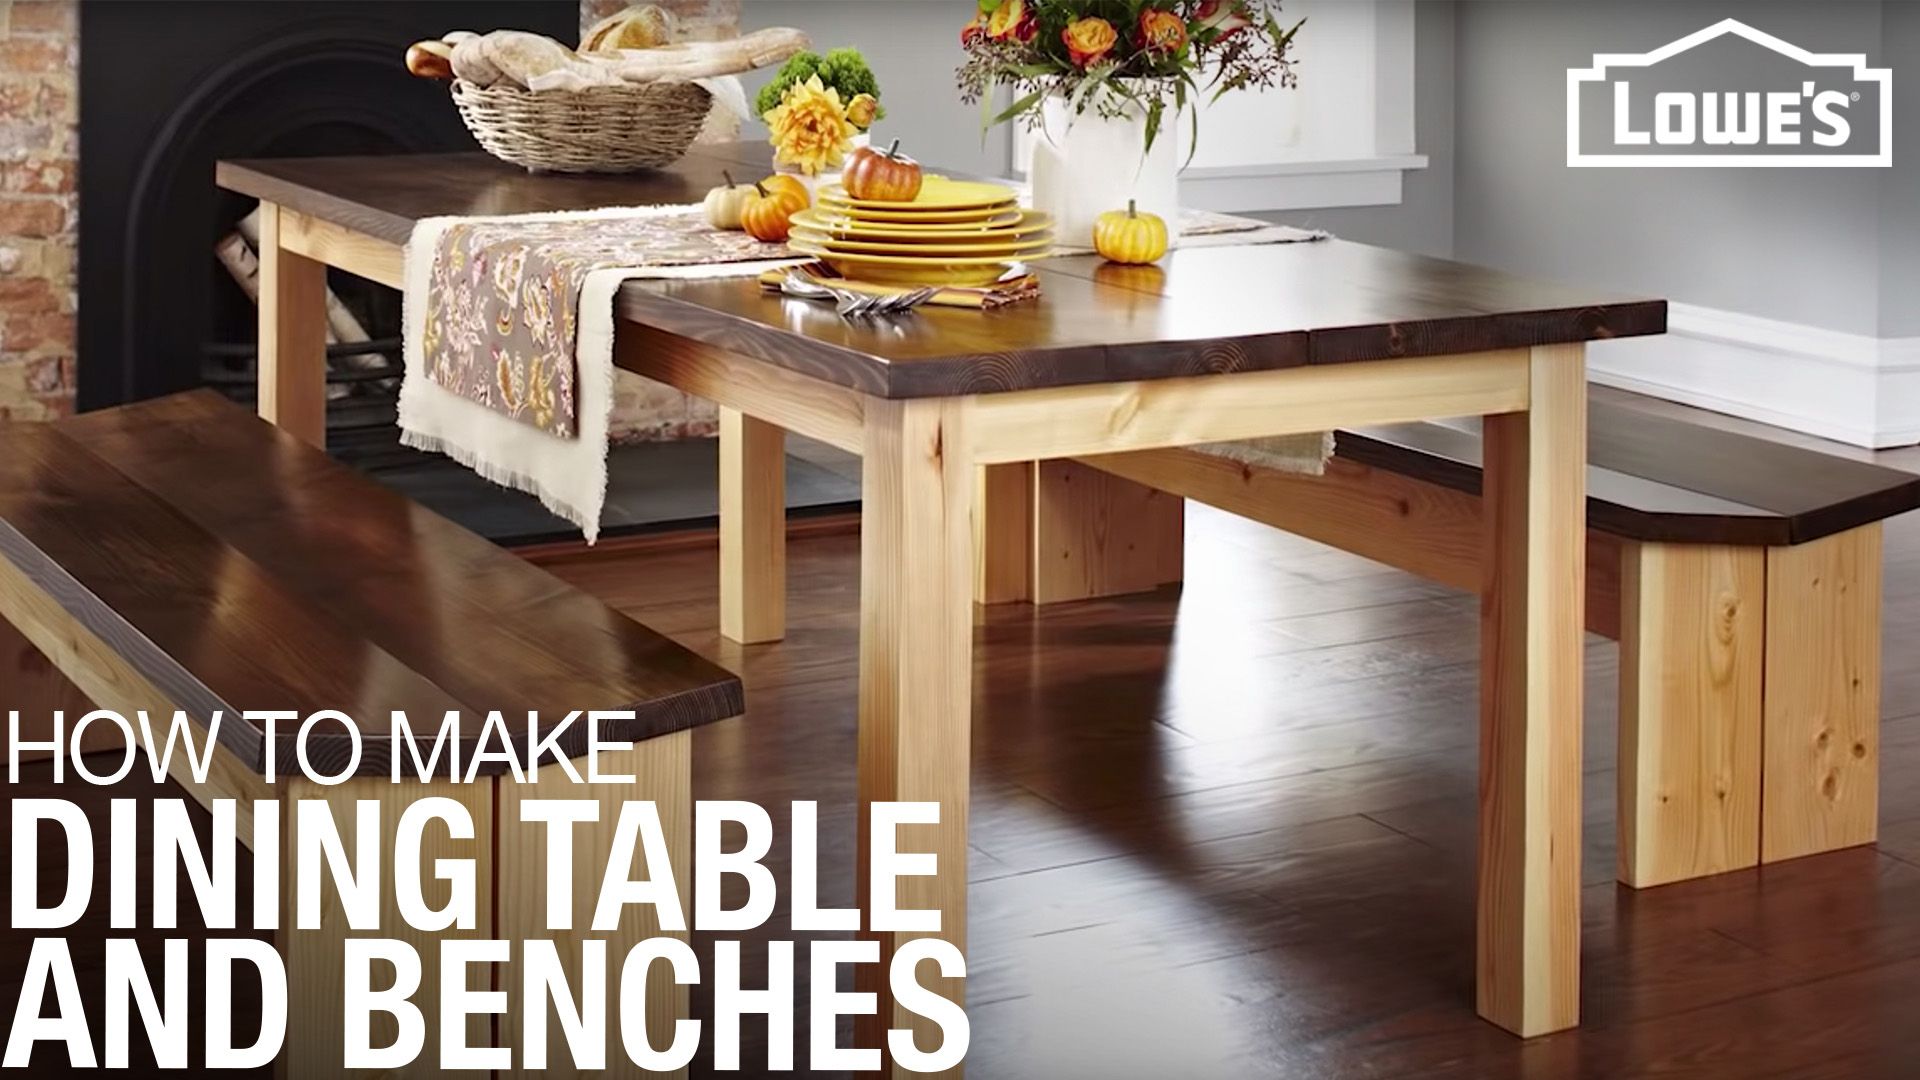
Source: lowes.com
What You’ll Need: Tools, Materials, and Budget
Making a table is simple when you prepare well. Gather your tools and plan your costs before you cut.
Tools
- Tape, square, pencil, and a good ruler. These guide your cuts.
- Circular saw or table saw. You need straight cuts.
- Miter saw for crosscuts. It saves time and boosts accuracy.
- Router with roundover or chamfer bit. It softens edges.
- Drill and driver with bits. You will drill, drive, and countersink.
- Random orbit sander with 80–220 grit papers. Smooth wood is key.
- Clamps. Use many. Bar clamps are strong and steady.
- Chisels, mallet, and a flush trim saw. These help with joinery.
- Safety gear. Use glasses, hearing protection, and a dust mask.
Materials
- Hardwood or softwood boards for the top, legs, and aprons.
- Wood glue. Choose one rated for interior use.
- Screws, figure-8 fasteners, or tabletop clips.
- Finish. Use polyurethane, hardwax oil, or waterborne topcoat.
- Felt pads for feet. They protect floors.
Time and budget
- Time: 2 to 4 weekends for a first build.
- Budget: $250 to $1,200, based on wood choice and tools.
Planning: Size, Style, and Ergonomics
Good planning is half the build. Think about your room, chairs, and daily use.
Sizing rules that work
- Seat width per person: 22 to 24 inches.
- Table height: 29 to 30 inches.
- Overhang beyond aprons: 8 to 12 inches.
- Chair clearance to wall: 36 inches for easy walkways.
Common sizes
- 4–6 people: 60 to 72 by 36 to 38 inches.
- 6–8 people: 84 by 40 inches.
- Round tables: 48 inches seats 4 to 5. 54 inches seats 5 to 6.
Style choices
- Top thickness: 1 to 1.5 inches looks balanced and strong.
- Legs: 3 by 3 inches feel solid. Tapered legs look light.
- Apron height: 3 to 4 inches for strength and knee room.
- Edge profile: small roundover or chamfer is simple and safe.
If you aim to master how to make a dining table, lock these basics in. They guide every cut and joint you make.
Choosing the Right Wood and Hardware
Wood choice affects cost, look, and life. Pick what suits your space and skill.
Wood options
- Hard maple, white oak, or walnut. They are strong and stable.
- Poplar and pine cost less. They dent faster but work fine with care.
- Plywood can be used for aprons or jigs. It stays flat.
Moisture and movement
- Buy kiln-dried wood near 6 to 8 percent moisture. It moves less.
- Let wood rest in your home for 3 to 7 days.
- Wood moves across the grain. Tops need room to expand and shrink.
Grain and cuts
- Quarter-sawn boards move less and wear better.
- Flat-sawn boards show bold grain and can cup more.
Hardware you will use
- Figure-8 fasteners or tabletop clips. They hold the top and let it move.
- Threaded inserts for bolts. These make a knock-down base.
- Quality screws. Use the right pilot hole to avoid splits.

Cut List and Measured Sketch
Plan a cut list before you touch a saw. A clear list saves time and wood.
Example cut list for a 72 by 36 inch table for six
- Top boards: 5 to 7 boards, each 1 by 4 to 1 by 8 inches, at 72 inches.
- Legs: 4 pieces at 3 by 3 by 29 inches.
- Long aprons: 2 pieces at 1 by 4 by 63 inches.
- Short aprons: 2 pieces at 1 by 4 by 27 inches.
- Optional long stretcher: 1 piece at 1 by 3 by 60 inches.
- Corner blocks: 4 triangles or 4 by 4 squares for strength.
Sketch notes
- Leave 1 inch inset for aprons from the edge of the top.
- Aim for 12 inches knee space from the table edge to apron.
- Check that chairs slide under without hitting aprons.
Label each part on your sketch. This keeps the build smooth and fast.

Joinery Options and Why They Matter
Strong joints make a silent, stable table. Pick a method that suits your tools.
Common choices
- Mortise and tenon. Classic, strong, and clean. Best for aprons to legs.
- Loose tenons or dominoes. Fast and precise with the right tool.
- Dowels. Simple and strong when aligned well.
- Pocket screws. Quick for aprons, with glue and care. Hide holes inside.
- Metal base. Buy or weld. Then add a wood top with fasteners.
Top attachment
- Use figure-8 fasteners or clips. Wood moves, so do not lock the top.
- Avoid gluing the top to the base. It will crack or bow.
If you aim to learn how to make a dining table that lasts, focus on joinery. It is the backbone of the build.
Step-by-Step: How to Make a Dining Table
Follow these steps and keep each move simple. Small wins add up fast.
- Break down lumber
- Crosscut long boards to rough size. Keep a few inches spare.
- Rip edges clean. Remove defects like knots and checks.
- Mill the wood flat and square
- Joint one face and one edge if you can.
- Plane to final thickness in small passes.
- Rip to width and crosscut to length.
- Glue up the top
- Lay boards so grain alternates up and down. This evens movement.
- Joint edges for a tight seam. Use cauls to keep the top flat.
- Apply glue, clamp with even pressure, and wipe squeeze-out.
- Build the base
- Cut legs and aprons to final size.
- Mark joinery. Use mortise and tenon, dowels, or loose tenons.
- Dry fit the frame. Check for square with a diagonal measure.
- Add stretchers and corner blocks
- Fit a center stretcher if the table is long.
- Add corner blocks with glue and screws. This kills racking.
- Shape edges and add details
- Ease all edges with a router or sandpaper.
- Add a small chamfer to the underside of the top to lighten the look.
- Sand for a clean surface
- Sand at 80, 120, 150, and 180 or 220 grits.
- Raise the grain with a damp cloth. Sand once more at the final grit.
- Finish the base and top
- Seal end grain first. It soaks more finish.
- Apply thin coats. Sand lightly between coats.
- Attach the top to the base
- Use figure-8 fasteners or clips. Place them every 8 to 12 inches.
- Slot holes in aprons if you use screws. Let the top move side to side.
- Level and final checks
- Set the table on a flat floor. Shim feet or trim if needed.
- Check for wobble and racking. Tighten fasteners as needed.
I learned how to make a dining table by making mistakes. Once, I glued a top tight to aprons. It split in winter. Use movement-friendly fasteners and you will avoid that pain.
Finishing: Durable Coats for Daily Use
Pick a finish that fits your home. Balance look, feel, and care.
Topcoat choices
- Waterborne polyurethane. Clear, low odor, and fast. Great for light woods.
- Oil-based polyurethane. Warm tone and tough. Longer dry time.
- Hardwax oil. Easy to fix and nice to the touch. Needs more upkeep.
- Catalyzed lacquer. Very tough but needs pro gear and good airflow.
How to apply
- Wipe or brush thin coats. Do not flood the surface.
- Three to five coats on the top. Two to three on the base.
- Let it cure. Some finishes need a week before heavy use.
Care note
- Use coasters and pads. Heat and water leave marks on most finishes.
If you want the best result for how to make a dining table, do not rush the finish. The last 10 percent of work brings 90 percent of the look.
:max_bytes(150000):strip_icc()/IndianAve-12-d037a4b5743e451389936d7da9f46b8f.jpg)
Safety, Quality Checks, and Common Mistakes
Safety first
- Wear eye and ear protection.
- Keep hands clear of blades. Use push sticks.
- Clamp work before routing or drilling.
- Vacuum dust and keep the floor clean.
Quality checks
- Check the top for flat with a straightedge.
- Confirm the base is square and does not rack.
- Make sure all feet touch the floor.
Common mistakes
- Starved glue joints. Use enough glue to wet both sides.
- Locking the top to the base. Allow for movement or it will crack.
- Skipping grits when sanding. It leaves swirl marks.
- Adding too much overhang with thin tops. It can sag.
These small checks help you master how to make a dining table that feels pro.
Maintenance and Care
A little care keeps your work sharp for years.
Daily habits
- Wipe spills fast with a soft cloth.
- Use mild soap and water. Avoid harsh cleaners.
- Add felt pads and replace them as they wear.
Seasonal checks
- Keep room humidity near 35 to 55 percent.
- Tighten bolts if you used knock-down hardware.
- Refresh a hardwax oil finish once or twice a year.
Long-term
- Deep scratches can be spot-sanded and recoated.
- Add a fresh topcoat when wear shows on high-use areas.
A clear care plan is the last step in how to make a dining table that stays strong.
Real-World Tips From the Shop
These tips come from my bench and years of builds.
- Buy extra wood. Defects pop up at the worst time.
- Mill wood over two days. It moves a bit after the first pass.
- Use more clamps than you think you need. Even pressure matters.
- Test your finish on offcuts from the same boards.
- Keep a project log. Record moisture, steps, and lessons learned.
- Build a simple assembly table. Flat in, flat out.
When I teach how to make a dining table, I stress patience. Set small goals. End each day with a clean bench and a clear next step.
Frequently Asked Questions of how to make a dining table
What wood species is best for a first table?
Hard maple and white oak are great. They are stable, easy to finish, and wear well in daily use.
How thick should a dining table top be?
Aim for 1 to 1.25 inches for most builds. Go to 1.5 inches for long spans or a bold look.
Can I build a table with basic tools?
Yes. A circular saw with a guide, a drill, and a sander can do the job. Cut slow, measure twice, and clamp well.
How do I attach the top without cracks?
Use figure-8 fasteners or clips. They hold the top while letting it move across the grain.
What finish is best for families with kids?
Waterborne polyurethane is a strong pick. It is tough, low odor, and easy to clean.
How long does it take to build a dining table?
Plan on 2 to 4 weekends for a first build. Milling and finishing take the most time.
What is the cheapest way to build a table?
Use construction lumber and a simple base. Plane and sand well, then use a durable finish.
Conclusion
You now have a clear path for how to make a dining table from raw boards to a fine finish. Plan your size and joinery, mill with care, and let the wood move. Take your time with the finish, and your work will shine.
Set your goal for this weekend. Sketch your table, price your wood, and prep your tools. Then start the first cut. If this guide helped, subscribe for more builds, ask a question, or share your own table story.