

Build a sturdy farmhouse table with simple lumber, strong joinery, and a tough finish.
If you want to learn how to make a farmhouse table, you are in the right place. I have built many for clients and for my own home.
In this guide, I share the steps, the tricks, and the mistakes to avoid. You will get a full plan you can follow today, even if this is your first big build.

Tools and materials
You can build this table with basic shop tools. Extra tools make it faster and cleaner. If you are still learning how to make a farmhouse table, simple tools are enough.
Tools:
- Tape measure, carpenter’s square, and pencil for layout
- Circular saw or miter saw for cuts
- Jigsaw for notches or odd cuts
- Drill/driver and impact driver for screws and hardware
- Pocket hole jig for fast, simple joinery
- Orbital sander and sanding block for finish prep
- Clamps for glue-ups and alignment
- Chisels and mallet for fine fits
- Safety gear: eye, ear, dust mask, and gloves
Materials for a 72 x 38 inch table for six to eight people:
- Top: five to seven boards, 2×8 or 2×10, surfaced flat
- Base: four legs (3.5 x 3.5 inches), apron boards (1.5 x 3.5 inches), and optional stretchers
- Wood options: pine or construction lumber for low cost, or oak, maple, or ash for high wear
- Wood screws and pocket hole screws
- Waterproof wood glue
- Tabletop fasteners: figure-8s or Z-clips to allow wood movement
- Stain or dye, and a clear coat like polyurethane or hardwax oil
- Felt pads for the feet
Tip from the shop: If your lumber is wet, let it acclimate for 7 to 14 days. Target 6 to 9 percent moisture for indoor furniture.
Planning your farmhouse table
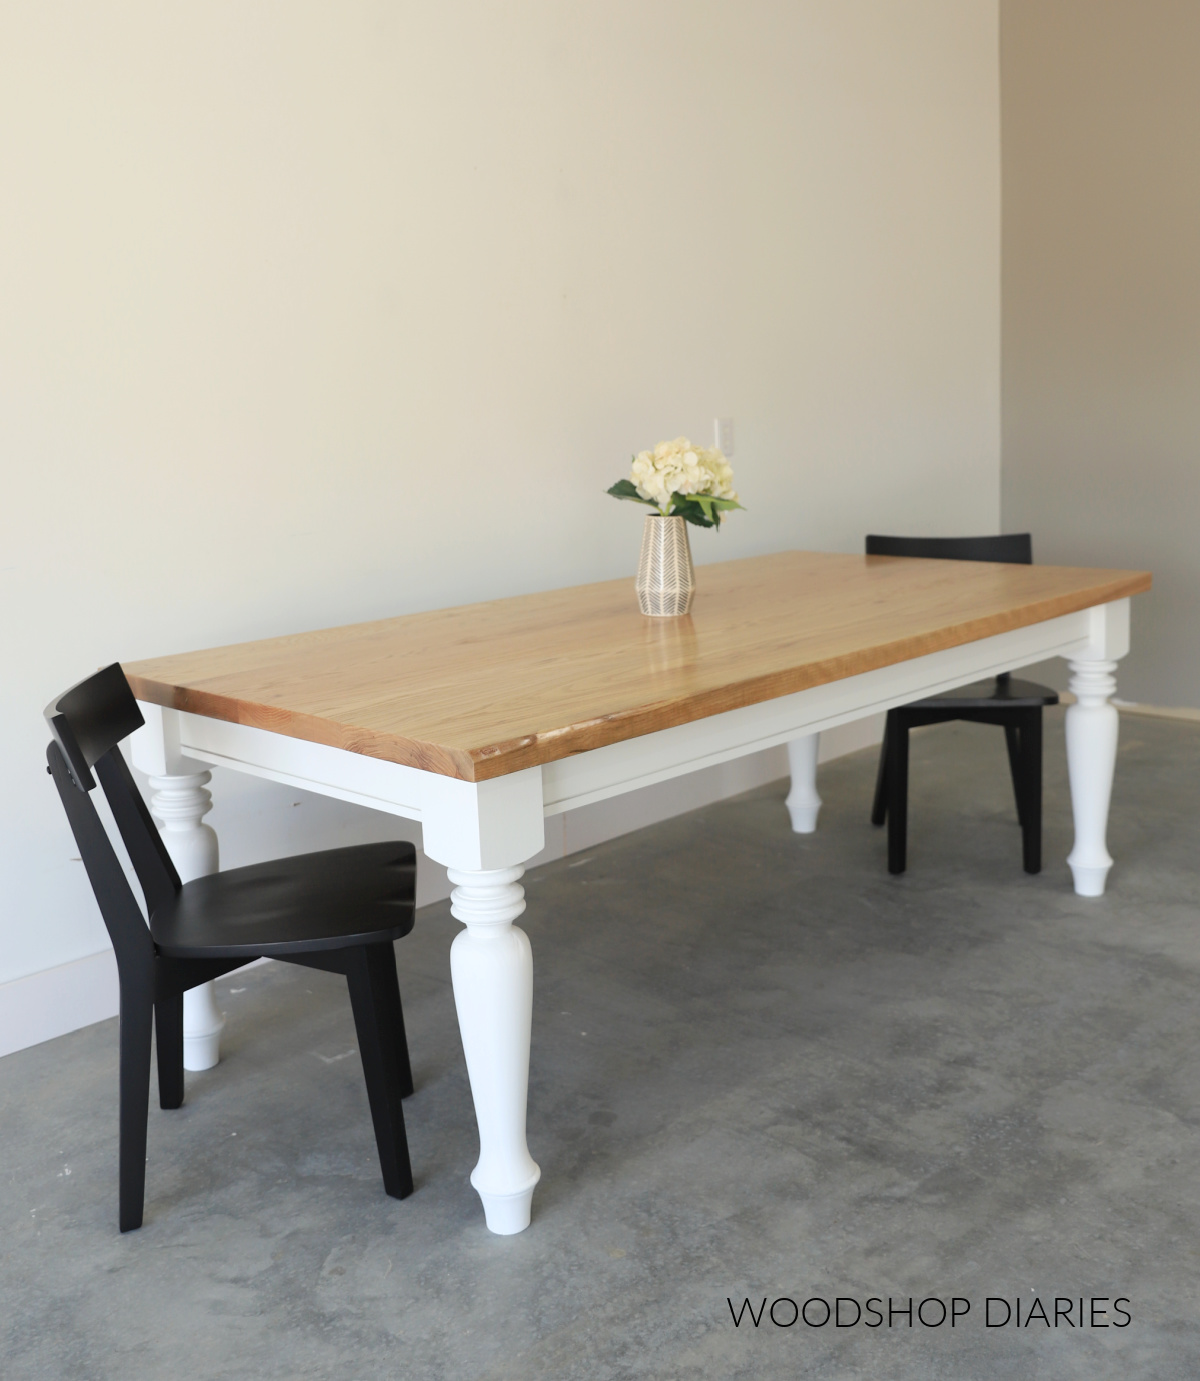
Decide size, seating, and style first. Standard height is near 30 inches. Allow 24 inches of width per person. Leave about 12 inches from table edge to apron for knee room.
Plan the top overhang. A common look is 1.5 to 2 inches past the apron. Set the apron back from the edge by about 2.5 inches for comfort.
Wood moves across the grain. That is normal. When learning how to make a farmhouse table, plan to attach the top with hardware that lets it move. Avoid rigid glue all around the base or you will get cracks.
Sketch the table. Note every length, width, and thickness. A simple drawing will save time and money. It also helps you see how to make a farmhouse table that fits your room.

Cut list and dimensions
Here is a common layout for a 72 x 38 inch table at 30 inches tall. Adjust to fit your space. The same steps work for larger builds.
Typical parts:
- Top boards: five 2x8s cut to 72 inches (final width about 38 inches after trimming)
- Legs: four pieces at 29 inches (3.5 x 3.5 inches)
- Long aprons: two pieces at 64 inches (1.5 x 3.5 inches)
- Short aprons: two pieces at 28 inches (1.5 x 3.5 inches)
- Optional center stretcher: one piece at 60 inches with two short braces
Leave a small reveal under the top for a refined look. I aim for a final top thickness of 1.25 to 1.5 inches. Plane or sand as needed.
Joinery options and why they matter
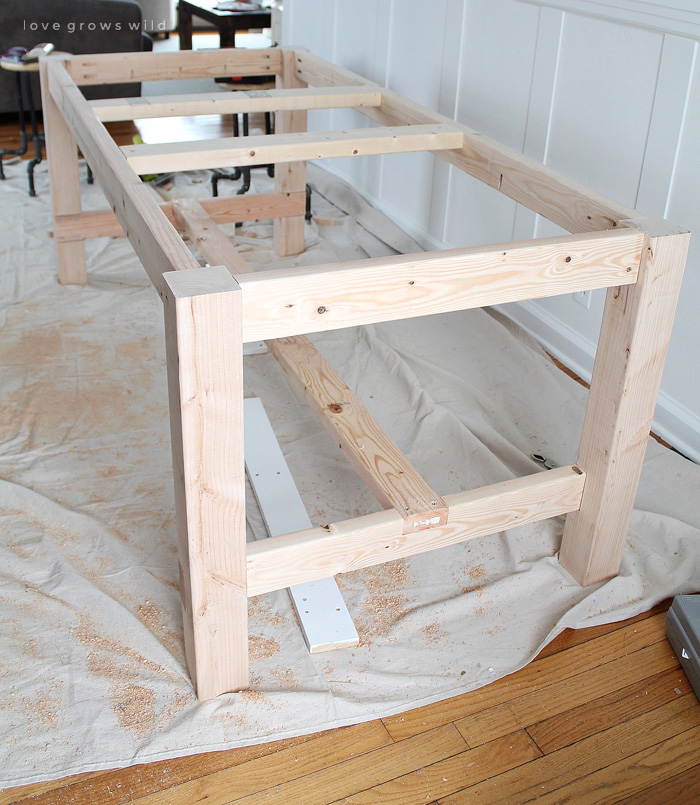
You have three good paths, and each one works for how to make a farmhouse table.
- Pocket hole joinery. Fast and friendly for beginners. Good for aprons and stretchers. Use glue and clamp well. Hide the holes on the inside.
- Mortise and tenon. Classic and strong. It needs more tools and skill. Worth it if you want a heirloom piece.
- Dowels or loose tenons. A nice middle ground. Good strength and cleaner lines. A simple dowel jig can do the job.
Attach the top with figure-8 fasteners or Z-clips. They let the top move with the seasons. That keeps joints tight and prevents cracks.

Step-by-step build instructions
Follow these steps to learn how to make a farmhouse table from start to finish. Keep cuts square. Check each stage as you go.
- Mill and prep the lumber
- Inspect each board. Reject twisted or cracked pieces.
- Flatten faces and edges. Many home shops use the sander and careful selection if no jointer is on hand.
- Cut parts to length with a small overage. You will trim flush later.
- Glue up the tabletop
- Lay boards and set the best face up.
- Flip and mark alignment lines across the joints.
- Add glue to each joint. Clamp with even pressure. Use cauls to keep it flat.
- Wipe glue squeeze-out after 10 to 15 minutes.
- Trim and flatten the top
- Square one long edge with a track saw or straightedge and circular saw.
- Cut to final width and length.
- Sand flat. Start at 80 grit. Then 120, 150, and 180.
- Build the base
- Cut legs, aprons, and stretchers to final lengths.
- Drill pocket holes in apron ends if using that method.
- For mortise and tenon, lay out with a marking gauge and test fit with scrap.
- Dry fit the base
- Clamp the base with no glue.
- Check for square. Measure diagonals. They should match.
- Adjust as needed. This step saves headaches later.
- Glue and screw the base
- Apply glue at joints. Clamp tight.
- Drive screws if using pocket holes. Keep holes inside.
- Check for square again.
- Add the center stretcher (optional)
- Fit the stretcher under the top plane.
- Use pocket holes or tenons for the braces.
- The stretcher cuts racking and adds style.
- Ease the edges
- Use a small round-over bit or hand sand the top edges.
- Do the same on legs and aprons.
- Soft edges feel better and resist dings.
- Attach the base to the top
- Flip the top face down on pads.
- Center the base. Mark hole locations.
- Install figure-8 fasteners or Z-clips on the aprons.
- Drive screws into the top slots so the wood can move.
- Final sand
- Sand to 180 or 220 grit.
- Raise the grain with a damp cloth, then sand once more.
- Vacuum dust and wipe with a tack cloth.
- Stain or color
- Test on a scrap from the same boards first.
- Pine can blotch. Use a pre-stain conditioner.
- Apply stain in thin coats. Wipe off extra in 5 to 10 minutes.
- Clear finish
- For heavy use, choose oil-based polyurethane or a durable waterborne poly.
- For a natural feel, use a hardwax oil. Apply thin, buff, and let cure.
- Follow the label for recoat times and full cure. Plan on 24 to 72 hours.
When people ask how to make a farmhouse table that lasts, this exact flow works. Take your time at the dry fit. It sets you up for a clean result.
Sanding, finishing, and color
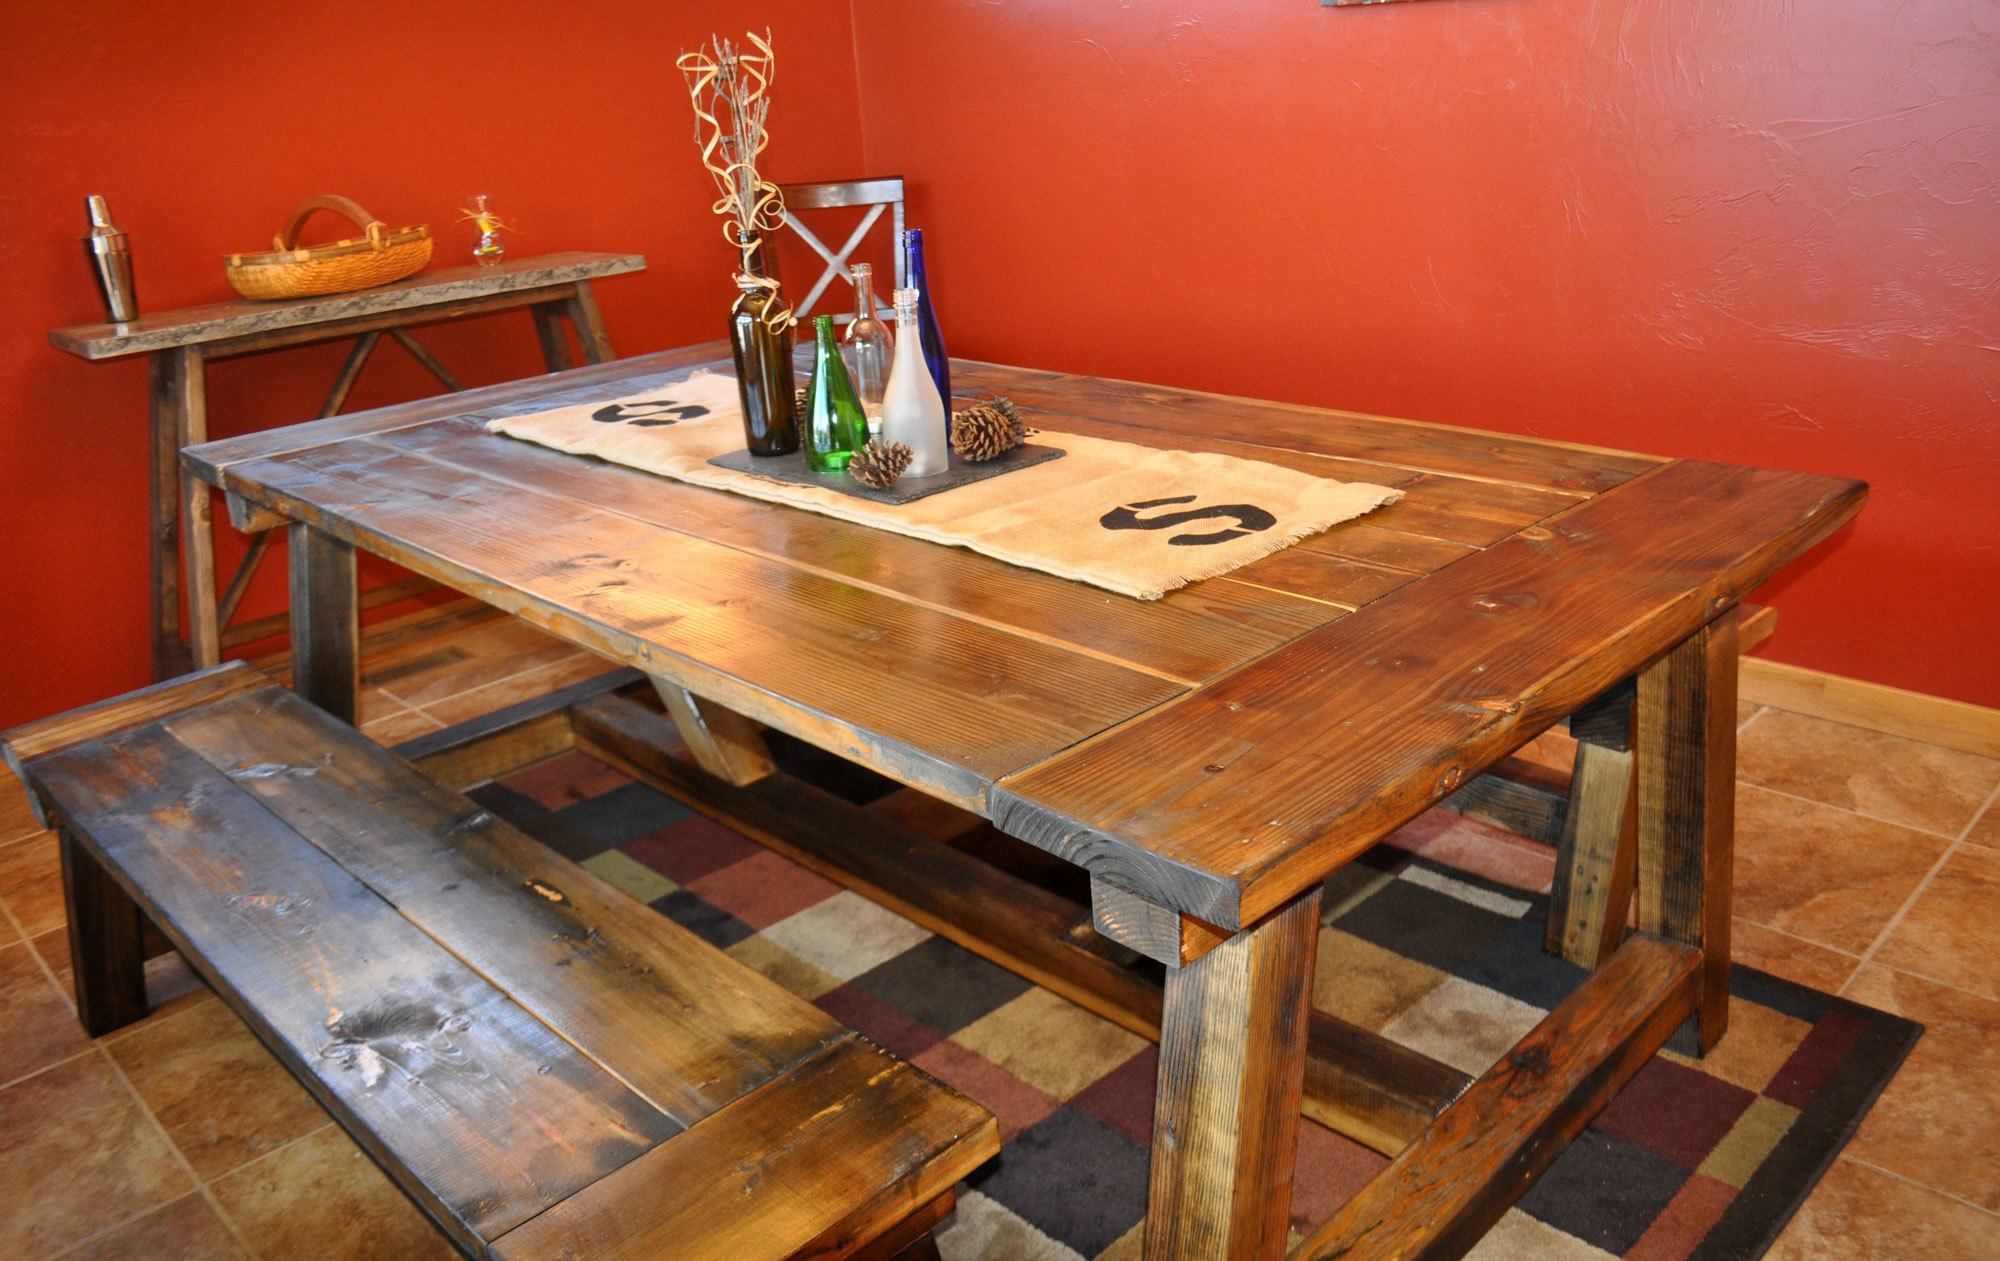
Great finish starts with good sanding. I use 80, 120, 150, then 180. On soft woods like pine, I stop at 180. On oak or maple, I go to 220.
Choose color that fits your room. Gel stains sit on top and give even color. Water-based stains dry fast and have low odor. Oil-based stains give rich tone and more open time.
Pick a clear coat for your lifestyle. Polyurethane is tough and easy to renew. Waterborne poly stays clear and dries fast. Hardwax oil is warm and repairable. It needs care but looks great.
If you plan how to make a farmhouse table with a rustic look, try a light wire brush on the top. It brings out the grain and hides wear.
Common mistakes and how to avoid them
Twist and cup in boards. Sight down each board at the store. Bring a straightedge. This one tip saves hours and keeps your top flat.
Glue squeeze-out mess. Use a straw or a damp rag after 10 minutes. Do not flood water into joints. It can weaken the glue line and raise grain.
Ignoring wood movement. Never glue the top to the base along the full width. Use figure-8s or Z-clips. This is key when learning how to make a farmhouse table that survives winter and summer.
Uneven legs. After the base is built, set it on a flat floor. Shim, mark, and trim the long leg with a handsaw or plane.
Exposed screws. Pocket holes belong on the inside faces. Cap them with plugs if they show.
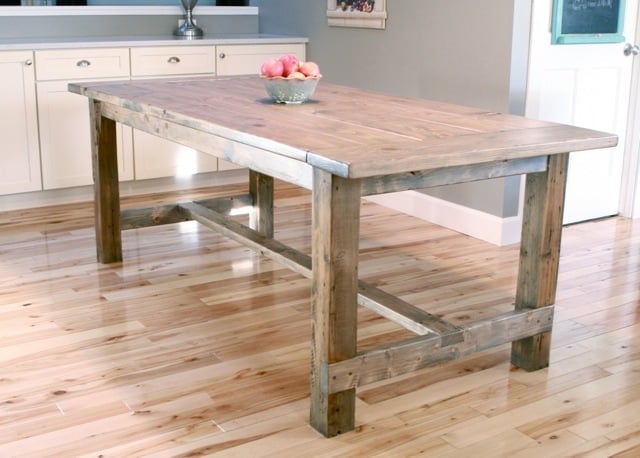
Cost, time, and skill level
Budget depends on wood and finish. Pine or construction lumber tables can cost $150 to $300 in materials. Oak or maple can run $400 to $900 or more.
Time depends on tools and finish. Plan 12 to 20 hours of shop time. Add cure time for stain and clear coats. If this is your first time learning how to make a farmhouse table, give yourself a full weekend.
This is a beginner to intermediate build. Pocket holes keep it simple. Mortise and tenon raise the bar and the life span.

Safety and workspace setup
Set up sawhorses or a stable bench. Support long boards on both ends. A helper is gold for big tops.
Wear eye and ear protection. Use a dust mask when sanding. Keep your hands clear with push sticks. Clamp your work. Do not rush cuts.
For finishes, use good airflow. Lay oily rags flat to dry or store in a metal can with water. Oily rags can self-ignite.
If you are teaching someone else how to make a farmhouse table, model safe habits every step.
Maintenance and care
Clean with a soft cloth and mild soap. Avoid harsh cleaners and hot pans. Felt pads under decor keep the top safe.
Add a fresh coat of finish as needed. Poly can be scuff sanded and recoated. Hardwax oil can be spot renewed. This is easy care and part of how to make a farmhouse table last for years.
Small dents can lift with a damp cloth and a warm iron. Place the cloth over the dent and steam for a few seconds.
Frequently Asked Questions of how to make a farmhouse table
What is the best wood for a farmhouse table?
Pine is budget friendly and easy to work. Oak and maple are harder and hold up better to daily wear.
How big should a table be for six people?
A 72 x 38 inch top seats six with room to spare. Allow about 24 inches of width per person.
Can I build it with hand tools only?
Yes, but it takes more time. A sharp hand saw, plane, and chisel set can do it with care and patience.
How do I attach the top so it can move?
Use figure-8 fasteners or Z-clips in slots on the aprons. They hold tight while letting the top expand and contract.
What finish is best for a dining table?
Polyurethane is tough and easy to clean. Waterborne poly dries fast and stays clear, while hardwax oil is warm and repairable.
How tall should a farmhouse table be?
Aim for about 30 inches in total height. Check chair seat height and keep about 10 to 12 inches of leg clearance.
How do I get a rustic look without making it rough?
Try wire brushing and a light stain, then a matte top coat. Ease edges and add small, soft corner rounds.
Conclusion
You now have a clear plan for how to make a farmhouse table from raw boards to a durable finish. Pick your size, choose your joinery, and work with care. The result is a strong, warm piece that anchors a room.
Set a weekend, gather your tools, and start your build. Share your progress, ask questions, and keep learning new skills. If this guide helped, subscribe for more projects, or leave a comment with your table size and wood choice.