
Build a sturdy pallet table by selecting safe pallets, cutting, assembling, and sealing.
If you want a budget-friendly piece that looks custom, this guide breaks down how to make a table with pallets from start to finish.
I have built coffee tables, desks, and outdoor pieces with reclaimed wood, and I will show you what works, what fails, and how to avoid common mistakes. By the end, you will feel confident about how to make a table with pallets using simple tools and clear steps.
Why build a pallet table?
A pallet table is affordable, strong, and easy to customize. The wood has character from its past life, which gives your table soul and texture. When planned well, it can rival a store-bought piece at a fraction of the cost.
This article focuses on how to make a table with pallets in a safe and repeatable way. You will learn sourcing, planning, joinery, and finishes that last. You will also see how to scale a coffee table into a desk or dining table.
Tools and materials
You do not need a pro shop to learn how to make a table with pallets. A few reliable tools and fasteners are enough.
Essential tools:
- Tape measure, carpenter’s square, and pencil
- Pry bar, hammer, and nail puller
- Circular saw or jigsaw
- Drill and driver bits
- Random-orbit sander
- Clamps
Materials:
- Two to four safe pallets, or loose pallet boards
- Wood screws, 1.5 to 2.5 inches
- Wood glue
- Pocket hole screws, if using pocket joinery
- Sandpaper grits: 80, 120, 180, 220
- Finish: water-based polyurethane, oil-based poly, or hardwax oil
- Optional: legs, casters, hairpin legs, angle brackets
Tip: Buy extra screws and sandpaper. Pallet wood can be hard and rough, and you will use more than you think.
Safety and pallet selection
Good pallets make great tables. Bad pallets can ruin a project or cause health risks. Knowing how to make a table with pallets starts with safe sourcing.
What to look for:
- Heat-treated stamp marked HT. This means no chemical fumigation.
- Clean, dry boards with no oil, mold, or strong odors.
- Minimal cracks and twist. Slight warps are fine if you can flatten them.
What to avoid:
- MB stamp. That means methyl bromide fumigation, which you should not bring indoors.
- Spills, rotten spots, insect holes, and heavy stains.
- Wet or soft boards that feel spongy.
Clean with a stiff brush and mild soap, then let the wood dry for a day. Wear gloves, eye protection, and a dust mask when cutting and sanding.

Plan your design and size
Decide what you will build before you cut. A clear plan helps you nail how to make a table with pallets without waste.
Common sizes:
- Coffee table: 40 by 20 by 17 inches
- Desk: 48 by 24 by 29 inches
- Dining table for four: 60 by 30 by 30 inches
Sketch the top, an apron, and legs. The apron is a frame under the top that adds strength. Choose legs you like: 2×2 wood legs, 4×4 posts, metal hairpin legs, or prefabricated steel legs.
Simple cut list example for a coffee table:
- Top boards to cover 40 by 20 inches
- Apron rails: two at 36 inches, two at 16 inches
- Legs: four at 17 inches minus top thickness
Step-by-step: how to make a table with pallets
Follow these steps to build a strong table. This is the core of how to make a table with pallets that hold up to daily use.
- Break down or keep pallets
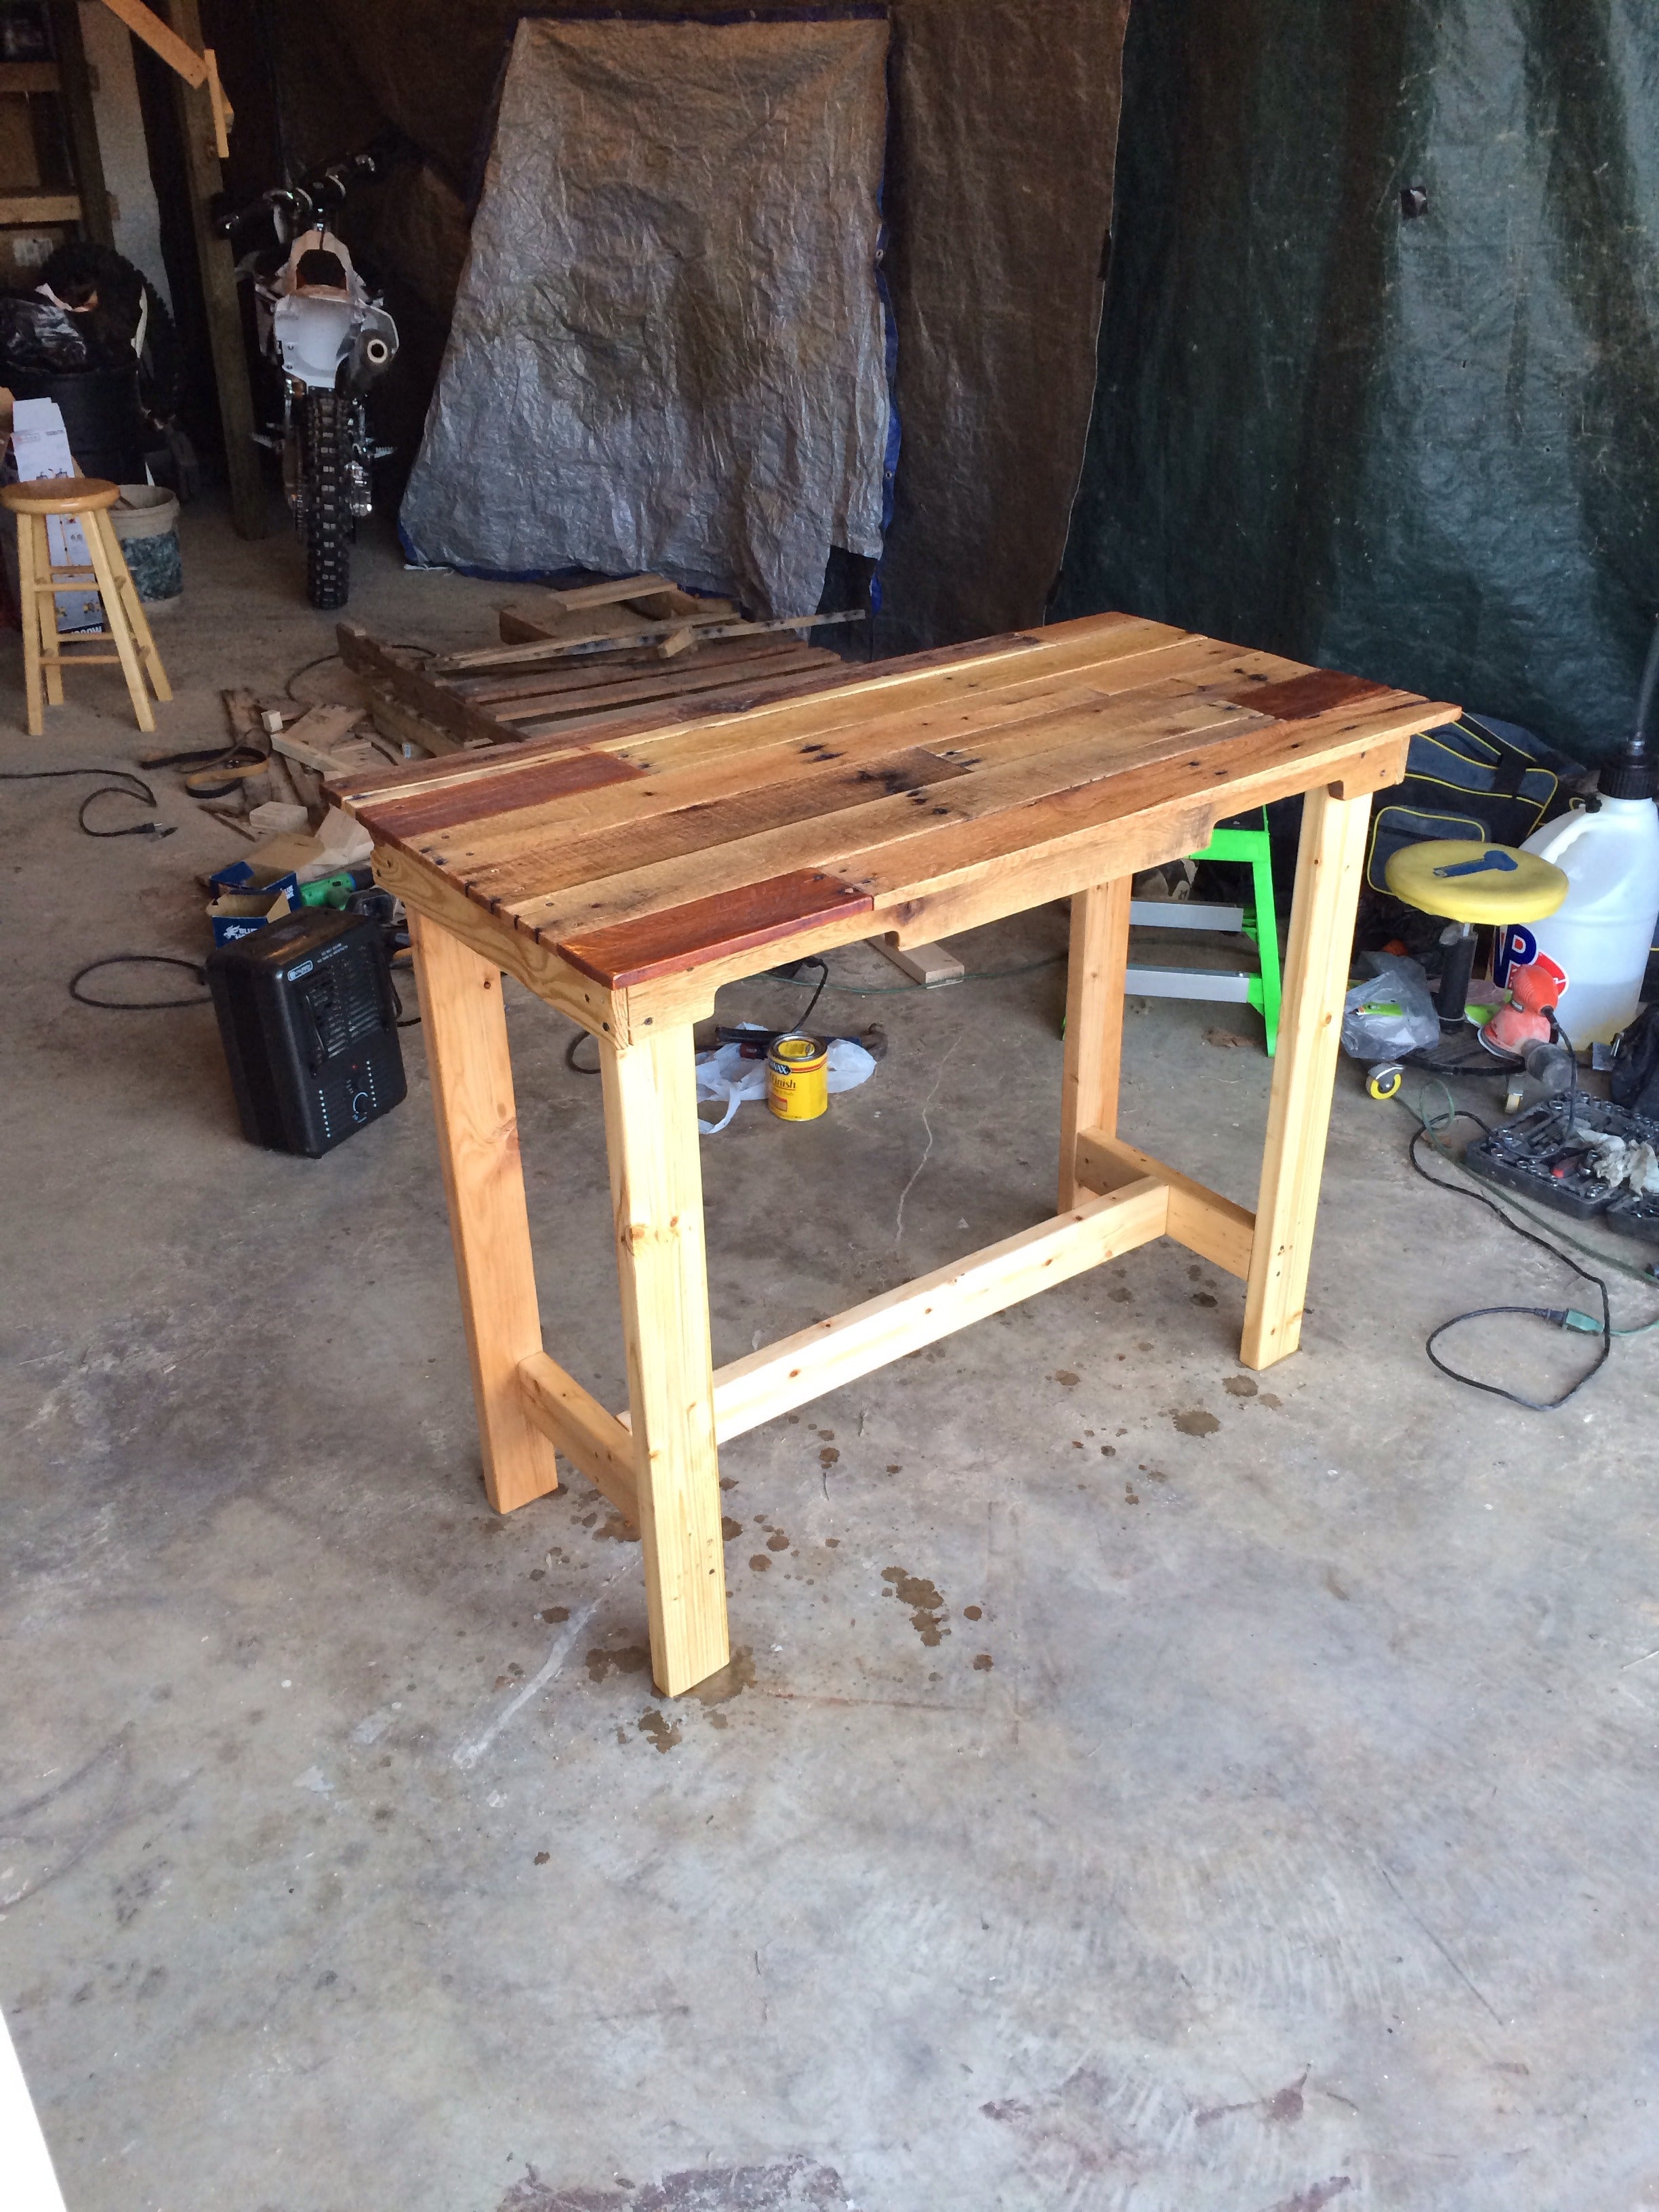
- For a rustic look, keep the pallet face mostly intact and add legs.
- For a refined look, pry boards off and rebuild the top.
- Use a pry bar and nail puller to reduce splits.
- Cut and square boards
- Trim ends to remove cracks and nail holes near the edges.
- Rip or joint edges if you want tight seams.
- Dry-fit boards on the floor and label them.
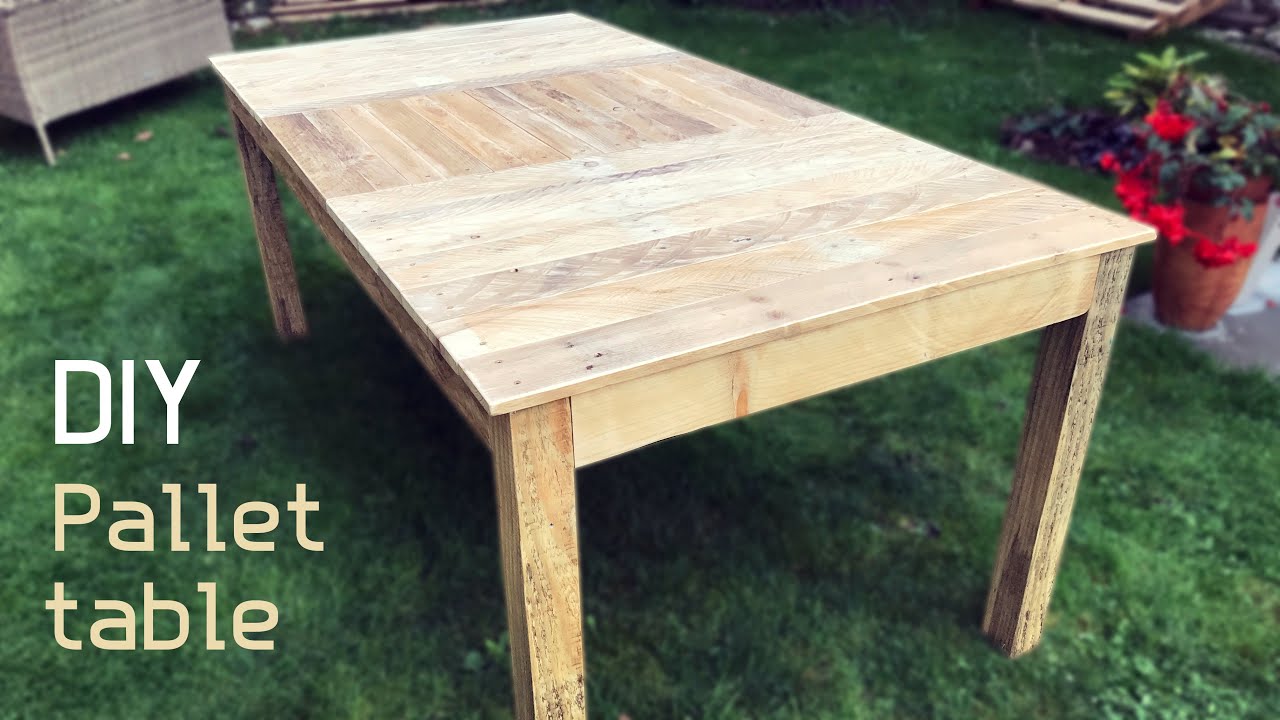
- Build the tabletop
- Lay boards face down. Align edges and check for flat.
- Join with cleats running across the underside or use pocket holes between boards.
- Use glue and screws. Clamp while drying to keep the top flat.
- Build the apron
- Cut four rails to form a rectangle that sits under the top by 1 inch.
- Join corners with pocket screws or use half-lap or simple butt joints with corner brackets.
- Add a center stretcher if the top is over 48 inches long.
- Add legs
- For wood legs, screw through the apron into the legs with glue and long screws.
- For metal legs or hairpin legs, follow the maker’s layout.
- Check for square. Adjust before tightening.
- Attach the top
- Pre-drill. Use eight to twelve screws from the underside into the top.
- For indoor tables, use figure-eight fasteners or slotted holes to allow wood movement.
- Sand smooth
- Start with 80 grit to level joints.
- Move to 120, then 180 or 220 for a clean surface.
- Round sharp edges with a light pass.
- Finish
- Remove dust with a damp cloth or tack cloth.
- Apply your chosen finish per label directions.
- Let each coat dry. Sand lightly between coats with 220 grit.
Pro tip: Check for wobble on a flat floor. If it rocks, shave a tiny bit from the long leg or add furniture pads.
Finishes and protection
A good finish is where many builds succeed or fail. It also defines how to make a table with pallets that withstands spills and daily wear.
Popular options:
- Water-based polyurethane: fast dry, low odor, clear tone, easy to clean.
- Oil-based polyurethane: warm tone, very durable, longer dry time.
- Hardwax oil: natural feel, easy to spot-repair, lower sheen.
- Outdoor spar urethane: flexible for outdoor use.
- Food-contact surfaces: cured tung oil or hardwax oil rated for food contact.
Apply thin coats and avoid drips. Most tops need two to three coats. Let the finish cure fully before heavy use. Curing can take several days even if it feels dry.

Design variations and upgrades
You can tailor how to make a table with pallets to fit any room style. Use these ideas to push the look and function.
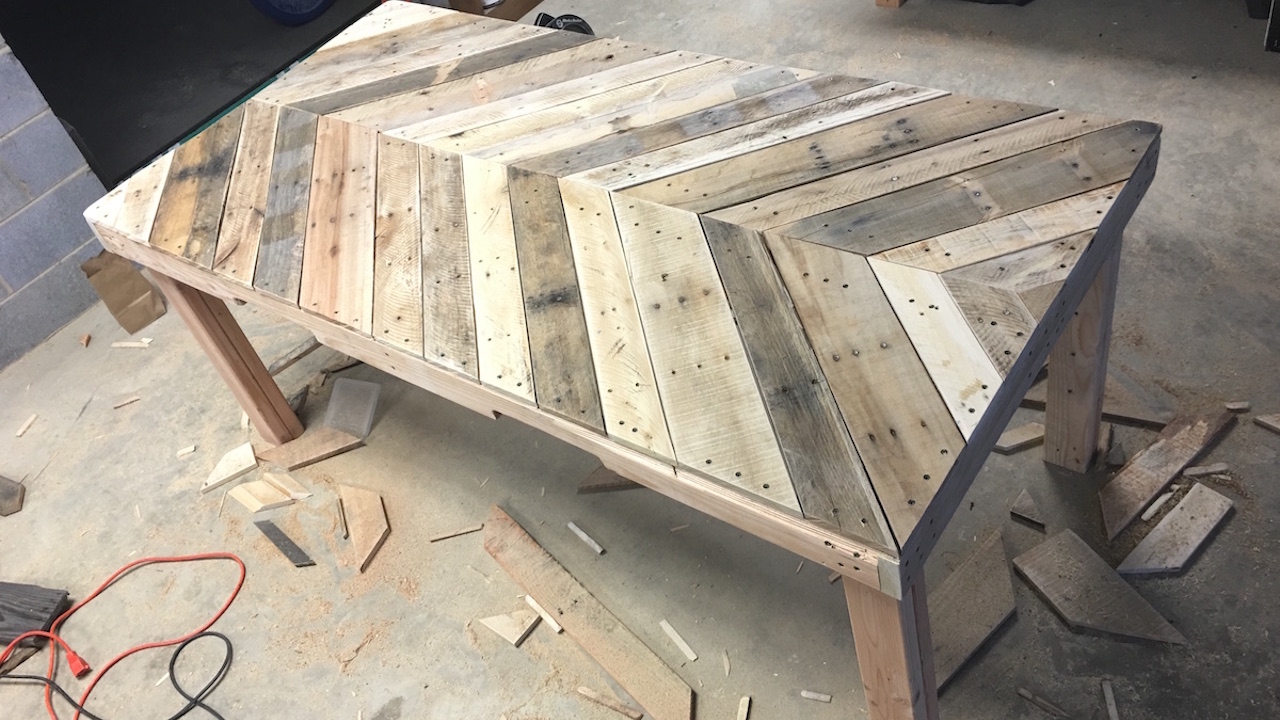
Ideas to try:
- Herringbone or chevron top using trimmed pallet slats
- Lower storage shelf for baskets or magazines
- Hidden charging with a cord grommet at the back corner
- Caster wheels with brakes for rolling coffee tables
- Glass inlay over the top for a modern touch
- Burned grain effect with a quick pass of a torch, then sealed
Small hardware upgrades, like threaded inserts for legs, make future repairs easier. Add felt pads to protect floors and cut noise.

Cost, time, and common mistakes
Budget and schedule matter when you plan how to make a table with pallets. Set clear goals so you do not rush the finish.
Typical ranges:
- Cost: 30 to 150 dollars, depending on legs and finish
- Time: 6 to 12 hours spread over two or three days, including dry time
- Tools: basic DIY kit, no specialty machines required
Mistakes to avoid:
- Using MB-stamped or dirty pallets indoors
- Skipping an apron on larger tables
- No pre-drilling, which leads to splits
- Forgetting wood movement, causing cracks over time
- Sanding too fast and leaving swirl marks

Sustainability and sourcing
A big joy of learning how to make a table with pallets is reuse. Many pallets end up in landfills. Reclaiming wood cuts waste and adds history to your home.
Where to find pallets:
- Small stores, garden centers, or light industrial parks
- Local classifieds or community boards
- Friends in logistics or warehouses
Ask for permission before taking pallets. Check markings, sort on-site, and take only what you can process. Keep receipts for any purchased pallets to show responsible sourcing.
Maintenance and care
Plan for care the same way you plan how to make a table with pallets. It keeps the table looking fresh.
Simple routine:
- Wipe spills at once with a damp cloth
- Use coasters and placemats to avoid rings and heat marks
- Recoat water-based poly every few years if the sheen wears
- For hardwax oil, clean, then buff in a thin refresh coat as needed
Expect small movement across seasons. Hairline gaps are normal. Tighten leg screws once a year.
Troubleshooting
You may hit a bump, even with a solid plan for how to make a table with pallets. Here is how to fix the usual suspects.
Common issues:
- Wobble: Shim the short leg, adjust pads, or trim a tiny amount off the longer leg
- Warped top: Add underside battens or a center stretcher to pull it flatter
- Splits near screws: Back out, fill with wood glue, pre-drill, and re-drive
- Rough finish: Let cure, sand with 320 grit, and add a thin final coat
- Visible nail holes: Fill with tinted wood filler before the first finish coat
Frequently Asked Questions of how to make a table with pallets
How do I know a pallet is safe for indoor use?
Look for the HT stamp, which stands for heat-treated. Avoid MB stamps and any pallet that smells, is oily, or has mold.
What size screws should I use for the tabletop and apron?
Use 1.5 to 2.5 inch wood screws for most joins. Always pre-drill to prevent splits in dry pallet boards.
Can I make a dining table from pallets?
Yes, but select the best boards and use a strong apron and center stretcher. Use a durable finish and allow for wood movement.
How can I keep the tabletop flat over time?
Use cleats or a stout apron and a center stretcher on longer tops. Fasten with figure-eight clips or slotted holes to allow movement.
What finish is best for a family table?
Water-based polyurethane is durable, clear, and easy to clean. For a natural feel, use a hardwax oil and reapply as needed.
Do I need special tools to build a pallet table?
No. A circular saw, drill, sander, and clamps will do. Pocket holes are helpful but not required.
How many pallets do I need for a coffee table?
Two standard pallets are enough for most coffee tables. Always get one extra to allow for defects and cuts.
Conclusion
You now have a clear plan for how to make a table with pallets that is safe, solid, and stylish. Start with clean, heat-treated boards, build a rigid base, and protect the top with a reliable finish. Keep the design simple and let the wood’s story shine.
Pick a size, gather tools, and try a small coffee table this weekend. Share your build, ask questions, and subscribe for more practical guides and design ideas.