

Cut and prepare weatherproof lumber, build a sturdy frame, attach top, seal well.
You are here to learn how to make an outdoor table that lasts. I have built and tested many backyard tables in sun, rain, and snow.
This guide shows how to make an outdoor table with clear steps, safe methods, and smart choices. If you want a clean, solid table without waste or wobble, read on.

Plan the project and choose a design
Think about how you will use the table. Dining, coffee, prep, or bar use all change the design. Pick a size, a wood type, and the joints before you buy anything.
Key choices to make:
- Size and seating Plan for plates, elbows, and serving space.
- Weight and storage Heavier tables move less but are harder to store.
- Tools you own Some joints need special tools. Match the plan to your shop.
Standard sizes to guide you:
- Dining height 28 to 30 inches. Seat height 17 to 19 inches.
- Coffee height 16 to 18 inches.
- Bar height 40 to 42 inches.
Write a cut list. Sketch the frame. Mark leg placements, apron widths, and overhangs. This will save time and errors later as you work through how to make an outdoor table.
:max_bytes(150000):strip_icc()/cherishedbliss-2fe16e06a68b44589c6631e6b39ae68f.jpg)
Materials and tools
Pick materials that can take weather. The best choice is stable wood and rustproof hardware. This is core to how to make an outdoor table that endures.
Good wood options:
- Cedar Light, stable, and resists rot. Easy to cut and sand.
- Redwood Durable and stable. Costs more than cedar.
- Teak Very durable. Pricey, heavy, and often needs sharp tools.
- Pressure-treated pine Budget friendly. Let it dry before finishing.
Use exterior-grade parts:
- Screws Exterior-rated, stainless, or coated. Use star-drive heads.
- Glue Waterproof PVA or polyurethane glue.
- Finish Oil, marine varnish, or exterior waterborne topcoat.
Basic tools:
- Circular saw or miter saw Clean, square cuts.
- Drill and driver Drill bits, countersink, and driver bits.
- Pocket hole jig Optional. Fast and strong for aprons.
- Sander Random orbit sander with 80, 120, 150 grit.
- Squares and clamps Speed square, tape, and face clamps.

Step-by-step: how to make an outdoor table
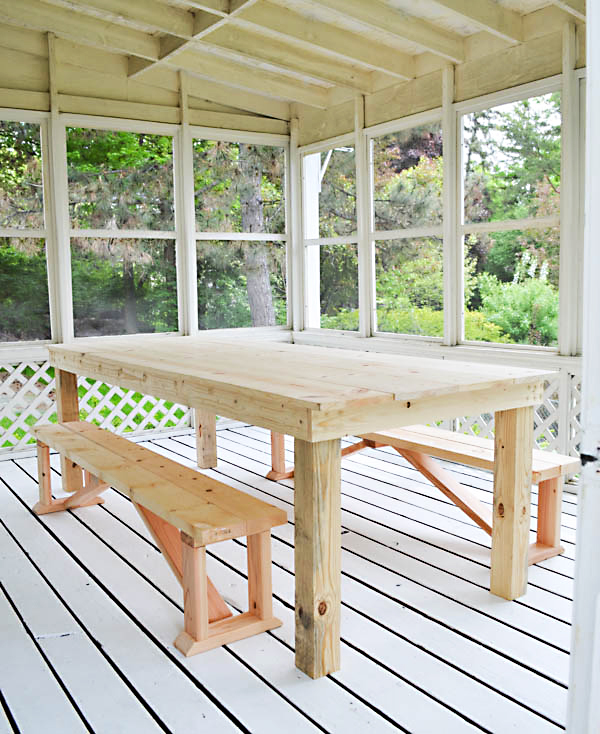
This build uses a classic four-leg frame with a slatted top. It is a proven way to learn how to make an outdoor table that is strong and simple.
- Cut the legs
- Rip or buy 3×3 or 4×4 posts. Cut four legs to height.
- Ease sharp edges with sandpaper. Label each leg.
- Make the aprons
- Cut long and short aprons from 1×4 or 2×4 boards.
- Aim for 2 to 3 inches of apron depth for stiffness.
- Pre-drill and dry fit
- Drill pilot holes for screws or set pocket holes on the inside faces.
- Dry fit the frame around the legs. Check for square.
- Glue and assemble the frame
- Apply waterproof glue to joints. Clamp them.
- Screw the aprons to the legs. Confirm the frame is square by measuring diagonals.
- Add stretchers or a center brace
- Cut a center stretcher to connect long aprons.
- This reduces sag and wobble. Add corner blocks if you prefer.
- Prepare top boards
- For a slatted top, cut boards to length with a 1/8-inch gap between slats.
- Round the edges to help water shed and fingers feel nice.
- Attach the top
- Use spacers to keep even gaps.
- Screw from above with countersunk holes, or use table top clips from below.
- Sand smooth
- Sand to 120 or 150 grit. Break sharp corners.
- Wipe away dust. Do not skip edge sanding on end grain.
- Seal the wood
- Seal end grain first. Apply two to three coats of exterior finish.
- Let it cure as the label says before heavy use.
- Level and test
- Set the table on flat ground. Adjust feet if needed.
- Sit at it. Push and pull. If it creaks, add a brace or tighten screws.
Personal tip: On my first cedar table, I skipped a center stretcher. It looked fine but wobbled after a storm. I added a hidden stretcher and the wobble was gone. When you plan how to make an outdoor table, a simple brace works wonders.
Joinery that stands up outside
Outdoor joints must handle moisture changes. Avoid joints that trap water. Choose methods that balance speed and strength.
Strong choices:
- Pocket hole screws Fast and hidden inside aprons. Use exterior screws.
- Through bolts Very strong for legs to aprons. Add washers.
- Half-lap or bridle joints More work but stable and classic.
- Floating tenons Good strength. Use waterproof glue.
Design for movement:
- Slatted tops allow rain runoff and wood movement.
- If you use a solid panel, attach it with clips or elongated screw holes.
- Seal every face, especially end grain. This is key in how to make an outdoor table that resists swelling.

Weatherproof finishes and protection
Good finish adds years to your build. Choose one that fits your climate and time to maintain.
Finish options:
- Penetrating oil Teak oil or tung oil keeps a natural look. Needs more frequent re-coats.
- Exterior waterborne topcoat Low odor, quick dry, good UV blockers.
- Marine spar varnish High protection and gloss. Longer cure and more prep.
Application steps:
- Sand to 120 or 150 grit. Vacuum and wipe with a damp cloth.
- Flood the end grain. It soaks more sealer than faces.
- Apply thin coats. Sand lightly between coats for a smooth feel.
Pro tip: If the table lives in full sun, re-coat once a year. If under cover, inspect twice a year. This practical habit is part of how to make an outdoor table that stays good-looking.
Sizing, ergonomics, and layout
Comfort comes from clear space and good height. Small tweaks make daily use better.
Useful rules:
- Allow 24 inches of width per diner on long sides.
- Leave 12 inches from table edge to leg centers for knee room.
- Keep a 10 to 12 inch overhang from apron to table edge for comfort.
Sample sizes:
- Four-person dining 60 by 30 inches.
- Six-person dining 72 by 36 inches.
- Coffee table 42 by 22 inches.
- Bar table 48 by 24 inches.
When mapping how to make an outdoor table, lay painter’s tape on the patio to test size. Pull chairs in and out. It helps you avoid crowding.

Cost, time, and smart budgeting
Costs vary by wood and size. Time depends on your tool setup and finish choice.
Typical ranges:
- Materials Cedar dining table 150 to 350 dollars. Teak 400 to 800 dollars or more.
- Hardware and finish 30 to 120 dollars.
- Time Cutting and assembly 4 to 6 hours. Finishing adds 1 to 3 days of dry time.
Save money:
- Use construction-grade lumber and choose the straightest boards.
- Rip wide boards into narrower slats to reduce cupping.
- Buy screws in bulk. One box lasts many projects.
If you are new to how to make an outdoor table, start with cedar and a slatted top. It is forgiving and looks great.
:max_bytes(150000):strip_icc()/SPR-outdoor-table-plans-5070848-hero-e56542f9054c4a92b888438f5e598fcc.jpg)
Common mistakes and easy fixes
Even skilled builders slip. Here are frequent issues and how to correct them.
Mistakes to watch for:
- Wobble from out-of-square frames Check diagonals and add a stretcher.
- Peeling finish from poor prep Sand well. Wipe dust. Apply thin coats.
- Cupped top boards Rip wide boards into slats. Leave small gaps.
- Rusty screws Use exterior or stainless screws from the start.
- Water trapped under the top Use spacers and seal undersides too.
I once forgot to seal the underside. After one wet month, the top cupped. I removed the boards, sealed both sides, and reinstalled with clips. Lesson learned for how to make an outdoor table that lasts.
Maintenance and seasonal care
A little care goes a long way outdoors. Set a simple schedule.
Easy routine:
- Clean twice a year Mild soap and water. Soft brush. Rinse and dry.
- Inspect hardware Tighten loose screws. Replace any rusted parts.
- Refresh finish Light scuff sand. Add a maintenance coat as needed.
Winter tips:
- Keep the table off wet ground or use glides.
- Use a breathable cover. Avoid plastic tarps that trap moisture.
These steps complete the loop on how to make an outdoor table from build to long life.
Style variations and upgrades
Make the build yours with small changes. Form should follow function and climate.
Ideas to try:
- Top patterns Simple slats, picture frame edges, or herringbone with gaps.
- Legs Straight posts, tapered legs, or X-frame trestles.
- Storage Add a lower shelf for trays or planters.
- Comfort Add radius corners and a gentle edge round-over.
- Mobility Add locking casters for grill-side tables.
Each choice is a fresh way to express how to make an outdoor table that fits your space and taste.
Frequently Asked Questions of how to make an outdoor table
What is the best wood for an outdoor table?
Cedar and teak are top choices for weather resistance. Cedar is lighter and cheaper, while teak is very durable but costs more.
How thick should the tabletop be?
Aim for 1 to 1.5 inches for most tops. Thicker boards add weight and stability but cost more and are harder to move.
Do I need to seal the underside of the table?
Yes, seal every face, especially the underside and end grain. Even coverage reduces uneven moisture and prevents cupping.
What screws should I use outside?
Use exterior-rated or stainless steel screws. Star-drive heads reduce stripping and make assembly easier.
How do I stop the table from wobbling?
Make the frame square and add a center stretcher. Tighten hardware and use levelers on uneven patios.
Can I use pallet wood to make an outdoor table?
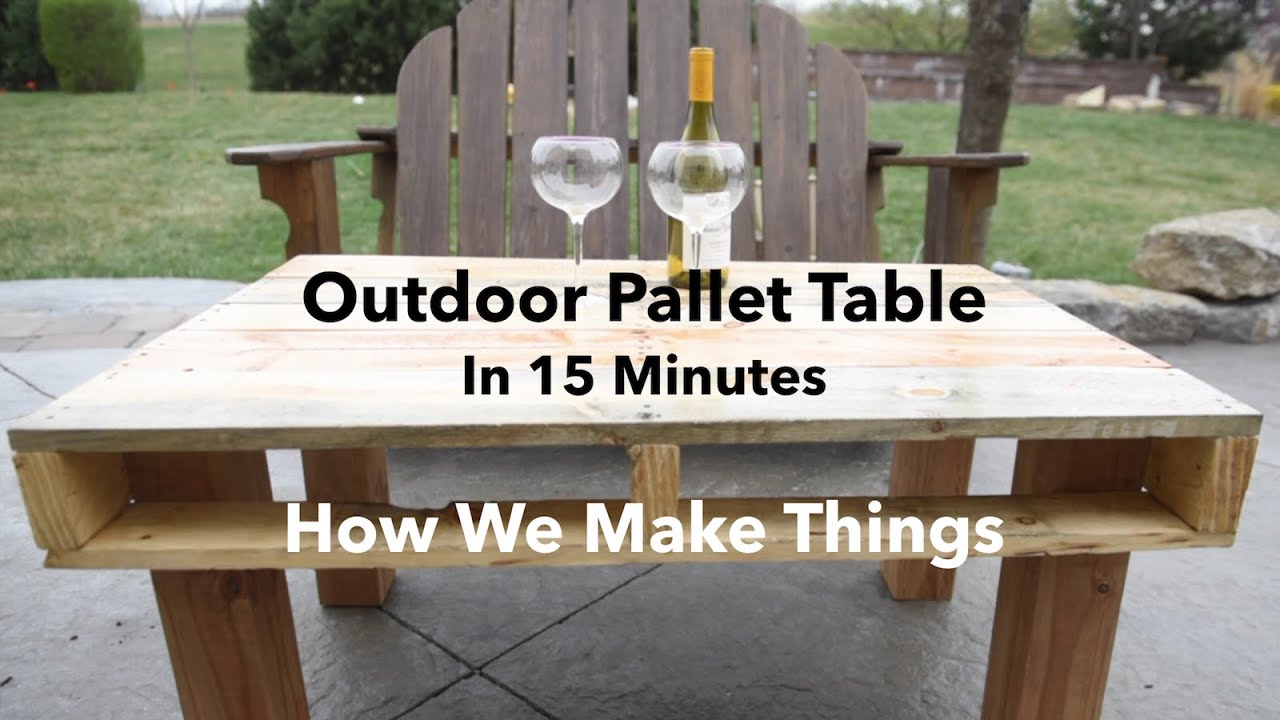
You can, but select clean, marked-safe pallets and dry the wood well. Seal all sides to reduce movement and wear.
How long will an outdoor table last?
With good wood and yearly maintenance, 5 to 15 years is common. Teak and high-quality finishes can exceed that.
Conclusion
You have the plan, the steps, and the tips to build with confidence. From the first cut to the final coat, you now know how to make an outdoor table that looks good and handles weather. Start simple, square the frame, seal well, and add a brace when in doubt.
Pick a weekend, set your tools out, and make it happen. Share your build, ask questions, and subscribe for more step-by-step guides and shop-tested plans.