
Use a sealed base, set tiles in thinset, grout, and seal thoroughly.
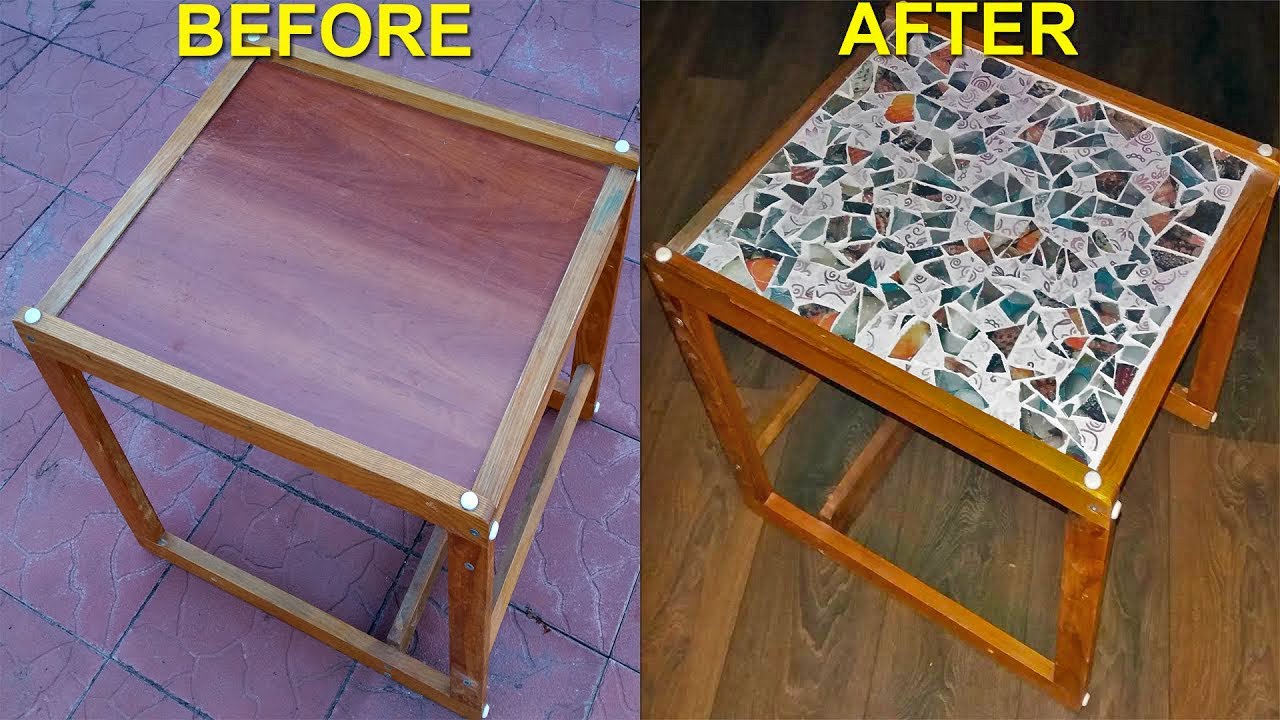
If you want to learn how to make a mosaic table top that lasts and looks refined, you are in the right place. I’ve built and restored dozens of mosaic tables, indoors and out. This guide blends proven methods with hands-on tips, so you can work with confidence from design to seal.
What You’ll Need?
Gather your supplies before you start. This keeps the build smooth and safe.
Materials:
- Tiles or tesserae ceramic, porcelain, glass, or stone
- Backer board cement board for wood tables or an existing stone surface
- Thinset mortar polymer-modified for most tiles or epoxy thinset for glass or outdoor freeze zones
- Grout sanded for wide joints, unsanded for narrow joints
- Sealer penetrating grout sealer and, if needed, a tile sealer
- Waterproofing membrane for outdoor or wet areas
- Edge trim wood, metal, or tile edge pieces
- Painter’s tape and plastic sheeting
Tools:
- Notched trowel 3/16 to 1/4 inch
- Tile nippers and a small glass cutter if using glass
- Mixing paddle and bucket
- Grout float and large sponge
- Utility knife and straightedge
- Level and rubber mallet
- Safety gear gloves, eye protection, dust mask
Pro tip from the shop: Set up two stations. One for cutting tiles and one for setting. Less mess, more speed. This is the fastest path for how to make a mosaic table top without fuss.

Plan Your Design
A good mosaic starts on paper. Sketch a full-size plan or print a grid that matches your table shape.
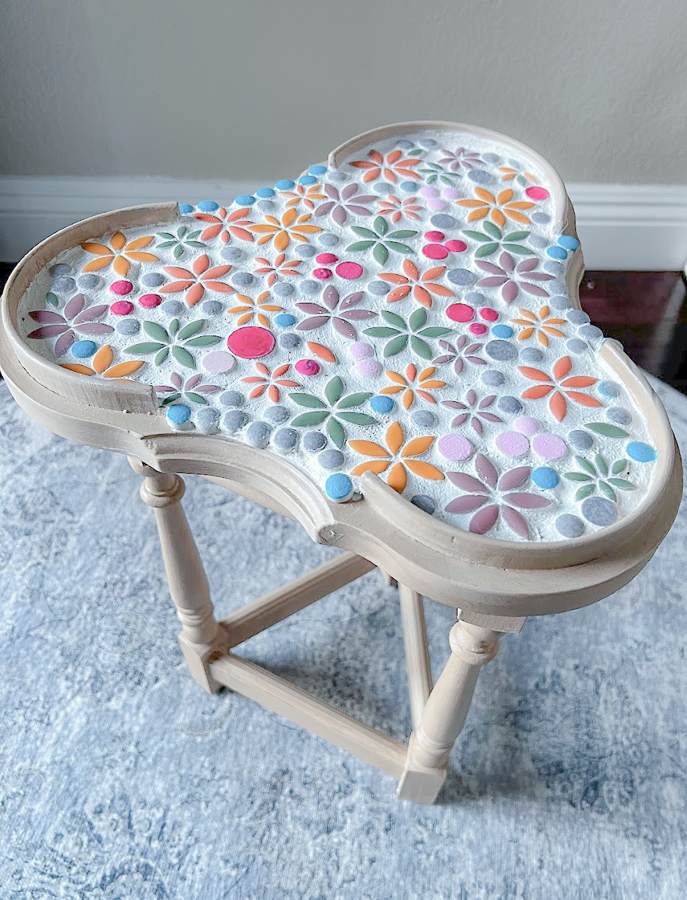
- Choose your style. Think geometric, floral, coastal, or mid-century. Keep the focal point near the center.
- Select tile type. Ceramic and porcelain are stable and easy to cut. Glass shines in the sun. Stone adds texture and weight.
- Map your colors. Use three to five tones. Aim for one dominant color and two accents.
- Define your joints. Typical gaps are 1/16 to 1/8 inch for a sleek look, 1/4 inch for a rustic style.
- Test a small sample board. Set a few pieces with thinset and grout them. Check color and grout contrast under daylight.
When I teach how to make a mosaic table top, I stress contrast. Light grout with dark tiles is crisp. Dark grout hides stains outside.

Prepare the Table Top
A solid base is the secret to long life. Your surface must be flat, clean, and rigid.
- For wood tables. Screw down a 1/4 to 1/2 inch cement backer board over the top. Use thinset under the board and backer board screws. Tape and thinset the seams. Seal edges with waterproofing if outdoors.
- For concrete or stone. Clean with a degreaser. Rinse well. Let dry. Scuff glossy areas with 80-grit sandpaper. Roll on a primer if the surface is very smooth.
- For metal tops. Use a rust-inhibiting primer. Add a bonded backer board if possible for better adhesion.
- Level check. Place a level across the top. Fill low spots with patching compound rated for tile.
Do not skip this step. Almost every failure I have seen when people try how to make a mosaic table top comes from poor prep or a flexing base.

Dry Layout and Spacing
Dry fit your pattern before you open the mortar bag. Adjust now, not later.
- Mark the center. Snap or draw center lines across the table.
- Set the focal tiles first. Work outward to the edges.
- Maintain joints. Use small spacers or cardstock strips to hold gaps.
- Pre-cut edges. Score and nip tiles so the border looks clean and even.
- Step back. Check from all sides. Balance color groups and shapes.
I like to take a phone photo of the layout. It becomes a map while setting. This simple habit speeds up how to make a mosaic table top by cutting guesswork.

Set the Tiles with Adhesive
Thinset mortar gives strength and weather resistance. Mix small batches so it stays fresh.
- Mix to peanut-butter texture. Let it rest for 5 to 10 minutes, then remix.
- Spread with a notched trowel. Comb lines in one direction for better bond.
- Butter tricky pieces. Back-butter uneven tiles or stone with a thin coat.
- Press and wiggle. Set tiles with light pressure and a small wiggle to seat ridges.
- Keep your plane flat. Use a level and tap high tiles with a rubber mallet.
- Clean as you go. Wipe thinset from joints and tile faces before it hardens.
Cure times vary. Most thinsets need 24 hours before grouting. Follow the bag for exact times. This step is central in how to make a mosaic table top that endures.
Grouting Like a Pro
Grout locks the pattern and protects the edges. Choose a color that supports your design.
- Mix grout to a smooth paste. Let it rest for a few minutes, then remix.
- Work in small zones. Use a rubber float to pack grout at a 45-degree angle.
- Remove excess. Hold the float nearly upright and scrape diagonally across joints.
- First wipe. After 10 to 15 minutes, wipe with a damp sponge. Rinse often.
- Haze removal. When a light haze forms, buff with a soft cloth.
- Cure time. Keep the surface dry and free from traffic for at least 24 to 72 hours, based on the label.
If joints sink while curing, you may have under-filled. I learned to make a second pass before the first wipe. This one tweak improved my results in how to make a mosaic table top by a lot.

Seal and Finish Edges
Sealing keeps stains out and makes cleaning easy. Finish the rim so it feels smooth and looks complete.
- Seal the grout. Use a penetrating sealer after grout has cured per the label. Apply with a small brush or applicator bottle. Wipe the tile face right away.
- Seal porous tile. Stone, unglazed ceramic, and some glass benefit from a tile sealer.
- Edge options. Attach wood trim, metal edging, or a bullnose tile border. Sand and finish wood. Caulk tiny gaps for a neat line.
- Final check. Confirm no sharp spots or snag points on the rim.
Most sealers need a recoat within one hour and a full cure of 24 hours. This finish stage makes how to make a mosaic table top feel polished and pro.
Maintenance and Care
A few simple habits will keep your mosaic looking new.
- Clean with mild soap and water. Avoid harsh acids and abrasive pads.
- Reseal grout every 1 to 3 years. High-traffic or outdoor tables may need more frequent care.
- Use coasters and trivets. Heat and impact can crack tiles over time.
- Winter care outdoors. Cover the table or move it under a roof in freeze-thaw climates.
These habits are the long game in how to make a mosaic table top that stays bright for years.
Cost, Time, and Skill Level
Plan your project budget and schedule.
- Cost range. Expect 60 to 300 USD for a small to mid-size top, depending on tile type, tools on hand, and edge trim.
- Time estimate. Two to three days total with drying time. Day 1 set the base and tile. Day 2 grout. Day 3 seal.
- Skill level. Beginner to intermediate. Start with a small table if this is your first time.
Being honest about costs is part of how to make a mosaic table top without stress or surprise.
Common Mistakes and How to Avoid Them
Learn from the errors I made early on.
- Skipping backer board on wood. Wood moves. Backer board adds stability and a proper bonding surface.
- Using ready-mix mastic outdoors. It can fail with moisture and heat. Use thinset rated for exterior use.
- Wide joints with unsanded grout. It cracks. Use sanded grout for joints 1/8 inch and wider.
- Rushing the wipe. If you wipe too soon, you pull grout from joints. Wait for the right set time.
- No expansion gap. Leave a tiny gap at the rim and fill with flexible caulk, not grout.
Avoiding these issues is core to how to make a mosaic table top that will not fail early.
Eco-Friendly and Safety Tips
Build with care for yourself and the planet.
- Choose recycled glass or reclaimed tile. Many suppliers offer post-consumer glass.
- Use low-VOC sealers and primers. They smell less and are healthier indoors.
- Control dust. Cut outdoors if you can. Wear a dust mask and eye protection.
- Dispose of waste right. Do not wash grout or thinset sludge into drains. Let it settle and toss the solids.
Sustainable choices fit well with how to make a mosaic table top, and they still look great.
Design Ideas to Try
Spark your creativity with these simple starts.
- Sunburst center with radiating wedges in two to three tones.
- Checkerboard with a twist swap random squares for glass accents.
- Coastal theme with blue glass and shell-shaped borders.
- Monochrome mosaic in shades of gray for a modern look.
- Broken-china pattern use thrifted plates for a cottage feel.
I keep a small tile bin of offcuts. It is my secret for low-cost tests when planning how to make a mosaic table top with bold color.
Frequently Asked Questions of how to make a mosaic table top
What is the best adhesive for outdoor mosaic tables?
Use a polymer-modified thinset rated for exterior use. It handles moisture and freeze-thaw cycles better than ready-mix mastics.
How long should I wait before sealing the grout?
Wait until the grout has cured per the label, often 72 hours. Sealing too soon can trap moisture.
Can I mosaic over an existing glass or laminate top?
Yes, but you must roughen the surface and add a primer or bonded backer board. A stable, textured surface is key.
What grout color should I choose?
Pick a color that supports the design and hides dirt where needed. Light grout looks crisp, while mid to dark tones resist stains better outdoors.
How to make a mosaic table top that is heat-resistant?
Use porcelain or stone tiles and a high-performance thinset. Add trivets for very hot items to prevent thermal shock.
What size tiles work best for curves and tight patterns?
Small tiles or cut tesserae around 1/2 inch or less bend around curves well. They make tight joints and crisp detail easier.
Can I fix a cracked tile after grouting?
Yes. Score the grout lines, break out the tile carefully, clean the cavity, reset a new tile, and regrout. Work slowly to avoid damage.
Conclusion
You now have a clear path from concept to a sealed, finished surface. With a stable base, a careful layout, the right mortar, neat grout work, and smart sealing, your table will stand up to daily life. Start small if you are new, and build skill with each project.
Take the next step today. Gather your materials, sketch your pattern, and set your first tiles. If this guide helped, subscribe for more tutorials, share your results, or leave a question so I can help you refine your plan.