
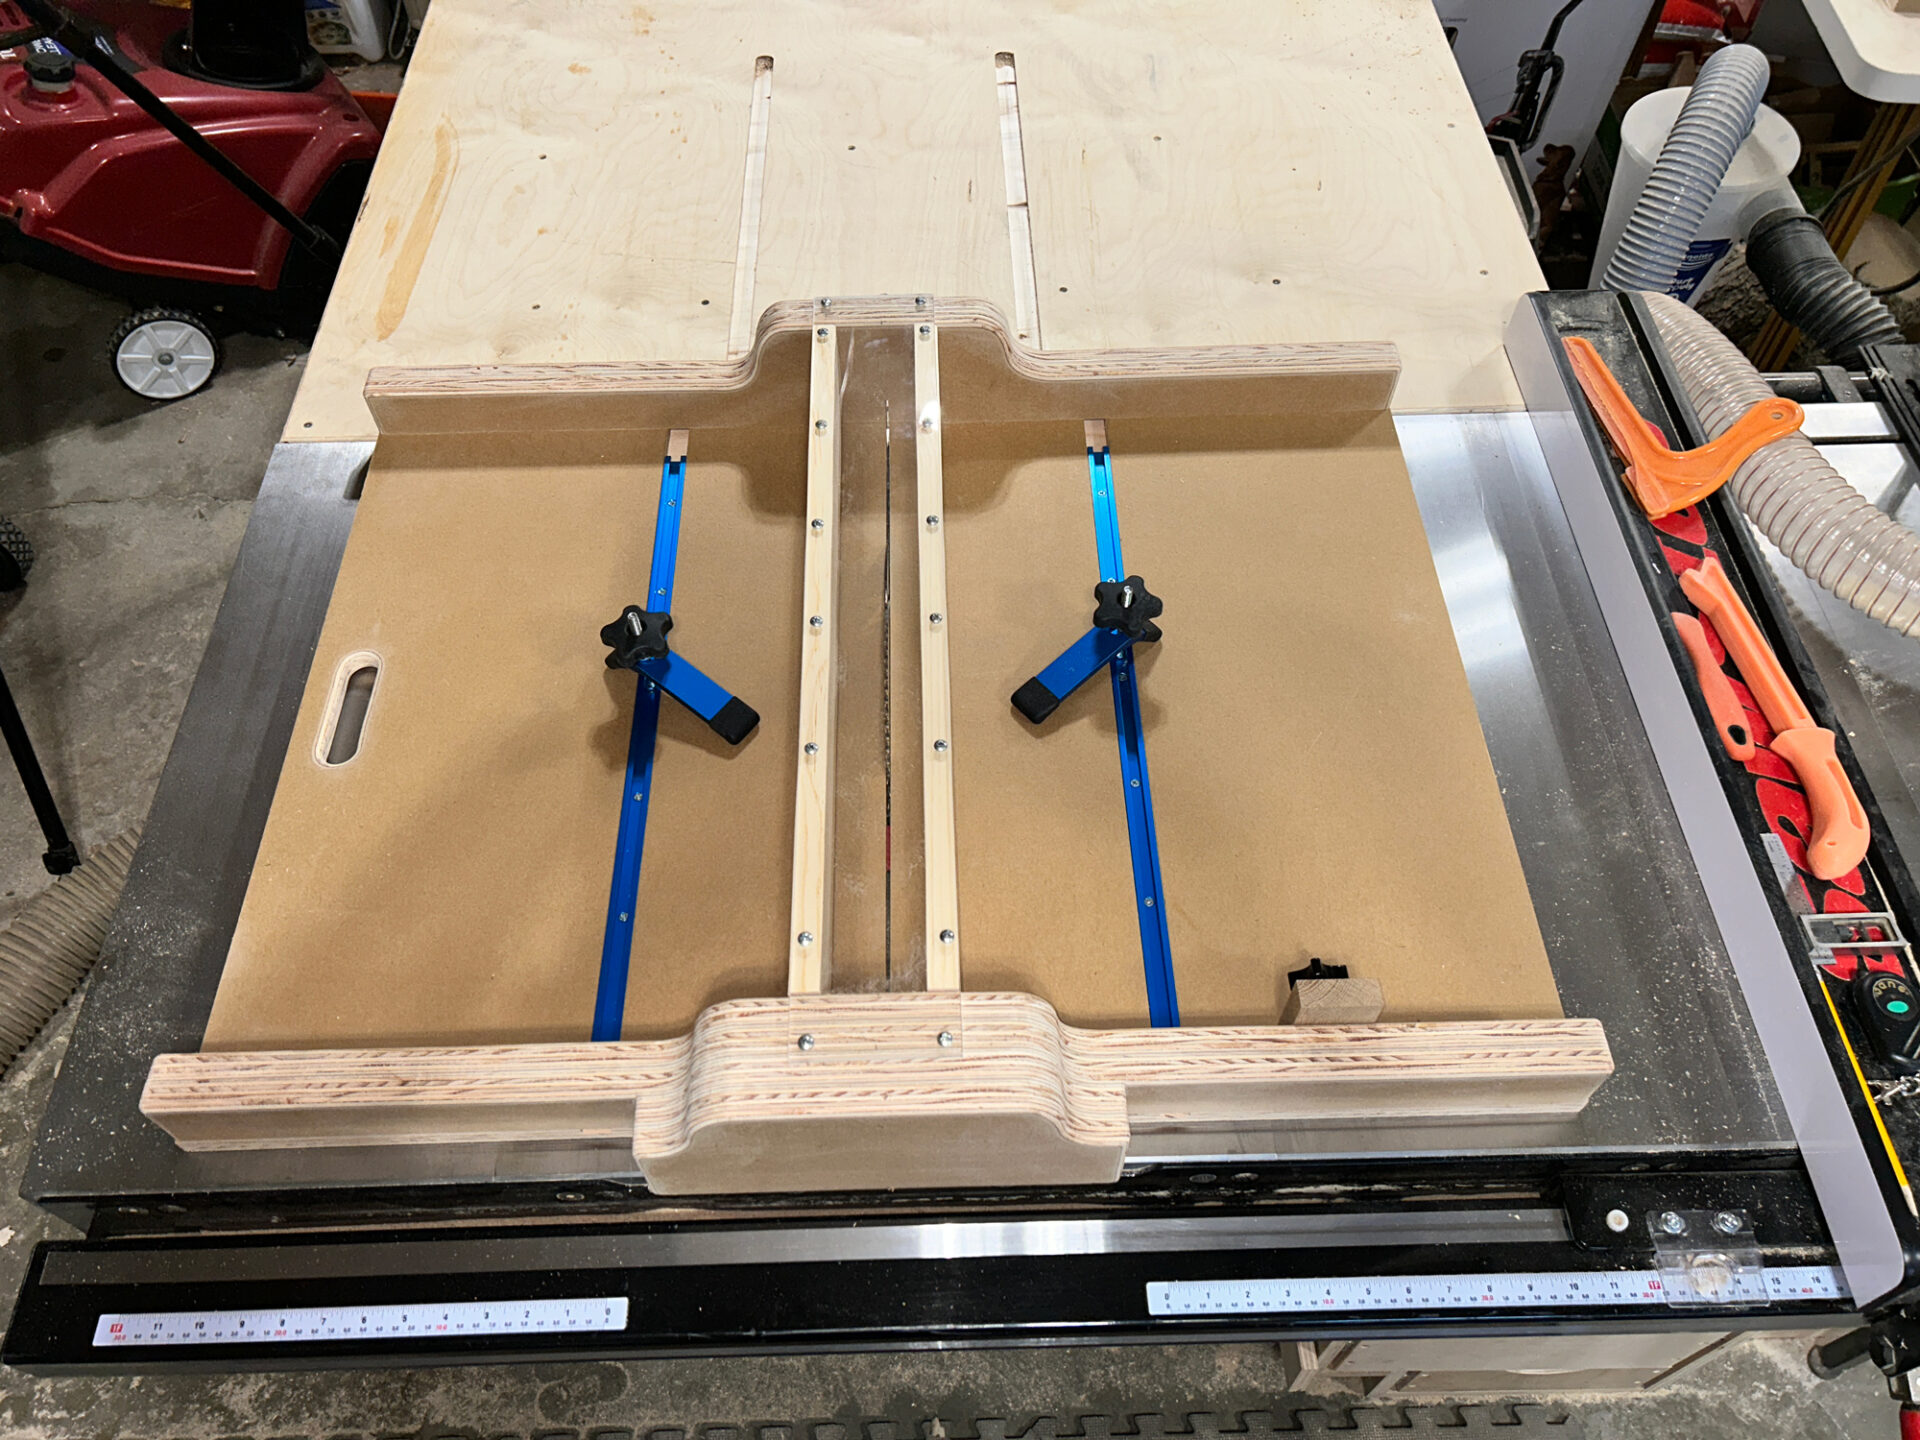
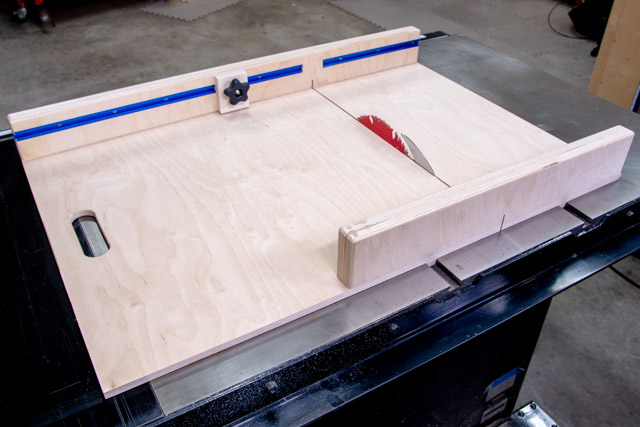
Build a simple plywood sled with square fence and hardwood runners.
If you want dead-square cuts, safer workholding, and repeatable results, learn how to make a table saw crosscut sled the right way.
I have built many sleds for cabinet and trim work, and I will show you how to make a table saw crosscut sled with clear steps, pro checks, and upgrade ideas that work in any shop. Follow along to build one you trust and use every day.
What a crosscut sled does and why it matters?
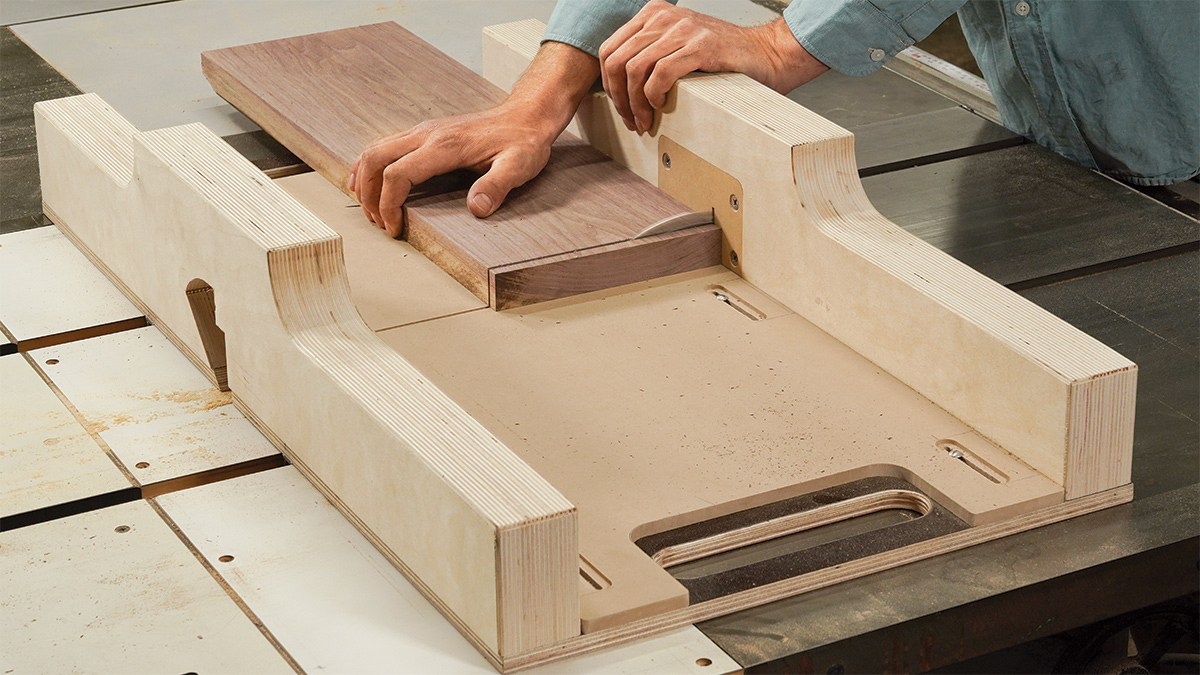
A crosscut sled supports your work and keeps it square to the blade. It rides in the miter slots and gives you a zero-clearance cut line. That means less tear-out and clean edges.
It also moves your hands away from the blade. The tall front fence acts as a shield at the end of the cut. If you need precise parts for drawers, frames, or face frames, this jig is a must. Learning how to make a table saw crosscut sled unlocks that accuracy on day one.

Materials and tools
You can build a strong sled from common stock. My go-to bill of materials is simple and cheap.
- Base: 1 sheet of flat 3/4 inch plywood or MDF, about 24 by 30 inches
- Runners: Hardwood or UHMW strips, sized to your saw’s miter slots
- Front fence: Straight, stiff hardwood or Baltic birch, about 3 by 3 inches
- Rear fence: Lower fence for stiffness, about 2 by 2 inches
- Screws: Flat head wood screws and washers
- Glue: Wood glue or CA glue for tacking
- Wax: Paste wax for runners and base
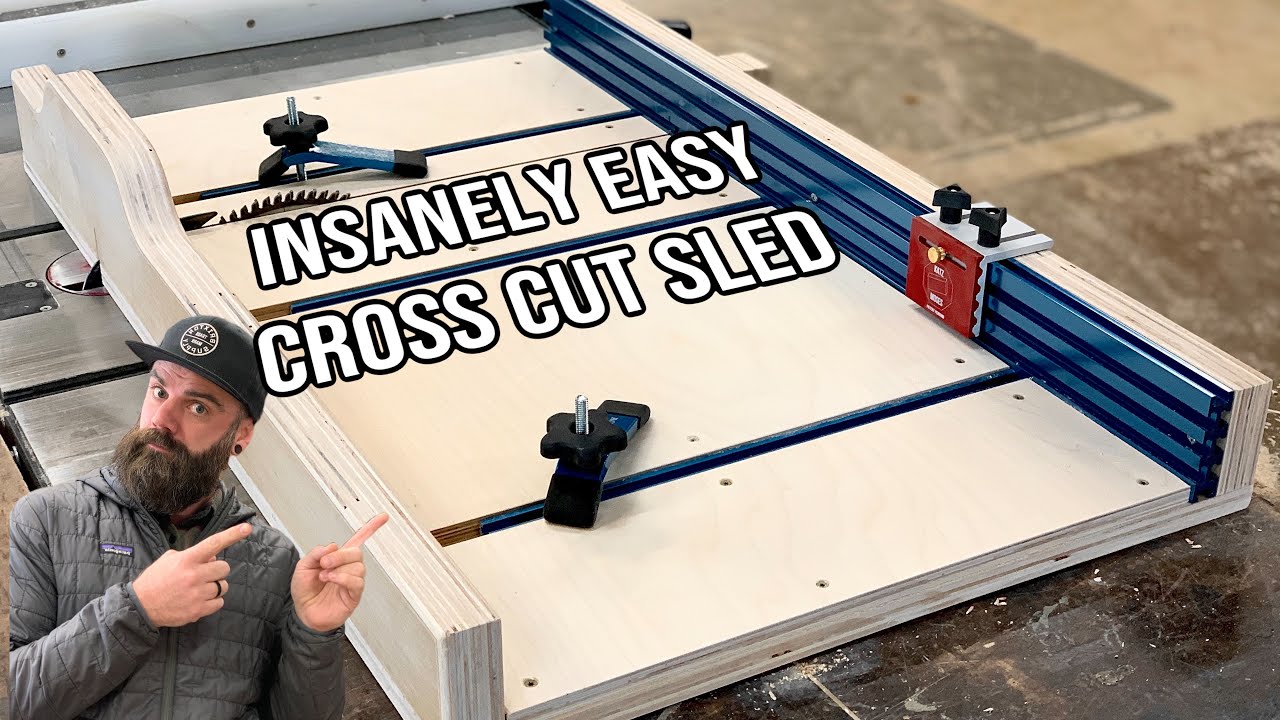
- Optional: T-track, flip stop, hold-down clamps, clear blade guard
Tools
- Table saw with good blade
- Squares and a straightedge
- Drill and countersink
- Clamps
- Calipers or a ruler
- Feelers or paper shims
With these basics, you are set to learn how to make a table saw crosscut sled that is both sturdy and precise.
Design choices that make a better sled
Base size. Match the sled to your work. For most casework, 24 by 30 inches is a sweet spot. Go larger for cabinets and smaller for trim.
Runners. Hardwood is cheap and works well. UHMW is slick and stable. Fit matters more than the material. The runners should slide with no wobble.
Fences. The front fence is the key reference. Make it tall, thick, and very straight. The rear fence adds stiffness and keeps the base together.
Zero-clearance kerf. The blade slot in the base shows you the true cut line. It also supports fibers to reduce tear-out.
Stops and tracks. T-track and a flip stop help for repeat cuts. Add them later if you like. When you plan how to make a table saw crosscut sled, leave room for upgrades.
Step-by-step: how to make a table saw crosscut sled
Follow these steps to build a sled you can trust. I use this same process in my shop.
- Measure your miter slots
- Measure width and depth at a few points.
- Note any taper. Slot size must guide runner size.
- Make the runners
- Rip hardwood a hair wide and plane to a snug fit.
- Aim for a smooth slide with no side play.
- Wax the runners. That reduces seasonal stick.
- Cut the base
- Cut the base panel square and flat.
- Mark a line down the center. This is for your first kerf.
- Attach the runners
- Set runners in the slots. Heads of a few screws can hold them proud.
- Place the base over the slots. Align and tack with CA glue or a few screws from above.
- Flip and add countersunk screws from the bottom into the runners.
- Cut the first kerf
- Raise the blade. Start the saw.
- Slide the sled slowly through to make the zero-clearance slot. Stop before the front edge.
- Install the rear fence
- Align and screw it down square to the base edge.
- This fence is for stiffness. Exact square is not critical here.
- Install and square the front fence
- Place the front fence near the blade line but keep your hands clear.
- Use two screws near the middle to pivot.
- Square the fence with the five-cut method. Adjust with thin shims at one end.
- When perfect, add more screws along the fence. Do not glue it. You may need to adjust later.
- Add safety and features
- Add a clear guard over the blade exit.
- Add T-track and a flip stop if you want repeat cuts.
- Wax the base underside to glide easier.
In practice, how to make a table saw crosscut sled comes down to one point: a dead-square front fence. Spend your time there. It pays you back on every cut.

Calibrate for dead-on 90 degrees
Use the five-cut method. It is fast and proven.
- Cut a strip on each edge of a test panel while rotating it between cuts.
- Rip a thin final slice. Measure the difference between its two ends.
- If the ends differ, adjust one end of the fence. A tiny paper shim goes a long way.
Repeat until the slice has the same width end to end. This is the key step in how to make a table saw crosscut sled that stays square over time. Re-check after a week to confirm it held.
Safety best practices when using your sled
A sled makes the saw safer, but you still need care.
- Wear safety glasses and hearing protection.
- Keep hands behind the front fence during cuts.
- Never cut stock that rocks on the base. Add a backer block or clamp.
- Stand left of the blade path.
- Let the blade stop before you pull the sled back.
- Support large panels with outfeed or a helper.
These habits matter as much as learning how to make a table saw crosscut sled itself.
Helpful upgrades and accessories
Small upgrades add speed and accuracy.
- Flip stop on T-track for repeat cuts.
- Micro-adjust stop using a screw for fine sizing.
- Replaceable fence face with fresh zero-clearance edge.
- Toggle clamps to hold narrow parts.
- A second, small sled for trim and picture frames.
Pick the few that match your work. Your plan for how to make a table saw crosscut sled can grow with your needs.
Maintenance, troubleshooting, and common mistakes
Keep it true and smooth.
- Wax runners and base every few weeks.
- If runners get tight, plane or sand a hair.
- If the base warps, store the sled flat or hang it by the rear fence.
- If the fence drifts out of square, loosen, re-shim, and retighten.
- Avoid using soft, cupped plywood for the base.
I once used a bowed fence blank. It cost me an afternoon of fixes. Now, when I plan how to make a table saw crosscut sled, I pick the straightest stock first. It saves time and nerves.
Cost, time, and smart alternatives
You can build this sled from shop scraps. If you buy parts, expect a modest cost.
- Cost: about 20 to 60 dollars, depending on parts.
- Time: 2 to 4 hours, plus a few test cuts.
- Alternative: Store-bought sleds work well but cost more.
- Another route: A smaller “trim” sled and a larger “panel” sled for cabinets.
For most woodworkers, learning how to make a table saw crosscut sled is the best mix of cost, fit, and quality.
Frequently Asked Questions of how to make a table saw crosscut sled
What size should my crosscut sled be?
Aim for 24 by 30 inches for general work. Go larger for cabinets and smaller for trim and picture frames.
What material is best for the base?
Flat 3/4 inch Baltic birch or MDF works well. Pick the flattest sheet you can find and keep it dry.
How tight should the runners fit?
They should slide smooth with no side play. If they bind, sand or plane them a hair and wax them.
Do I need T-track and a flip stop?
No, but they help for repeat cuts. You can add them later after you dial in square.
How do I know my fence is square?
Use the five-cut method and measure the final strip. Shim the fence until the strip is the same width at both ends.
Can I use only one runner?
Yes, for small sleds one runner can work. For larger sleds, two runners give better stability.
What blade works best with a sled?
A sharp 40 to 50 tooth combo blade is a good start. For fine crosscuts, use a high-tooth ATB blade.
Conclusion
A well-built sled turns your table saw into a precision crosscut machine. You learned how to make a table saw crosscut sled, how to square the fence, and how to add smart upgrades. Keep it simple, check it often, and it will pay you back on every project.
Build yours this weekend, make three test cuts, and dial it in. Share your results, ask questions, or subscribe for more shop-grade jigs and tips.