
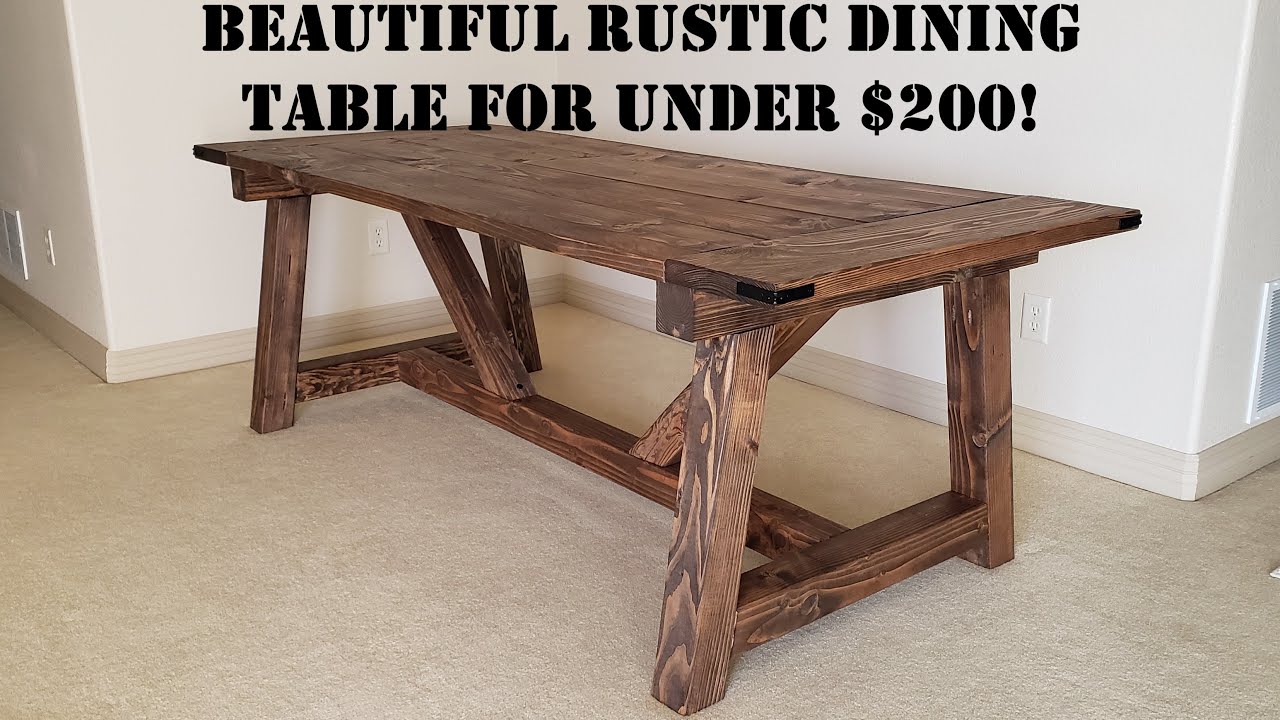
Cut, square, and sand 4x4s, then join them to aprons with strong mortise and tenon.
If you want to learn how to make table legs out of 4×4 with pro-level results, you are in the right place. I have built dozens of tables for homes and shops.
In this guide, I break down each step in clear terms and share proven tips. You will get a complete plan from wood selection to finish and attachment.
Tools and materials
Before we dive into how to make table legs out of 4×4, gather the right tools. Good prep saves time and gives clean results.
Tools
- Miter saw or circular saw with a square guide
- Table saw or hand plane for squaring edges
- Drill or drill press with wood bits and countersink
- Chisels, marking gauge, and mallet
- Random-orbit sander with 80, 120, 180, 220 grits
- Clamps, square, tape measure, and pencil
- Optional: router with chamfer or round-over bit, planer, taper jig
Materials
- 4×4 lumber, kiln-dried, straight, and free of twist
- Wood glue rated for interior use
- Screws, dowels, or bolts, based on joinery choice
- Threaded inserts if using bolt-on legs
- Finish: stain, polyurethane, hardwax oil, or paint
- Sanding sealer or pre-stain conditioner for softwoods
Safety gear
- Eye and ear protection
- Dust mask or respirator
- Work gloves
I suggest avoiding pressure-treated 4×4 for indoor furniture. It is heavy, damp, and hard to finish well. Kiln-dried fir, pine, poplar, or oak are solid choices.

Plan your design and dimensions
Clear design is the first step in how to make table legs out of 4×4. Start with table height, top thickness, and style.
Heights and sizes
- Dining table: 29 to 30 inches overall. Subtract the top thickness for leg length.
- Desk: 29 inches overall.
- Coffee table: 16 to 18 inches.
- Workbench: 34 to 38 inches, based on your height.
Style choices
- Straight square legs for a clean, sturdy look.
- Tapered legs for a lighter, modern feel.
- Splayed legs for mid-century style and wider stance.
- Turned legs if you have a lathe.
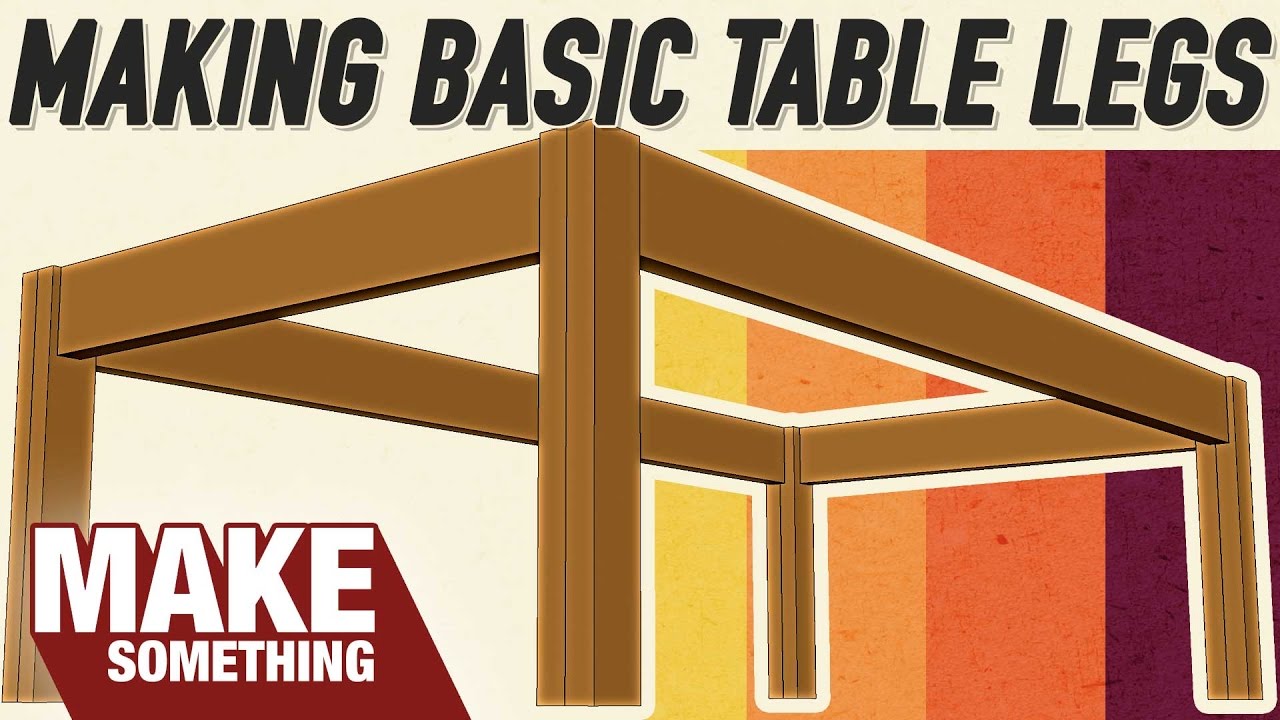
Structure basics
- Aprons are the rails that tie legs together. Use 3.5 to 5 inch wide aprons.
- Leave 3 inches of leg above the apron for a refined look.
- Maintain at least 3.5 inches of apron height for strength.
This design step shapes every cut that follows. It also helps you decide the best method for how to make table legs out of 4×4 with the joinery you prefer.
Step-by-step: build square 4×4 legs
This is a simple, strong method. It needs basic tools and gives clean, square results.
- Select and prep the wood
- Pick straight 4x4s without twist. Sight down each edge at the store.
- Let the wood acclimate in your shop for a few days.
- Mark the best faces to be front and outside.
- Cut to rough length
- Add 1 inch to the final leg length. Cut all legs the same.
- Use a stop block for repeatable cuts.
- Square the edges
- Many 4x4s have rounded corners. Rip a tiny amount on the table saw to square them.
- No table saw? Use a sharp hand plane to remove the round over. Check with a square.
- Final cut to length
- Trim each leg to final length. Cut ends clean and square.
- Label top and bottom to keep orientation.
- Add joinery layout
- Mark apron height and mortise or dowel locations.
- Keep all marks consistent across legs.
- Shape the edges
- Break sharp edges with a 1/8 inch round-over or a light chamfer.
- This prevents splinters and looks refined.
- Sand smooth
- Sand 80, 120, 180, then 220 grit. Wipe dust between grits.
- Raise the grain with a damp cloth, let dry, then sand 220 again. This gives a silky finish.
Pro tip from my shop: When I learned how to make table legs out of 4×4, I rushed sanding and could see swirl marks under stain. Slow down at 120 grit. It sets the stage for a great finish.
Strong ways to attach 4×4 legs
Attachment is where most tables fail. Choose the method that fits your tools and skill. Each one works well when done right. These steps anchor how to make table legs out of 4×4 that feel rock solid.
Mortise and tenon
- Cut a 1 to 1.5 inch deep mortise in each leg. Tenon the apron ends to match.
- This is classic, strong, and clean. It resists racking.
Dowels or loose tenons
- Drill two or three dowel holes per apron end. Use a jig for perfect alignment.
- Domino or loose tenons speed things up. Great strength with less chiseling.
Pocket screws with corner blocks
- Screw pocket holes in apron ends. Glue and screw to legs with hidden blocks inside corners.
- Fast and effective for indoor tables. Use quality screws and glue.
Threaded inserts and bolts
- Install metal inserts in the legs. Bolt the aprons into the inserts from inside.
- Great for knock-down tables. Easy to move and service.
Metal brackets
- Use heavy corner brackets. Bolt into legs and aprons.
- Not as pretty but swift for work tables and shop benches.
Glue tips
- Dry fit all parts before glue. Clamp without stress.
- Use even glue coverage. Wipe squeeze-out fast.
Style upgrades: tapered, splayed, or turned legs
Once you know how to make table legs out of 4×4, try styles that add flair.
Tapered legs
- Mark from the inside face, starting 4 inches down from the top to the foot.
- Cut taper with a taper jig on the table saw. Or use a hand plane with a batten.
- Keep the outer faces untapered to show crisp lines.
Splayed legs
- Add a 5 to 10 degree angle at the top of the leg where it meets the apron.
- Use angled blocks or cut the apron ends to match.
- Check stance and clearance so chairs fit well.
Turned legs
- Rip the 4×4 to a rough blank if your lathe cannot handle full size.
- Turn smooth and leave a square shoulder at the top for joinery.
- Sand on the lathe for a glass-like surface.
Edge treatments
- Chamfer bottoms to reduce chipping.
- Add a 1/8 inch reveal between apron and leg for a shadow line.
These methods keep the core idea of how to make table legs out of 4×4 while giving your table a custom look.
Finish that lasts
A good finish is simple and durable. It also seals end grain, which drinks finish fast.
Prep
- For pine or fir, use a pre-stain conditioner. It cuts blotching.
- Vacuum dust and wipe with a tack cloth.
Finishes
- Stain then oil-based polyurethane for classic color and high durability.
- Water-based polyurethane for low odor and fast dry.
- Hardwax oil for a natural, warm feel and easy repair.
- Paint over primer for a solid color look.
Steps
- Apply thin coats. Let each coat dry, then sand 320 grit.
- Seal the leg bottoms. This reduces moisture wicking from floors.
- Let cure fully before heavy use.
When I teach how to make table legs out of 4×4, I suggest testing finish on offcuts first. You will see the real tone and sheen before you commit.
Strength, stability, and level feet
4×4 legs are strong. Most tables will never test their limits. Good joinery and a flat stance matter more than brute strength.
Basics for stability
- Keep aprons close to the top to resist racking.
- Use diagonal corner blocks inside for extra stiffness.
- Add a stretcher between legs for long tables if needed.
Leveling
- Floors are rarely flat. Add felt pads or adjustable furniture feet.
- Check for wobble after the top is installed.
Load notes
- A 4×4 softwood leg can handle common household loads with ease.
- For very heavy tops, add a center support or wider aprons.
These steps are key in how to make table legs out of 4×4 that stay steady for years.

Cost, time, and common mistakes
Planning saves money and time. Here is what to expect when learning how to make table legs out of 4×4.
Typical costs
- Lumber: moderate, but choose kiln-dried.
- Joinery: low if using pocket screws, higher with mortise and tenon.
- Finish: varies by product and sheen.
Time estimate
- Milling and cuts: 1 to 2 hours.
- Joinery: 2 to 4 hours, based on method.
- Sanding and finish: 1 to 2 days with dry times.
Mistakes to avoid
- Using wet or pressure-treated 4×4 indoors.
- Skipping grain acclimation.
- Rushing sanding, which shows under stain.
- Poor alignment when drilling dowels or pocket holes.
I once skipped dry fitting a mortise set. The clamp-up shifted and locked out square. Now I dry fit every joint, every time. That habit changed how to make table legs out of 4×4 in my shop.
Maintenance and repair tips
Long life needs simple care. These habits protect your work.
Care
- Wipe spills at once. Water stains fast on open grain.
- Renew felt pads yearly.
- Dust with a soft cloth. Avoid harsh cleaners.
Touch-ups
- For dents, steam with a damp cloth and a hot iron to raise fibers.
- For scratches, use matching wax sticks or blend with tinted finish.
- Tighten bolts or screws each season as wood moves.
These steps support your plan for how to make table legs out of 4×4 that age well.
Frequently Asked Questions of how to make table legs out of 4×4
What is the actual size of a 4×4?
Most 4×4 lumber measures 3.5 by 3.5 inches. Plan cuts and joinery with this in mind.
Can I use pressure-treated 4x4s for indoor furniture?
I do not recommend it. They are often wet, heavy, and hard to finish well.
What is the best joinery for 4×4 table legs?
Mortise and tenon is the gold standard. Dowels, loose tenons, or inserts with bolts also work well.
How tall should my legs be for a dining table?
Aim for 29 to 30 inches overall height. Subtract the tabletop thickness to get leg length.
How do I stop wobble on a finished table?
Add corner blocks, check level, and use felt pads or adjustable feet. Tighten joinery if needed.
Can I make tapered legs without a table saw?
Yes. Use a hand plane with a straight batten as a guide. Go slow and check with a straightedge.
What finish holds up best to daily use?
Oil-based or water-based polyurethane is very durable. Hardwax oil is easier to refresh later.
How to make table legs out of 4×4 with only basic tools?
Cut square with a miter or circular saw. Use pocket screws with corner blocks and sand well.
Will 4×4 legs look too chunky?
Not if you add light tapers, chamfers, or a small reveal at the apron. Finishes in medium tones also soften the look.
Can I attach 4×4 legs directly to the top?
Use aprons or metal brackets for strength. Direct attachment invites racking and wobble.
Conclusion
You now know how to make table legs out of 4×4 from start to finish. Choose dry, straight wood, square it, and pick solid joinery. Add style with simple tapers or chamfers, then seal it with a durable finish.
Set a weekend to build one set of legs. Keep the process simple and steady. If this guide helped, share it, subscribe for more woodworking deep dives, or leave a comment with your next project idea.