
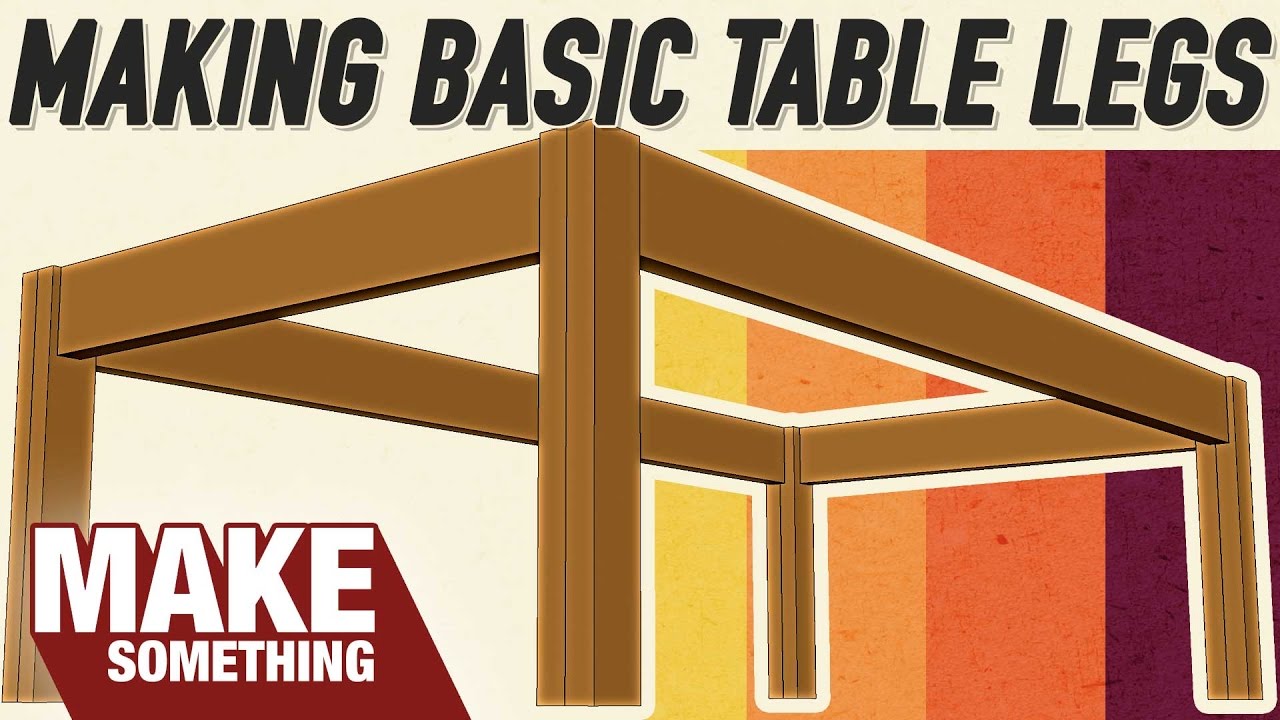
Rip or laminate 2x4s, glue, clamp, square, then join and finish stable legs.
You can build strong, stylish legs in a weekend with basic tools. This guide shows how to make table legs out of 2×4 with clear steps, pro tips, and safety notes.
I have built dozens of legs for dining tables, desks, and benches. Follow along and you will learn how to make table legs out of 2×4 that look clean, feel solid, and last for years.

Why build table legs from 2x4s?
2x4s are cheap, strong, and easy to find. They take glue well and hold screws tight. They also plane and sand fast. This makes them ideal for new woodworkers.
You can style them in many ways. Go square and modern. Add a taper for a light look. Wrap them as an L to hide end grain. When you know how to make table legs out of 2×4, you can match many table styles at low cost.
If you want to learn how to make table legs out of 2×4, start with good stock. Pick straight boards with tight grain. Avoid twist and big knots in the leg area. A little care here saves you time later.

Tools and materials
You can make clean legs with simple gear. Fancy tools help, but they are not required.
Tools
- Tape measure and pencil for layout and checks.
- Speed square for right angles.
- Circular saw or miter saw for cuts.
- Table saw or edge guide for ripping.
- Clamps for glue-ups. Four to eight are ideal.
- Sander with 120, 150, and 180 grit discs.
- Drill and driver for screws and pocket holes.
- Pocket hole jig or chisel set if doing joinery.
- Safety glasses, ear protection, and dust mask.
Materials
- 2×4 studs, kiln dried if possible.
- Wood glue rated for interior use.
- Screws, pocket hole screws, or bolts.
- Wood filler and sandpaper.
- Finish such as polyurethane, paint, or oil.
- Optional figure-8 fasteners or Z-clips for tabletop movement.
- Optional leveling feet or pads.
These basics are enough for how to make table legs out of 2×4 with strong results.

Planning and measurements
Great legs start with a plan. Match the leg size to the table use.
Typical heights
- Dining table height is 29 to 30 inches.
- Desk height is 28 to 30 inches.
- Coffee table height is 16 to 18 inches.
- Entry table height is 30 to 34 inches.
Leg thickness sets the look. Laminated 2x4s make a chunky 3×3 leg. An L-shaped leg looks clean and hides any end grain. Tapered legs feel lighter. Decide the style before you cut.
Mind the overhang and apron. Aim for 2 to 4 inches of top overhang beyond the aprons. Leave knee room of at least 24 inches clear. Note how to make table legs out of 2×4 that do not rack. Stretchers or aprons help keep the base square.
Let the wood acclimate for two days in the room. This reduces twist and movement after the build.
Step-by-step: how to make table legs out of 2×4
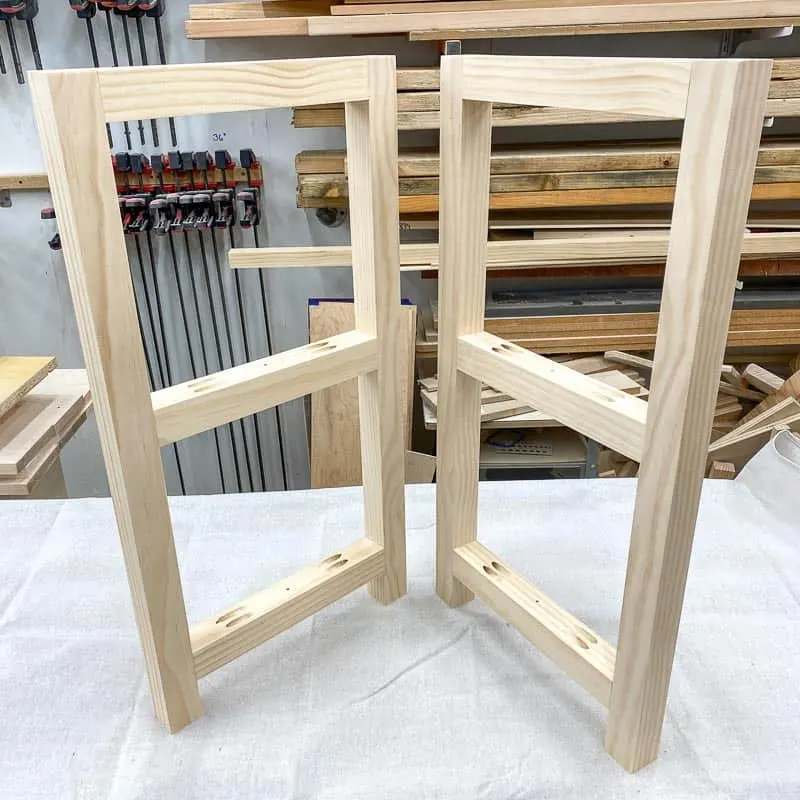
This method makes a solid 3×3 laminated leg. It is fast and strong. It is a great way to learn how to make table legs out of 2×4 with basic tools.
- Select and mark
- Pick straight 2x4s. Sight down the edge for bow or twist.
- Mark the cleanest 30 inches of each board for dining legs. Add extra for final trim.
- Rip and prep
- Rip off rounded edges on the table saw. Two light rips make glue lines tight.
- If you lack a table saw, use a straight edge with a circular saw. Go slow for clean edges.
- Glue and clamp
- Spread glue on mating faces. Use a thin, even coat.
- Stack two or three pieces to reach about 2.5 to 3 inches square.
- Clamp from both sides. Use cauls or scrap to keep faces flush.
- Wipe squeeze-out with a damp rag. Let cure per the glue label, often 30 to 60 minutes in clamps and 24 hours before heavy work.
- Square and cut to length
- Remove clamps. Scrape dry glue beads.
- Square one end on the miter saw. Cut the other end to final height.
- Check both faces with a square. Plane or sand if needed.
- Clean the faces
- Sand with 120 grit to remove mill marks.
- Move to 150 grit, then 180 grit. Keep edges crisp or add a small ease.
- Style options
- For a taper, mark the inside faces from 3 inches at top to 1.75 to 2 inches at bottom over 18 inches. Cut with a taper jig or a guided saw. Sand smooth.
- For an L-leg, glue two 2x4s at 90 degrees to form an L. This hides end grain on two faces.
- Drill for joinery
- Choose your joinery to the apron. Pocket holes are quick. Mortise and tenon is classic. Brackets are simple.
- Pre-drill for screws to prevent splits.
- Dry fit and adjust
- Assemble the base without glue. Check for square. Adjust cuts if gaps show.
- Once fit is good, attach legs to aprons and set the base aside.
- Finish
- Apply pre-stain conditioner on softwood if staining.
- Stain or paint as desired. Seal with two to three coats of clear finish. Sand lightly between coats.
Repeat for all four legs. With this process, you now know how to make table legs out of 2×4 that are square, smooth, and strong.

Joinery and attachment options
Good joinery keeps the table quiet and solid. Choose what fits your tools and time.
Pocket holes
- Fast and strong when used with glue and tight aprons.
- Place holes on the inside faces. Use coarse-thread screws for softwood.
Mortise and tenon
- Very strong for heavy tables.
- Cut a 1 to 1.5 inch long tenon on the apron. Fit it into a mortise in the leg.
Half-lap or bridle joints
- Strong and simple to cut with a saw and chisel.
- Offers a big glue surface.
Metal brackets or knockdown fasteners
- Great for flat-pack builds.
- Use with figure-8 or Z-clips to allow for top movement.
Top attachment
- Wood moves across the grain. Use figure-8s, Z-clips, or slotted holes in the aprons.
- This prevents splits and keeps the top flat.
These options all work for how to make table legs out of 2×4. Pick one that matches your skill and style.

Strength, weight, and stability
A 3×3 laminated leg can handle a heavy dining top. Good glue bonds are often stronger than the wood. Add solid aprons and you get a rigid frame.
Improve stability with simple moves
- Use stretchers between legs for big tables.
- Add a slight splay of 5 to 7 degrees for benches to resist tipping.
- Install leveling feet to solve uneven floors.
- Add cross braces under long tops to reduce flex.
If you wonder how to make table legs out of 2×4 that do not wobble, focus on square cuts, tight glue-ups, and proper joinery.

Sanding, finishing, and style upgrades
2x4s are softwood. They can blotch under stain. Use a conditioner and test on scraps first.
Simple finish plan
- Sand to 180 grit. Remove dust with a tack cloth.
- Apply stain or dye. Wipe off extra within a few minutes.
- Seal with water-based polyurethane for a clear, hard coat. Two to three thin coats work well.
Style ideas
- Ease the edges with a light roundover for a soft touch.
- Add a taper on inner faces to keep a strong look at the top and a light foot.
- Paint the legs and leave the top natural for a modern mix.
These steps help you master how to make table legs out of 2×4 that look refined, not rustic by accident.
Cost, sourcing, and sustainability
Store-bought legs can cost a lot. Building with 2x4s costs little and fits custom sizes. You also control the finish and feel.
Buy smart
- Choose kiln-dried studs if you can. They move less.
- Avoid large knots near joinery areas.
- Check moisture. Aim for about 8 to 12 percent.
Think green
- Use FSC or similar certified lumber when possible.
- Reclaim framing lumber. Remove nails and plane it clean.
When you research how to make table legs out of 2×4, price your materials, time, and finish. You still come out ahead in most cases.
Frequently Asked Questions of how to make table legs out of 2×4
How strong are 2×4 table legs?
Laminated 2×4 legs are very strong for home use. With good joinery, a four-leg base supports heavy hardwood tops.
Do I need a table saw to make the legs?
No. A circular saw with a straight edge works. A table saw makes rip cuts and tapers easier and faster.
What glue should I use for laminating 2x4s?
Use a quality wood glue rated for interior or exterior. Apply a thin coat, clamp well, and let it cure per the label.
How do I stop wobble in my table?
Check for square, tighten joinery, and add stretchers. Install leveling feet to handle uneven floors.
Can I make tapered legs from 2x4s?
Yes. Use a taper jig or a straight edge guide. Cut the taper and sand smooth to remove saw marks.
What finish works best on softwood legs?
Water-based polyurethane is clear and tough. A conditioner before stain helps avoid blotches.
How do I attach legs so the top can move?
Use figure-8 fasteners, Z-clips, or slotted holes. These allow seasonal wood movement and prevent cracks.
Conclusion
You now have a clear, simple plan to build strong, stylish legs with basic tools. You learned how to make table legs out of 2×4, from lumber prep to joinery and finish. Small steps matter most: straight stock, tight glue-ups, and square cuts.
Pick a style, gather your tools, and build one leg today. The next three will go faster. Share your build, ask questions, or subscribe for more project guides and tool tips.