
Build a sealed melamine box, apply release, level, then cast epoxy.
If you want to learn how to make epoxy table mold the right way, you’re in the right place. I’ve built dozens for live-edge river tables, coffee tables, and bar tops.
This guide shows how to make epoxy table mold from planning to demolding, with pro tips, simple steps, and safety notes. Read on to avoid leaks, reduce waste, and get a flat, glass-like pour on your first try.
Tools and Materials You’ll Need
You cannot learn how to make epoxy table mold without the right supplies. Start with a good base, nonstick surfaces, and strong seals. The list below is what I use in my own shop.
Essentials for the mold
- Melamine-coated particle board or HDPE sheets for the base and walls
- Wood screws and pilot bit for assembly
- 100% silicone caulk for sealing seams
- Sheathing tape (Tuck Tape or Tyvek tape) or high-quality packing tape
- Paste wax or commercial release agent
Measuring, cutting, and leveling
- Circular saw or table saw, measuring tape, and square
- Drill/driver and countersink bit
- Clamps or corner braces
- Bubble level and shims
Safety and cleanup
- Nitrile gloves, safety glasses, and organic vapor respirator
- Shop towels, isopropyl alcohol, and trash bags
- Heat gun or torch for epoxy bubbles later on
Optional but helpful
- HDPE corner blocks to keep corners square
- Hot glue gun for quick tack before screws
- Denatured alcohol for leak testing
If you are focused on how to make epoxy table mold on a budget, melamine and silicone give you the best cost-to-performance. HDPE is best for reuse and easy releases.
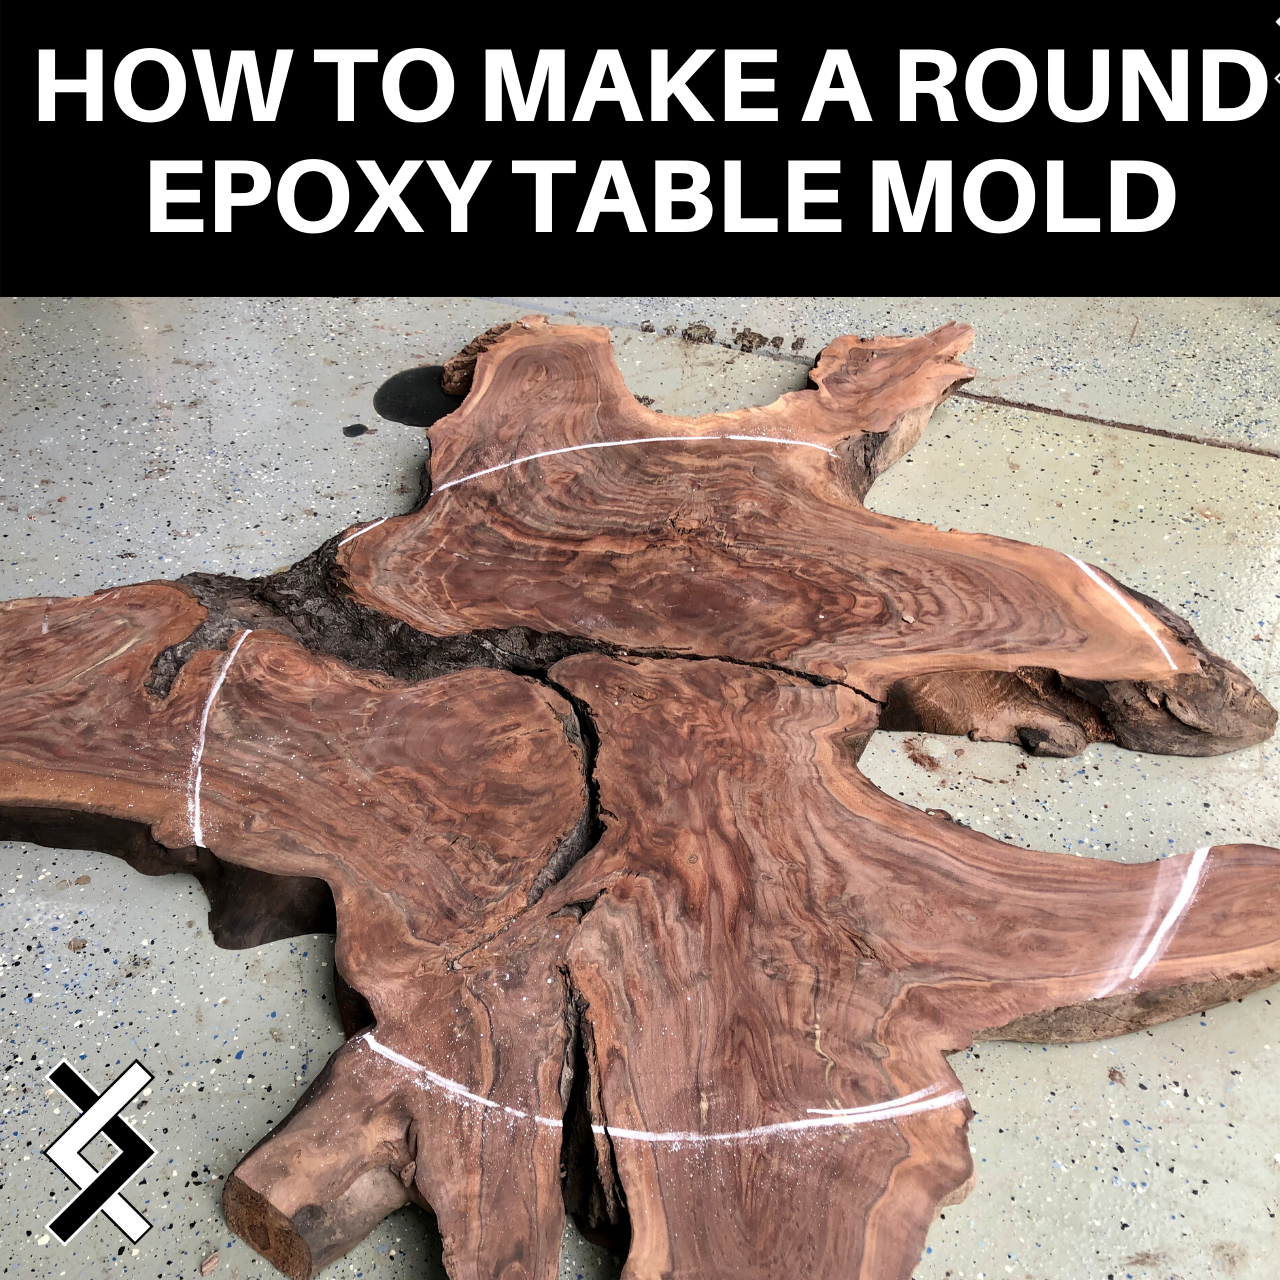
Plan the Mold: Size, Shape, and Tolerances
Good planning is half of how to make epoxy table mold. Lock in dimensions, clearances, and pour depth before you cut. Keep the mold simple and square.
Key planning steps
- Add at least 0.5 inch clearance around the slab or boards. This allows tape and clamps.
- Use walls 0.5 to 1 inch taller than the planned pour. This protects against overfill.
- Confirm epoxy system limits. Many deep-pour epoxies allow 1 to 2 inches per pour.
- Calculate epoxy volume. Length × width × height, minus wood volume, plus 10% extra.
I once ignored pour limits and got a hot, wavy cure. Respect the chemistry. If needed, pour in layers. This is central to how to make epoxy table mold for stable results.

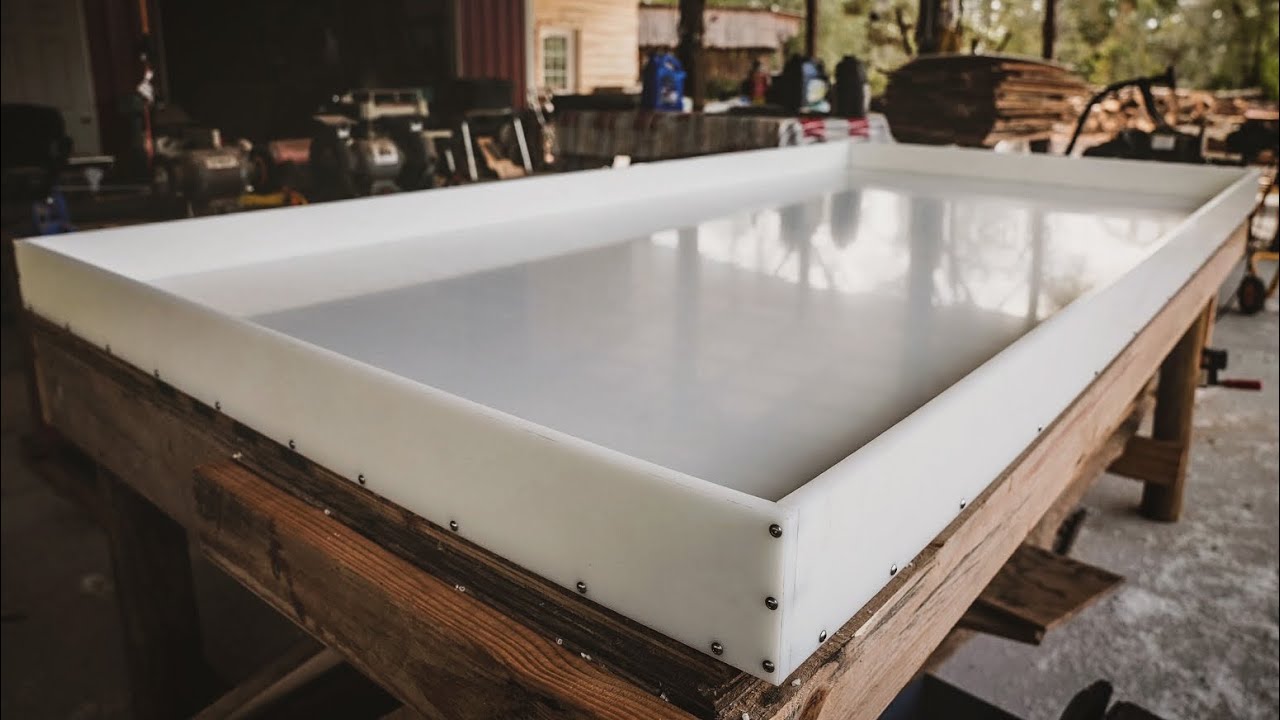
Build the Base and Walls
Here is the build process I use when teaching how to make epoxy table mold. Clean cuts and straight walls keep the pour flat.
Step-by-step
- Cut the base to your final size plus extra space for clamps.
- Rip the wall pieces so they are taller than your pour height.
- Tape the inside face of each wall with sheathing tape. Overlap edges by 0.5 inch.
- Pre-drill the base to avoid splitting and to pull walls tight.
- Screw walls into the base from the outside. Keep edges flush and square.
Tips that matter
- Countersink screws so tape and epoxy do not snag.
- Add a second row of screws for longer sides.
- Use corner braces for larger molds to prevent bowing.
With experience, how to make epoxy table mold becomes a repeatable process. Tight joints reduce silicone use and avoid bulges.
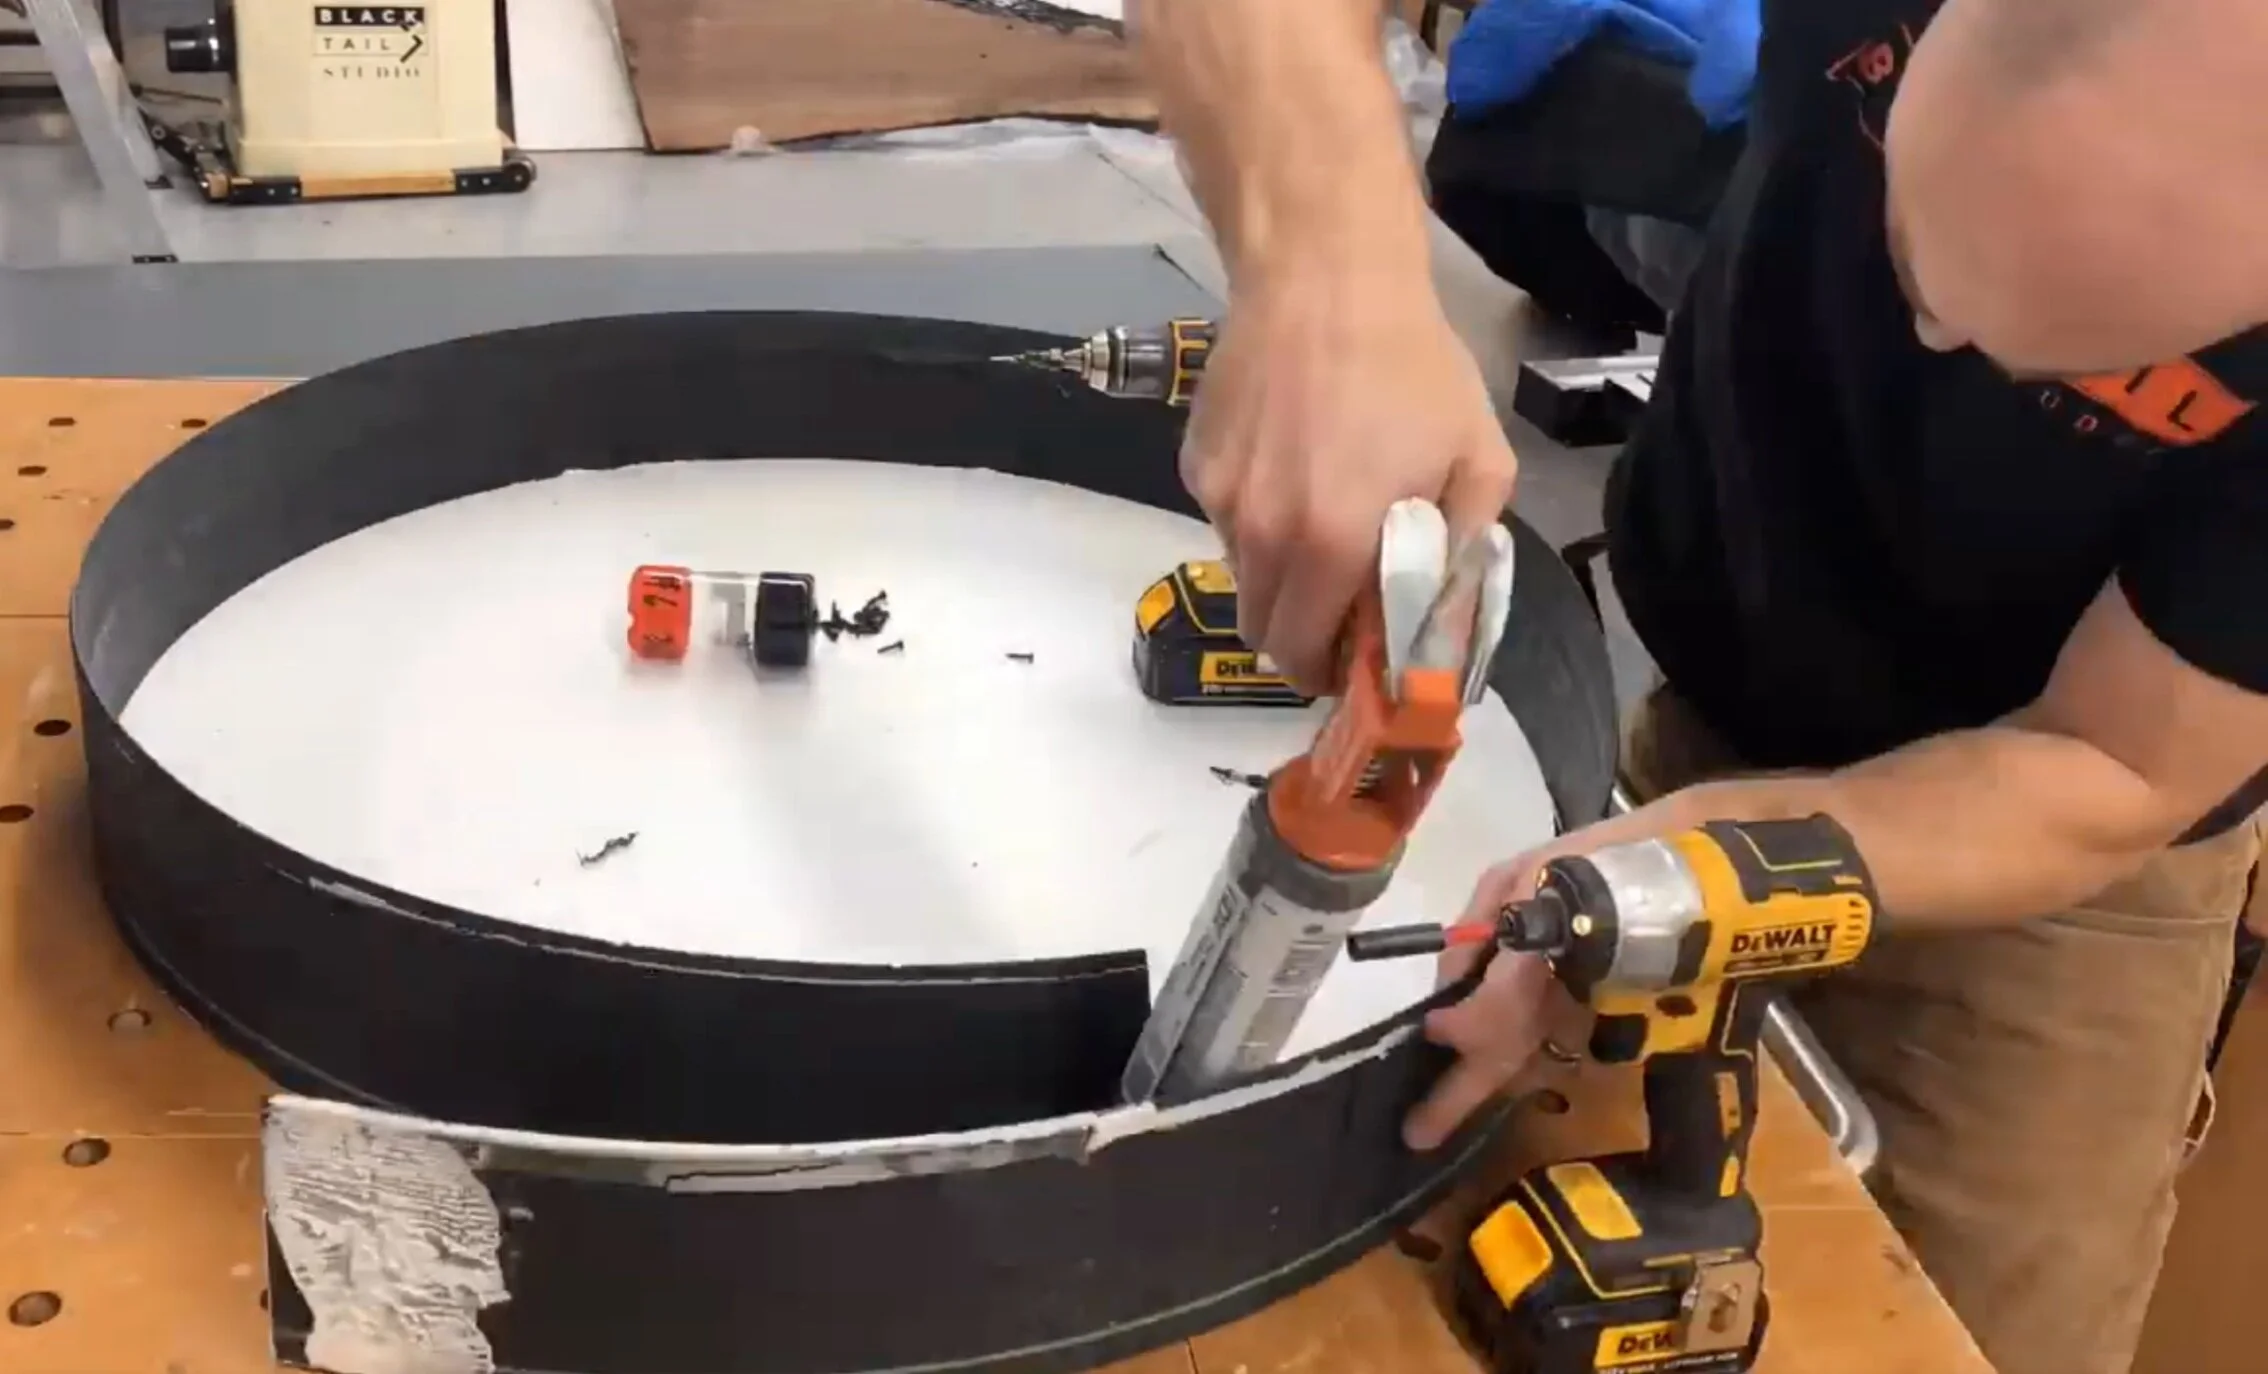
Seal, Tape, and Apply Release
Sealing is the heart of how to make epoxy table mold that does not leak. Do not rush this step.
What to seal and why
- Run a clean, even bead of 100% silicone along every seam.
- Tool the bead with a soapy finger for a neat radius.
- Tape the top edges of the walls to stop epoxy drips bonding the lid line.
Release methods
- Paste wax on melamine helps a lot. Two thin coats, buffed.
- HDPE does not need release, but wax still helps cleanup.
- PVA or commercial release agents add extra insurance on tricky surfaces.
I learned to wait overnight for silicone to fully cure. This patience is a key part of how to make epoxy table mold that holds when filled.
Level, Square, and Reinforce
Even a perfect mold fails if it is not level. If you care about how to make epoxy table mold like a pro, make it flat and strong.
Simple checks
- Place the mold on a flat bench. Check level in both directions.
- Shim the base until the bubble is centered.
- Measure diagonals to confirm the mold is square.
Reinforcement moves
- Clamp long sides to stop them from bowing outward.
- Add temporary cross-braces if the mold is wider than 24 inches.
- Use a few screws through the outside corners if needed.
A dead-level mold gives an even pour line. This is one of the most important steps in how to make epoxy table mold.

Leak Test Before Casting
Leak testing is a small time cost that can save a river of epoxy. It is also a smart step in how to make epoxy table mold for the first time.
Fast test methods
- Pour a cup of water or denatured alcohol into the mold.
- Watch for damp spots under seams for 5 to 10 minutes.
- Mark the leaks, drain, dry, and reseal with silicone or hot glue.
Extra insurance
- Tape the outside seams with sheathing tape after sealing.
- Re-test if you made large repairs.
I once skipped this and lost a quart of epoxy to a hairline gap. Do not make that mistake.

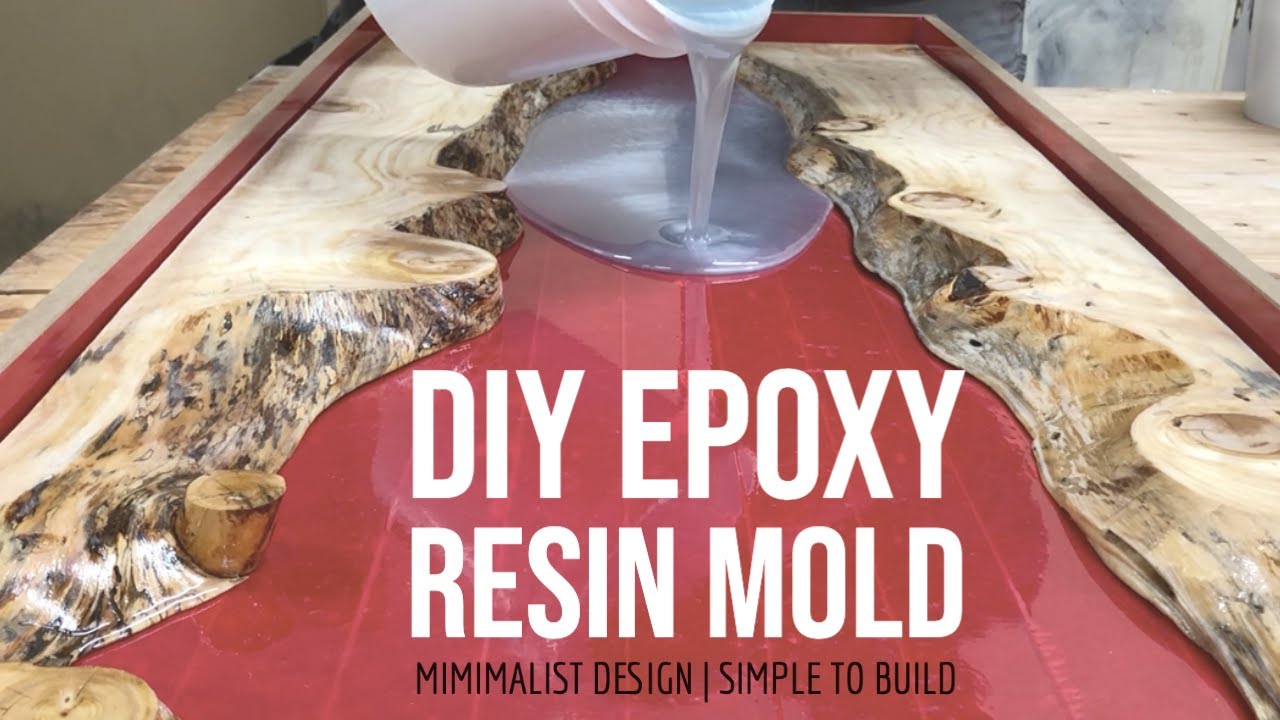
Pouring Prep: Temperature, Ratios, and Depth
How to make epoxy table mold is only complete when you plan for the pour. Epoxy is sensitive to heat, mass, and mix accuracy.
Control the setup
- Keep the shop at 70 to 75°F with low humidity.
- Warm resin bottles to reduce bubbles if the shop is cool.
- Dry fit your wood and clamp it in place to stop floating.
Mixing rules
- Follow the exact resin-to-hardener ratio by volume or weight.
- Mix slowly for 2 to 3 minutes, scrape the sides and bottom.
- Rest the mix for 2 minutes to let bubbles rise.
Depth and timing
- Respect maximum pour depth for your product.
- For deep river tables, pour in stages. Let each layer gel before the next.
- Clear bubbles with a heat gun in quick passes.
These steps sit at the center of how to make epoxy table mold work under real shop conditions.
Demolding and Cleanup
A clean release is the final test of how to make epoxy table mold well. Do not rush the cure.
When to demold
- Wait for a full cure, often 24 to 72 hours, depending on epoxy type.
- Check hardness with a fingernail. It should not dent.
Demolding steps
- Back out screws. Gently wedge a plastic putty knife at corners.
- Tap the walls with a rubber mallet to break the seal.
- Lift off the base. Do not pry with metal tools near edges.
Cleanup and reset
- Peel tape. Scrape silicone residue with a plastic scraper.
- Wipe melamine with isopropyl alcohol. Re-wax for the next build.
After a solid demold, you have proven you know how to make epoxy table mold from start to finish.

Reuse, Storage, and Cost Tips
If you plan how to make epoxy table mold for many builds, think about longevity and cost per project.
Ways to reuse
- HDPE molds last much longer than melamine and release easier.
- Replace tape and renew wax each time.
- Store flat to avoid warping of the base.
Cost savers
- Standardize a few sizes to reuse walls and bases.
- Keep offcuts for smaller coasters, end tables, or test blocks.
- Buy silicone and tape in bulk.
With a small system, how to make epoxy table mold becomes quick, consistent, and affordable.
Common Mistakes and How to Avoid Them
You can master how to make epoxy table mold by steering clear of a few traps. Here are the most common fails I see.
Mistakes to avoid
- Thin walls that bow under pressure. Use thicker material or add braces.
- Skipping silicone cure time. Give it a night when you can.
- Ignoring level. Even a 1° tilt leads to a sloped surface.
- Overfilling. Stop 0.25 inch below the wall top to avoid spill risk.
- Pouring too deep at once. Follow product limits to avoid exotherm.
My rule: slow is smooth, and smooth is fast. It applies to every step of how to make epoxy table mold.
Safety Essentials
Epoxy work is safe when done with care. Safety is part of how to make epoxy table mold in a professional way.
Protection steps
- Wear nitrile gloves, long sleeves, and eye protection.
- Use a respirator with organic vapor cartridges for mixing and pouring.
- Ventilate the space and avoid heating with open flames.
- Clean skin with soap and water, not solvents.
Product data sheets list hazards and limits. Read them before you start.
Frequently Asked Questions of how to make epoxy table mold
What material is best for a reusable epoxy table mold?
HDPE is the best for reuse because epoxy does not bond to it. Melamine works well too, but it may degrade after several uses.
How tall should the mold walls be for a river table?
Make the walls at least 0.5 to 1 inch taller than your final pour height. This margin prevents spillover and helps clamp the slab.
Do I need a release agent if I use melamine?
Yes, a release agent or paste wax helps ensure a clean release. It also reduces cleanup and protects the surface for future molds.
How do I stop leaks in the mold?
Seal all seams with 100% silicone and tape the outside corners. Leak test with water or alcohol before mixing epoxy.
Can I pour the full depth at once?
Only if the epoxy is rated for that depth. If not, pour in layers to avoid overheating and surface waves.
How long should I wait before demolding?
Most deep-pour epoxies need 24 to 72 hours for a safe demold. Check your product guide and ensure the surface is hard and not tacky.
What is the best way to calculate epoxy volume?
Multiply length by width by height for the void, then subtract wood volume. Add about 10% for losses and sealing the surface.
Conclusion
You now have a clear, repeatable system for how to make epoxy table mold that is square, sealed, and level. Plan your size, build with melamine or HDPE, seal every seam, test for leaks, and respect epoxy limits.
These steps remove guesswork and produce a flat, glass-like finish. Put this guide to work on your next build this week.
Start with a small test mold, dial in your process, and scale up to river tables with confidence. Want more shop-proven tips? Subscribe, bookmark this guide, or leave a comment with your questions and results.