
Build a light table with a shallow box, bright LED strip, and frosted acrylic.
If you want a clean, even glow for tracing, quilting, film, or crafts, this guide shows you how to make a light table with pro results at home.
I have built many versions for studios and classrooms, and I will teach you clear steps, smart parts, safe wiring, and simple fixes that work in real life.
What Is a Light Table and Why Build One?
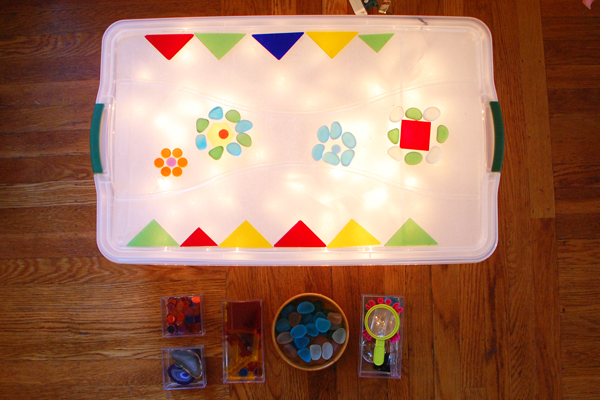
A light table is a flat, lit surface that makes paper or film glow from below. It helps you trace art, align vinyl, check negatives, and piece quilts with precision. You can buy one, but making your own lets you pick the size, the brightness, and the budget.
DIY also gives you control over color quality and build strength. When you learn how to make a light table yourself, you can repair it, upgrade it, and trust the result. That is why many artists and makers prefer a custom build.
Tools and Materials You Will Need
You can tailor the parts to your size. The list below is for a common 12 by 18 inch build. Scale up as needed. When planning how to make a light table, aim for quality parts where it matters most.
- LED strip or panel Choose daylight white 5000 to 6500 K and high CRI 90 or more. Pick 12 V or 24 V consistent with your power supply. Density of 120 LEDs per meter reduces hot spots.
- Power supply Use a matched DC supply. Allow 20 to 30 percent headroom above your LED draw.
- Dimmer Inline PWM dimmer rated for your current. High frequency reduces flicker on camera.
- Top surface Frosted acrylic or polycarbonate, 3 to 6 mm thick. Cast acrylic diffuses better than extruded.
- Frame and box Wood, aluminum angle, or a shadow box frame. Aim for 1.5 to 3 inches internal depth.
- Diffuser layer Optional extra diffuser film or parchment to smooth light.
- Reflective liner White paint, white foam board, or reflective foil.
- Hardware Wood glue, screws, corner brackets, wire connectors, heat shrink, cable clips.
- Safety gear Eye protection, dust mask when cutting, and a small fire safe cable route.
- Optional features Hinged top, magnetic steel sheet under the acrylic, ruler grid overlay, feet, handle, or battery pack.

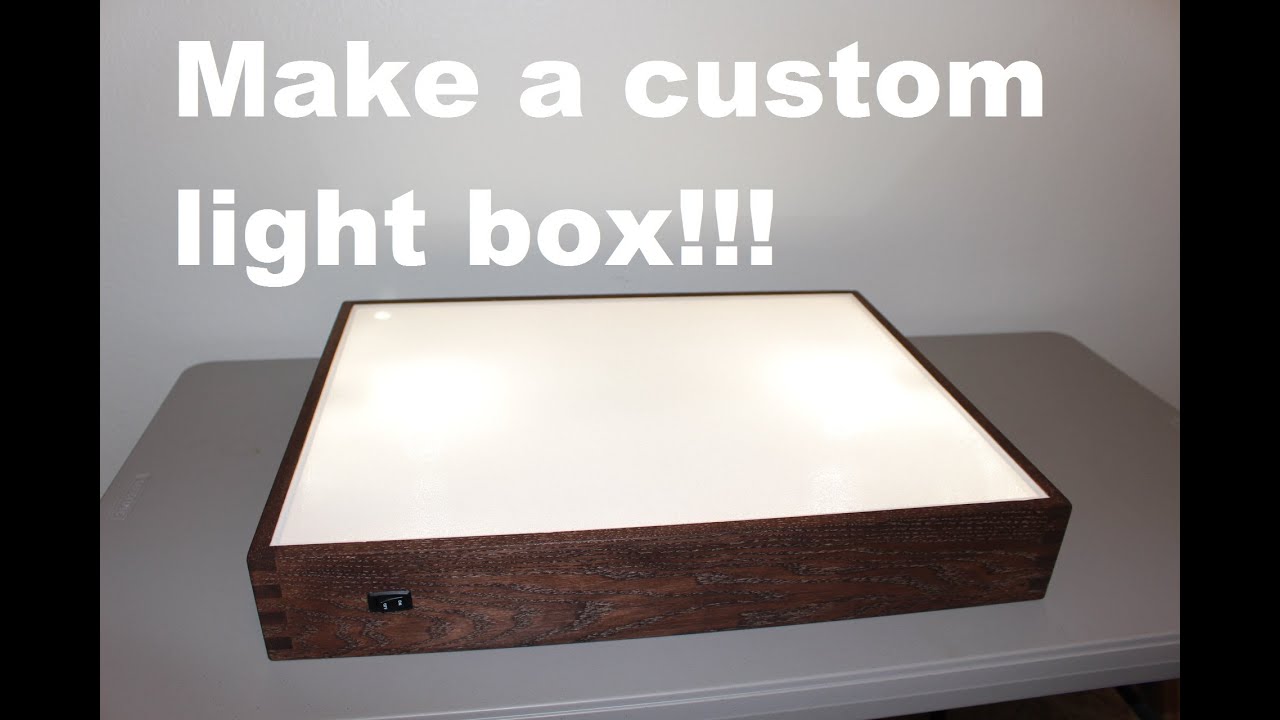
Step-by-Step: How to Make a Light Table at Home
- Plan the size
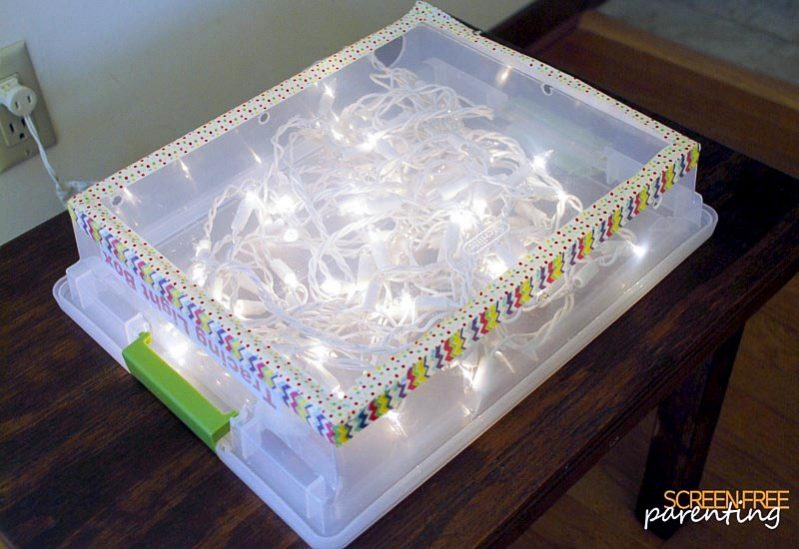
Choose your work size. A3 is popular, and 12 by 18 inches is handy. Add at least 1 inch of margin inside the frame for wiring and diffuser spacing. - Build or prep the box
Use a shallow wood box or a sturdy picture frame. Make sure the walls are square and the surface is flat. Sand edges and predrill screw holes. - Paint the interior white
White walls give better light bounce and evenness. Use matte white paint for best diffusion. Let it dry fully before wiring. - Lay out the LED pattern
Plan neat rows with even spacing. Leave space for the dimmer and the power jack. For strips, stagger rows to avoid lines under the top. - Install the LEDs
Clean the base and stick the strips with firm pressure. Use cable clips for strain relief. Solder joins for reliability, and match polarity. - Wire the dimmer and power
Connect LED positive and negative to the dimmer output. Connect the dimmer input to the DC jack. Test with the supply before you close the box. - Add a diffuser layer
Place a thin diffuser sheet or parchment above the LEDs. Stay clear of the LED solder points. Check for even glow with the dimmer at mid and high. - Fit the frosted acrylic top
Rest it on the frame rabbet or add cleats inside. Ensure the top is snug but removable for service. Avoid scratches by peeling the film last. - Add ventilation and feet
Drill small vent holes on the sides if the box is sealed. Add rubber feet so the table does not slide. Route the cable with a grommet to protect it. - Final test and finish
Power on and dim from low to high. Check for flicker, hot spots, or dead segments. Mark the on and off position and add a grid overlay if you like.
I use this exact sequence when I teach how to make a light table in workshops. Simple checks at each step save rework later.

Power, Brightness, and Color Quality
Aim for even light that does not strain your eyes. For tracing on printer paper, 1000 to 2000 lux at the surface is enough. For thick watercolor paper, go higher, or dim up only when needed.
Color quality matters for art and photos. LEDs with CRI 90 or more keep colors true. A daylight range of 5000 to 6500 K makes whites look clean. When you plan how to make a light table for photography, a high CRI is worth the cost.
Estimate power with a simple method. Add the total strip length and multiply by the strip wattage per meter. For example, five meters at 10 watts per meter need 50 watts. Use a 60 to 75 watt supply for headroom.
Diffusion and Evenness: Avoid Hotspots
Even light needs distance between LEDs and the top. A gap of 1.5 to 3 inches helps the light blend. Add a white interior and a diffuser layer to smooth it more.
Check for banding before you close the box. Dim up and down while you look at a blank sheet. If you see lines, add another diffuser sheet or increase the gap a little. When you learn how to make a light table the first time, you will see how small changes can fix hot spots fast.

Safety, Maintenance, and Storage
Use a matched DC supply and keep wires tidy. Protect solder joints with heat shrink. Add strain relief so the power cord does not pull on the dimmer.
Acrylic scratches, so clean with a soft cloth and mild soap. Avoid glass cleaners with ammonia. Store the table upright to protect the top.
Check the LEDs once a year for loose strips. If the box feels too warm to touch, add more vents or switch to 24 V strips, which run cooler at the same power. Safety is part of how to make a light table you can trust for years.
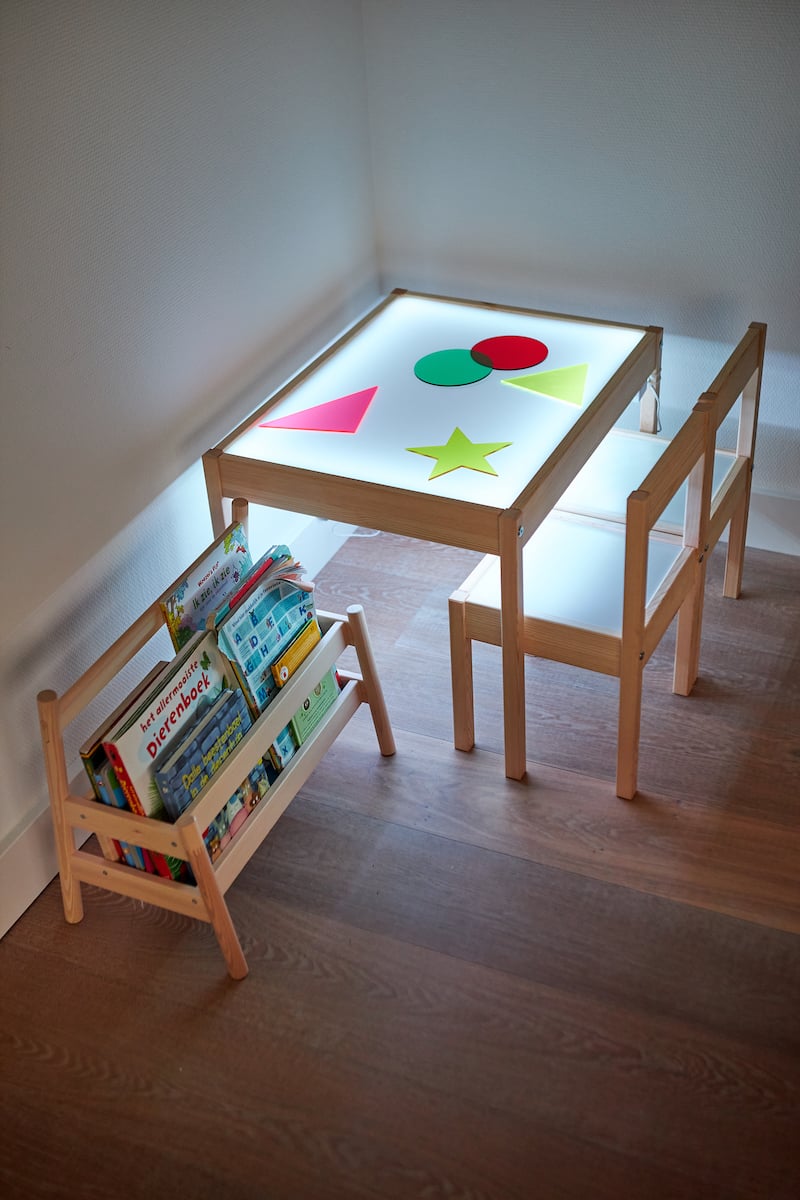
Optional Upgrades and Variations
You can build slim and portable with an edge lit LED panel. It is fast and very even. It costs more but looks sleek on a desk.
Add a magnetic steel sheet under the acrylic. Then use magnets to hold paper stacks. A printed grid helps with alignment. If you need mobile use, add a USB C input with a PD trigger and a battery pack. You can still follow the same core steps of how to make a light table with good results.
Cost Breakdown and Time Estimate
You can keep costs low with smart parts. The price depends on size and finish. Here is a typical range for a 12 by 18 inch build.
- LED strip and dimmer 20 to 40 dollars for high CRI.
- Power supply 15 to 30 dollars based on wattage.
- Acrylic top 15 to 35 dollars depending on thickness.
- Wood frame and hardware 20 to 40 dollars if you build the box.
- Extras 10 to 20 dollars for diffuser, paint, and feet.
Expect three to five hours for a careful first build. Once you know how to make a light table, the next one can take under two hours.
Common Mistakes and How to Fix Them
Gaps and dark edges happen when strips sit too far from the sides. Run a perimeter strip or add reflective tape. This lifts edge brightness.
Flicker on camera often comes from low dimmer frequency. Use a high frequency PWM dimmer or keep brightness near full when filming. Heat build up can lift the acrylic over time. Leave a small gap for airflow and avoid sealing every edge. These fixes are part of my checklist when teaching how to make a light table to new makers.
Use Cases and Workflow Tips
For drawing, tape the original and target sheet at one edge like a hinge. This keeps alignment perfect as you lift and check. A mid level brightness is easier on the eyes.
For quilting, mark seam lines with a thin pen and use low light. It reduces glare on fabric texture. For slides and negatives, add a neutral white card as a mask around the film. If you need color critical work, build how to make a light table with CRI 95 and a stable 5600 K source.
Frequently Asked Questions of how to make a light table
What size should I build for home use?
Most people like 12 by 18 inches for desk work. If you trace large sheets often, step up to 18 by 24 inches.
Can I use glass instead of acrylic?
Yes, but acrylic is lighter and safer. Glass is flatter and more scratch resistant, yet it can break if dropped.
How bright should the LEDs be?
Aim for 1000 to 2000 lux at the surface for paper. Use a dimmer so you can adjust for different media.
Do I need a special power supply?
Use a DC supply that matches your LED voltage and current. Add 20 to 30 percent headroom for safety and long life.
How do I stop hot spots under the acrylic?
Increase the distance between LEDs and the top. Add a diffuser layer and paint the interior white to blend the light.
Is RGB lighting okay for tracing?
It works, but white LEDs with high CRI are better for accurate color. Use RGB only for creative effects.
Conclusion
You now have a clear plan for how to make a light table that fits your work, space, and budget. With the right LEDs, a good diffuser, and safe wiring, you can build a tool that runs cool, looks clean, and lasts for years. Small checks at each step lead to a pro finish.
Set a weekend, gather parts, and start your build. Share your results, ask questions, or subscribe for more hands on maker guides and upgrade ideas.