

Measure, plan, and build sturdy boxes, then trim, paint, and anchor to studs.
If you want to learn how to build built in shelves, you are in the right place. I have planned, built, and installed many built-ins in tight rooms and tricky alcoves.
This guide shows you how to build built in shelves step by step, with tips from real jobs. You will see the full process, clear choices, and the small tricks that make a pro finish.

What You Will Build and Why Planning Matters?
Built-ins look like they grew with the house. They hide gaps, use dead space, and add value. To master how to build built in shelves, you need a plan that fits your room, your style, and your load needs.
Start with the end in mind. What will the shelves hold? Books are heavy. Decor is light. Your answer guides size, span, and wood choice. I once skipped this step and had sag under art books in six months. Planning would have saved a redo.
Design for the space you have, not the space you wish you had. Walls bow. Floors slope. Crown and base vary. You will scribe trim to make it look seamless. That clean look starts with a good plan.
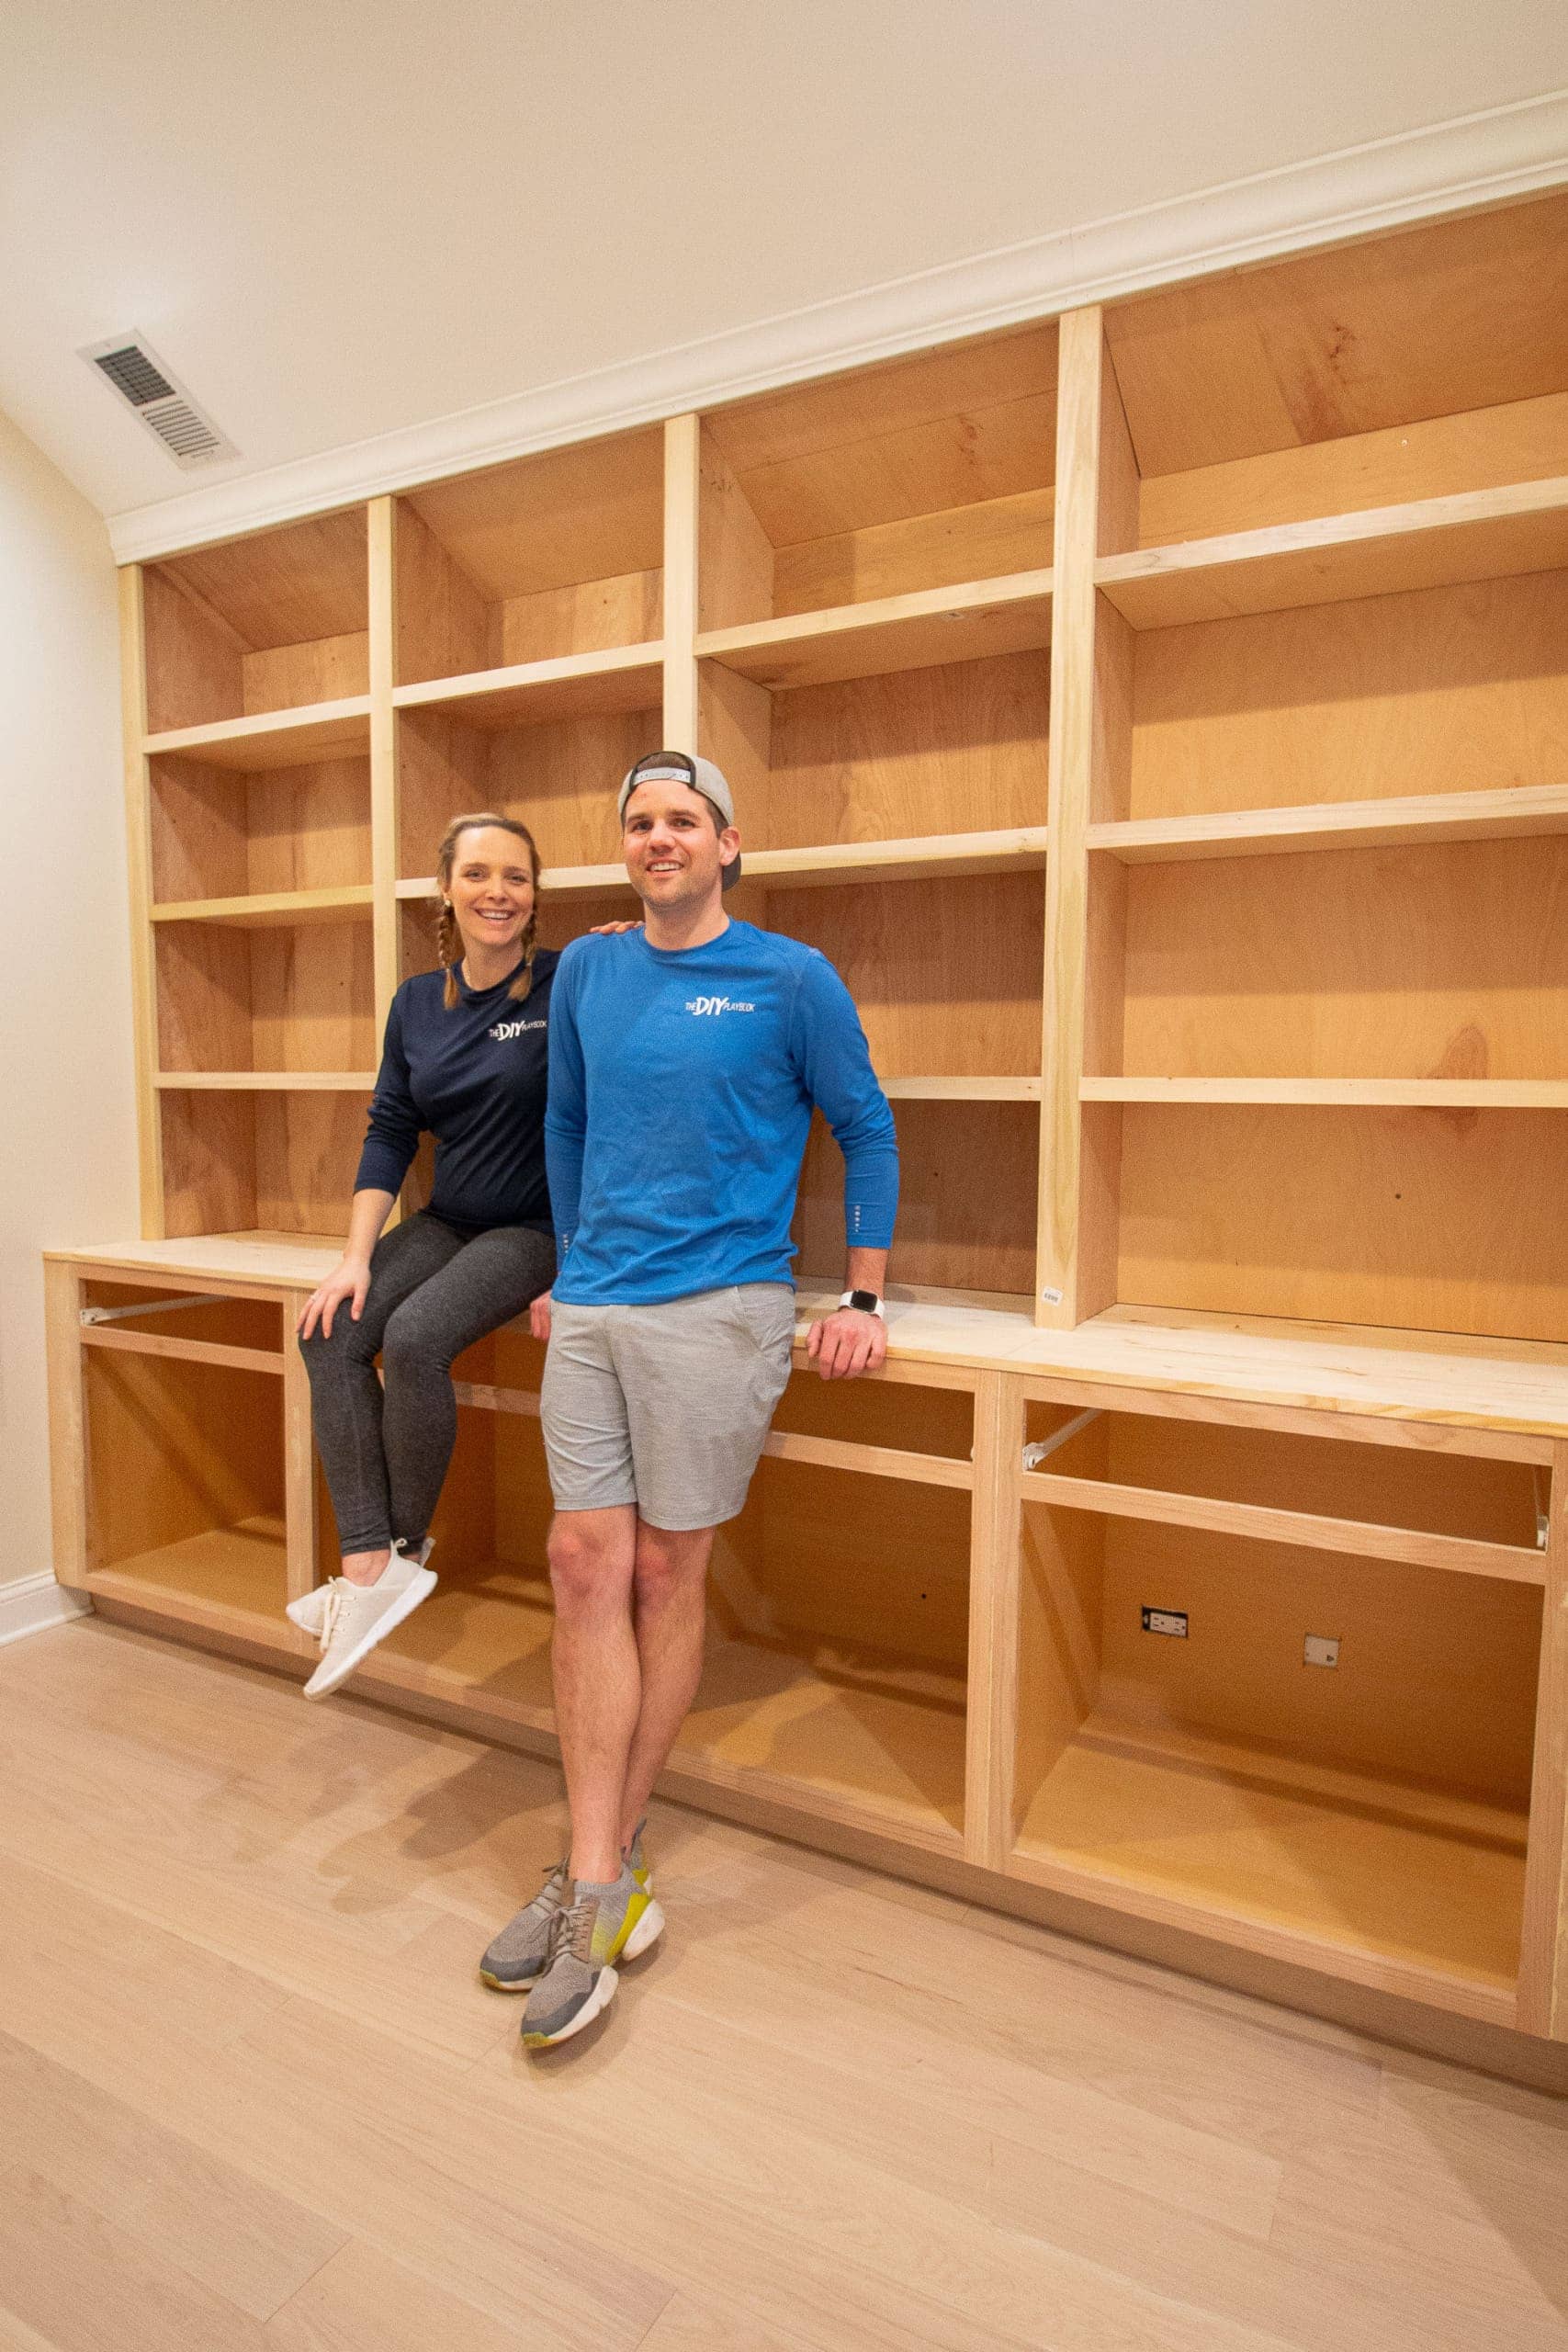
Tools And Materials
The right tools make how to build built in shelves safe and smooth. Keep your kit simple and solid.
Tools:
- Tape measure, pencil, and blue tape for layouts
- Stud finder, level, and square for accuracy
- Circular saw with guide, or a track saw, for clean cuts
- Drill/driver with pocket hole jig and countersink bits
- Brad nailer or finish nailer, plus a hammer
- Random orbit sander, sanding block, and dust mask
- Caulk gun, putty knife, and paint tools
Materials:
- 3/4 inch plywood or MDF for cases and shelves
- 1/4 inch plywood for backs
- 1x poplar or maple for face frames and trim
- Edge banding for plywood shelf fronts
- Wood glue, construction adhesive, and screws
- Shelf pins and sleeves for adjustable shelves
- Shims, painter’s caulk, wood filler, primer, and paint

Measure, Layout, And Design
Good layout is the heart of how to build built in shelves. Measure three times. Cut once. Then test fit dry.
Step-by-step:
- Map the space. Measure height, width, and depth in three spots. Use the smallest number.
- Find studs with a stud finder. Mark them with blue tape from floor to ceiling.
- Check plumb and level. Use a long level. Note any bow in the wall or hump on the floor.
- Sketch your design. Show box sizes, shelf count, and trim. Plan a 1 inch reveal at walls for scribing, if walls are not straight.
- Plan spans. For books, keep 3/4 inch shelves under about 30 inches. Go thicker or add a center divider if wider.
Pro tip: Tape the outline on the wall and floor with blue tape. It makes scale real. Clients love this. I catch issues early every time.
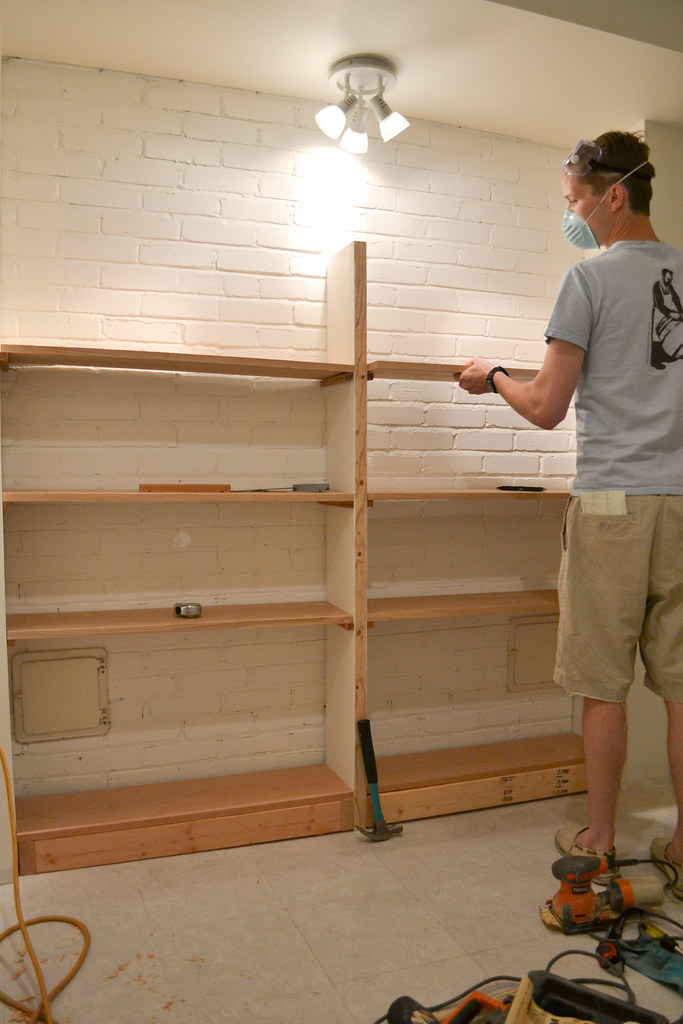
Build The Base And Anchor The Cases
A solid base keeps doors even and shelves level. When you know how to build built in shelves, you start from the ground up.
Build a ladder base:
- Rip 2x or plywood strips for a low platform. About 3 to 4 inches tall.
- Shim to level front to back and side to side.
- Screw the base to the floor or to studs at the wall.
Build and set the cases:
- Cut sides, tops, bottoms, and fixed shelves from 3/4 inch sheet goods.
- Assemble with glue and screws or pocket holes. Keep everything square.
- Add a 1/4 inch back for racking strength. Nail and glue it on.
- Set the cases on the base. Shim tight. Screw into studs through the sides or a cleat.
I always pre-drill near stud marks. I also use a ledger cleat at the top to lock the unit. Tight anchoring is key when you learn how to build built in shelves for real loads.
:max_bytes(150000):strip_icc()/melissalynch-2cef8514cc104ab5a1d01a3c5c861a7c.jpg)
Build The Shelves: Fixed Or Adjustable
Shelves carry the work. When you master how to build built in shelves, you learn to stop sag before it starts.
Choose your shelf style:
- Fixed shelves add strength. Place at thirds, then add adjustables between.
- Adjustable shelves use pin holes. Drill rows with a jig for clean lines.
Make them strong:
- Use 3/4 inch plywood for most loads. Use 1 inch for wide spans or heavy books.
- Add a 1x face or a 1 inch edge band to cut sag and hide layers.
- Keep spans to 24 to 30 inches for books with 3/4 inch stock.
Pro tip: Test a shelf on sawhorses with your heaviest items. If it bows more than 1/8 inch over 30 inches, beef it up.

Add Face Frames, Trim, And Details
Face frames hide seams and make paint jobs sing. This step makes how to build built in shelves look custom.
Face frame basics:
- Use 1x poplar for a crisp paint finish.
- Build a frame on the bench. Pocket screw the rails and stiles.
- Glue and nail the frame to the case. Flush the edges and clamp as needed.
Finish with trim:
- Add base to match the room. Cope or miter to fit.
- Add crown if the unit goes to the ceiling. Use a 1x scribe board behind crown if the ceiling waves.
- Scribe side fillers to the wall. A sharp block plane and patience save the day.
I once faced a 1/2 inch bow in an old plaster wall. A scribed filler made it disappear. That is the craft in how to build built in shelves that look built-in.
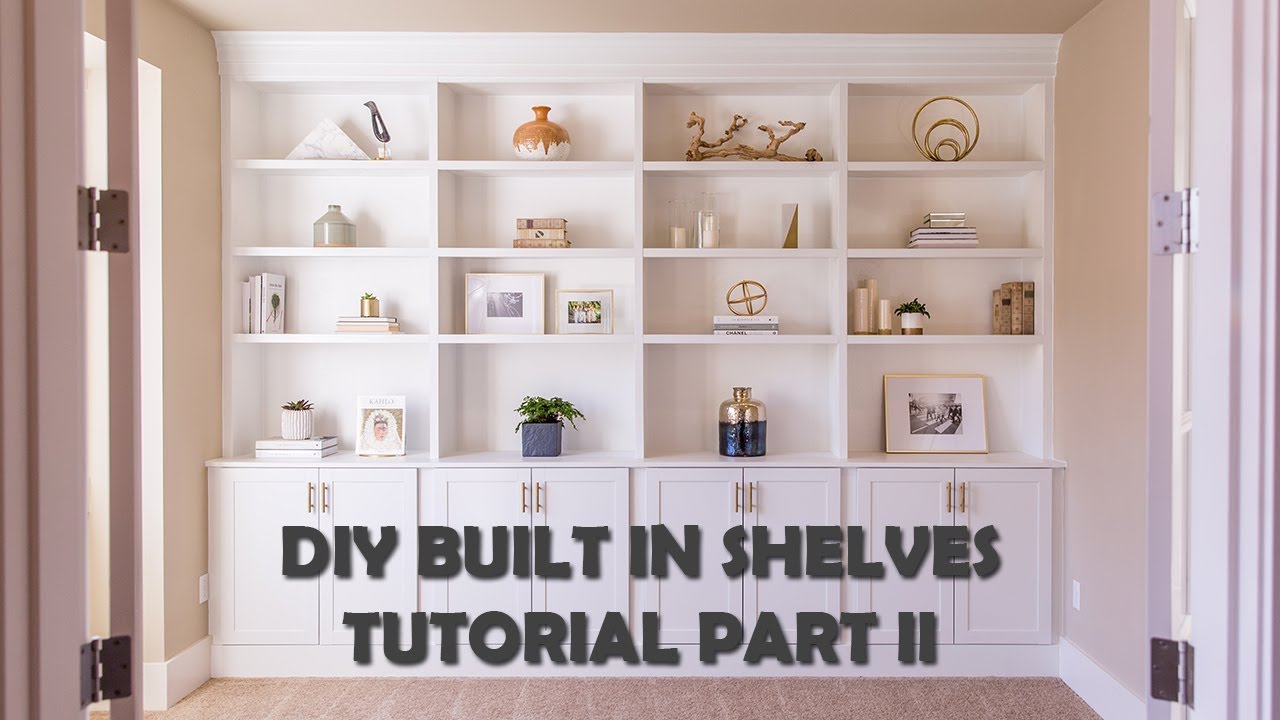
Plan For Electrical, Lighting, And Cords
Lighting lifts the look. Plan it early when mapping how to build built in shelves.
Safe choices:
- Use low-voltage LED strips or puck lights for shelves.
- Route a shallow channel at the back of shelves for wires.
- Leave a chase behind the case or in the base for hidden cords.
If you need a new outlet or switch, hire a licensed electrician. Check local code. I plan boxes so an outlet lands inside a cabinet with a door. No visible cords. Clean, safe, and code-friendly.

Sand, Prime, And Paint Or Stain
A smooth finish sells the work. Many skip this. Do not if you want pro results in how to build built in shelves.
Finish steps:
- Fill nail holes and seams. Let dry. Sand smooth with 150 then 220 grit.
- Caulk tiny gaps at trim. Keep the bead small. Wipe clean.
- Prime all raw wood and all MDF edges. Sand the primer light.
- Use enamel for paint. Two thin coats beat one thick coat.
- For stain, pre-condition softwoods. Apply stain, then clear topcoat.
I label shelves and pins with tape during paint. That saves dings on the final set.
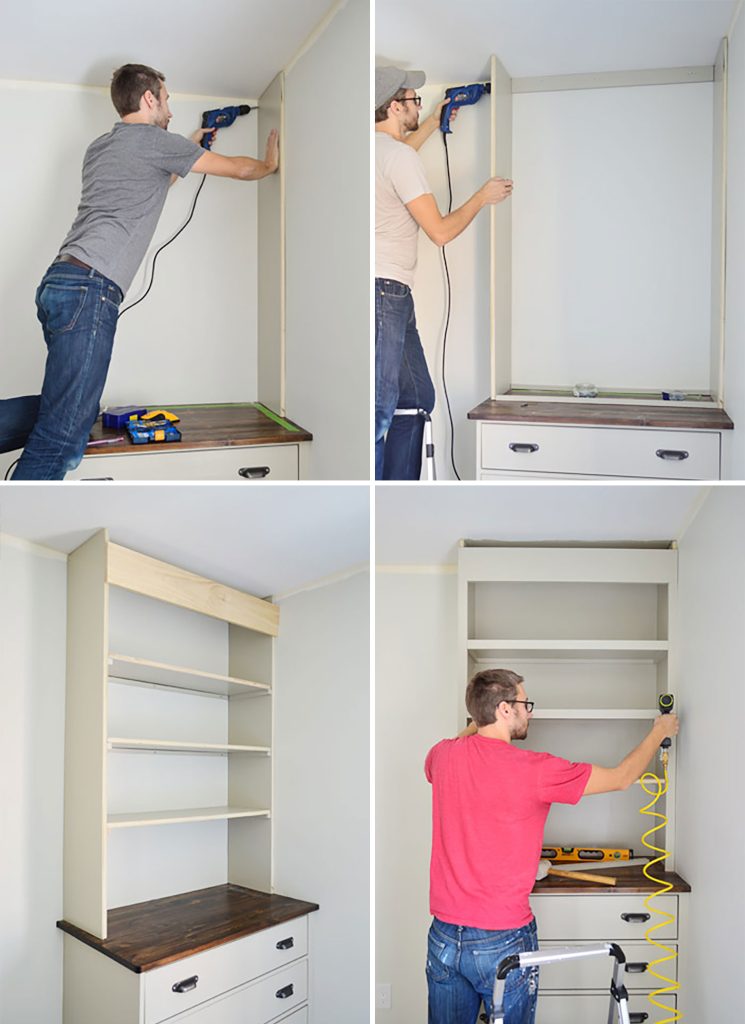
Cost, Time, And Skill Level
You can tailor cost and time once you grasp how to build built in shelves for your space.
Typical ranges:
- Materials for a 6 to 8 foot unit: $300 to $900 with paint-grade wood.
- Tools you may need to buy: $150 to $500, if you lack a saw and nailer.
- Time: A weekend for a basic unit. Two to three weekends for a full wall with trim and paint.
Skill level:
- Beginner to intermediate carpentry is enough.
- Patience and measuring skill matter more than speed.
Common Mistakes And How To Avoid Them
Avoid these traps as you learn how to build built in shelves for the first time.
- Skipping wall checks. Always check for plumb and bow before you cut.
- Over-wide spans. Keep shelves short or add faces to stop sag.
- Weak anchors. Hit studs. Use long screws. Add a top cleat.
- Painting too soon. Let filler and caulk cure. Sand between coats.
- Tight fits without scribe. Leave a small reveal you can plane to fit.
Maintenance And Styling Tips
Care keeps the look fresh and safe. It also shows the smart side of how to build built in shelves.
- Load heavy items low. Keep tall items near studs.
- Add felt pads under decor to protect paint.
- Dust with a soft cloth. Avoid harsh cleaners on enamel.
- Rotate heavy books now and then to even wear.
For styling, mix books with art, plants, and baskets. Use odd-number groupings. Leave breathing room. The shelves should help the room, not crowd it.
Frequently Asked Questions Of How To Build Built In Shelves
What wood is best for paint-grade built-ins?
Use 3/4 inch plywood for cases and shelves, and 1x poplar for face frames. MDF works for panels and doors but needs strong edges and good primer.
How deep should built in shelves be?
For books, 10 to 12 inches works well. For media or decor, 12 to 16 inches gives more room without feeling bulky.
How do I attach built-ins to the wall safely?
Find studs and screw through the case sides or a top cleat. Use shims to keep the case plumb, then drive 2.5 to 3 inch screws into studs.
Can I build built-ins without a table saw?
Yes. A circular saw with a straightedge or track saw gives clean, straight cuts. Use a sharp blade and support sheets well.
How do I stop shelf sag?
Keep spans modest, add a 1x face, or use thicker stock. For heavy books, limit 3/4 inch shelves to about 24 to 30 inches.
Should I use adjustable shelves or fixed shelves?
Use both. Fixed shelves add strength and shape, while adjustable shelves add flexibility for changing items.
Do I need a back on the cabinet?
A 1/4 inch back adds racking strength and makes installation easier. It also gives a clean, paint-ready surface.
Conclusion
You now know how to build built in shelves from plan to paint. The path is simple: measure well, build square boxes, anchor to studs, then finish with care. Small details like scribing and face frames make a custom look.
Pick a wall or an alcove and sketch your first layout today. Start with a simple unit and grow your skills. Share your build, ask questions, or subscribe for more step-by-step guides and pro tricks.