

Build a built in bench by planning, framing, anchoring, and finishing with care.
If you want a lasting bench that looks custom and fits your space, you are in the right place. I have designed and installed many banquettes, mudroom seats, and window benches.
This guide explains how to build a built in bench step by step, from first sketch to final coat. You will learn the basics, the pro tips, and the pitfalls to avoid so your bench is safe, strong, and beautiful.

Project overview and key decisions
Every great bench starts with a plan. Decide the purpose first. Dining banquette, window seat, or mudroom storage all have different needs. Then choose a style. Closed plinth, open toe kick, drawers, or lift-up lids. Map where you will anchor the frame. Studs are key for strength.
Use standard seat sizes. A seat height of 17 to 18 inches works for most people. A seat depth of 16 to 18 inches is comfortable. Add a 1 inch overhang on the front edge. If you want a backrest, aim for a back angle of 100 to 110 degrees and a back height of 12 to 16 inches above the seat.
During layout, check for utilities. Do not cover outlets, HVAC vents, or access panels. If you must span a vent, add a toe-kick grille. If you are on a slab, consider a moisture barrier. If in a rental, confirm that a built-in is allowed.
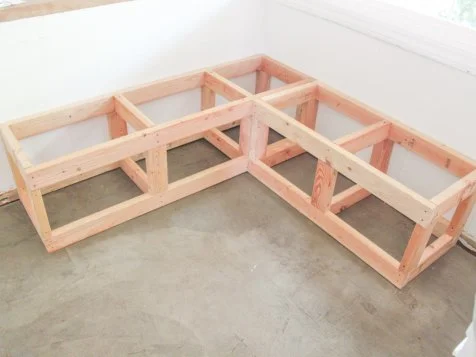
If your main question is how to build a built in bench that lasts, think structure first. A ledger screwed to studs, base boxes on the floor, and cross braces under the seat create a strong frame that resists racking.

Tools and materials
You do not need a full shop to build a clean bench. Simple tools work well if you plan cuts.
Tools
- Tape measure, pencil, and square
- Stud finder and level
- Miter saw or circular saw with guide
- Drill and impact driver
- Pocket-hole jig or countersink bit
- Brad nailer or hammer and finish nails
- Sander, sanding block, and dust mask
- Caulk gun and putty knife
Materials
- 2×4 or 2×3 studs for framing
- 3/4 inch plywood for seat and structure
- 1/2 inch or 3/4 inch plywood or MDF for faces
- 1×2 or 1×3 for face frames and trim
- Construction screws or structural screws
- Pocket screws, wood glue, and construction adhesive
- Wood filler, caulk, primer, and paint or stain
- Hinges for lids or slides for drawers
- Corner brackets, L-brackets, or blocking as needed
Pro tip from the field. I prefer structural screws over long drywall screws. They bite better and are less likely to snap. If you want to know how to build a built in bench that feels rock solid, fastener choice matters.
Measuring, layout, and stud location
Start with a clean room. Pull baseboards and store them if you plan to reuse.
Use these steps to lock in your layout:
- Mark the bench footprint on the floor with painter’s tape.
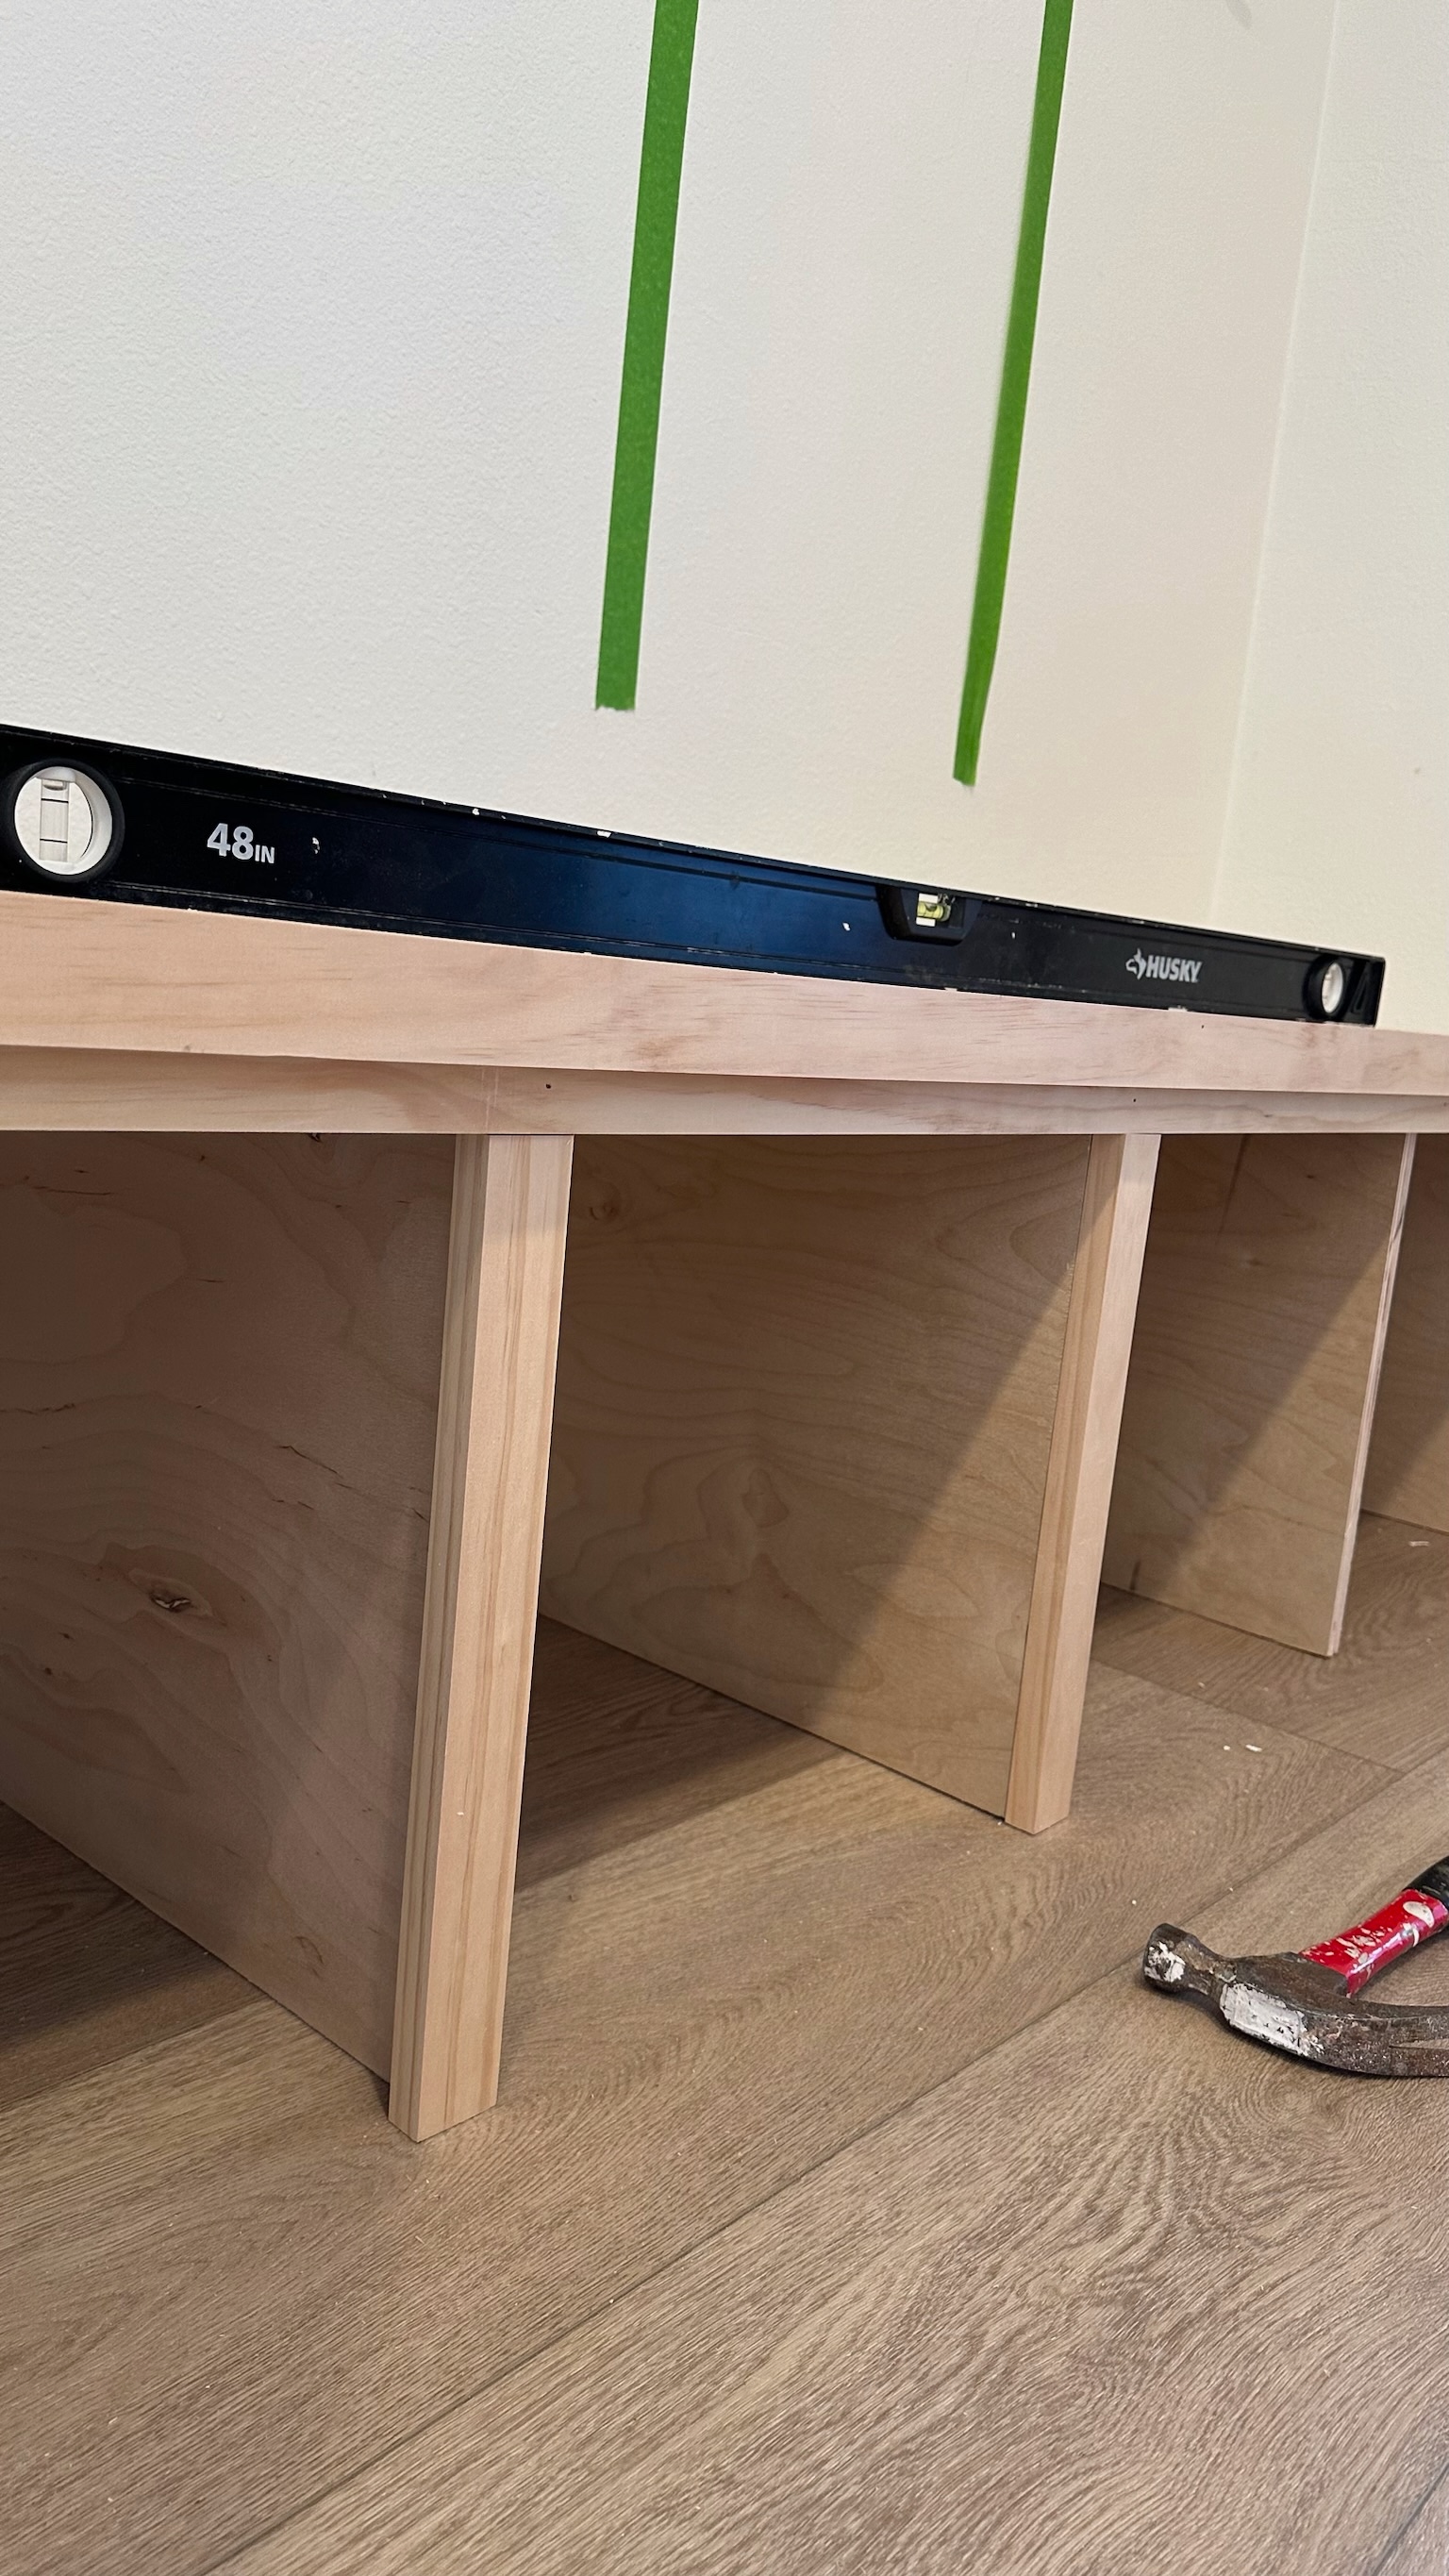
- Mark the finished seat height line on the wall. Use a level.
- Locate studs and mark them. Studs are often 16 inches on center.
- Check for square. Measure diagonals. Adjust the tape lines as needed.
Seat depth depends on your space. If you add a thick cushion, reduce wood depth by the cushion thickness. For example, a 2 inch cushion pairs well with a 15 to 16 inch wood seat.
If you are focused on how to build a built in bench that fits tight spots, measure three times. Old walls bow. Scribe panels for a tight look. Plan end panels to hide gaps.

Step-by-step: framing the base and back
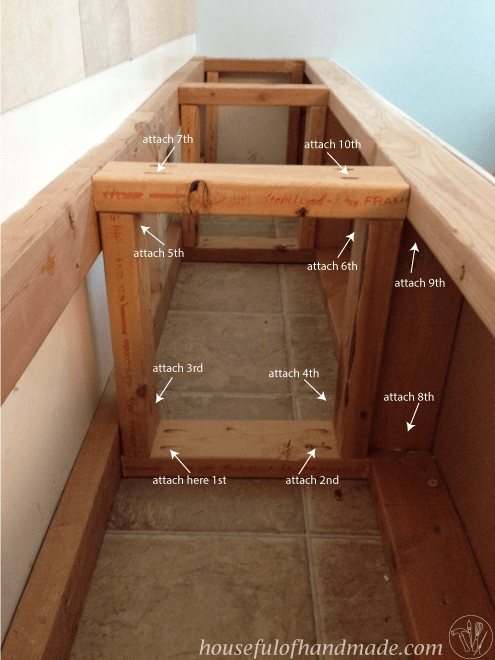
The frame does the heavy lifting. Keep it simple, square, and tied to studs and floor.
Build the base
- Cut base boxes from 2x4s. Make rectangles at your desired width and depth.
- Anchor base boxes to the floor. Use construction adhesive and screws into joists or anchors in concrete.
- Space boxes every 16 to 24 inches to support the seat.
Add the wall ledger
- Screw a straight 2x ledger into studs at your seat height minus finished thickness.
- Use 3 inch structural screws into every stud. Check level often.
Brace the seat
- Add 2x cross braces from the ledger to the front of the base boxes.
- Keep spacing at 12 to 16 inches on center for a stiff seat.
- Add blocking at corners and where hinges or slides will go.
Tie everything together
- Use glue at joints for less squeak.
- Pre-drill hard woods to prevent splits.
- Check for level and square as you go.
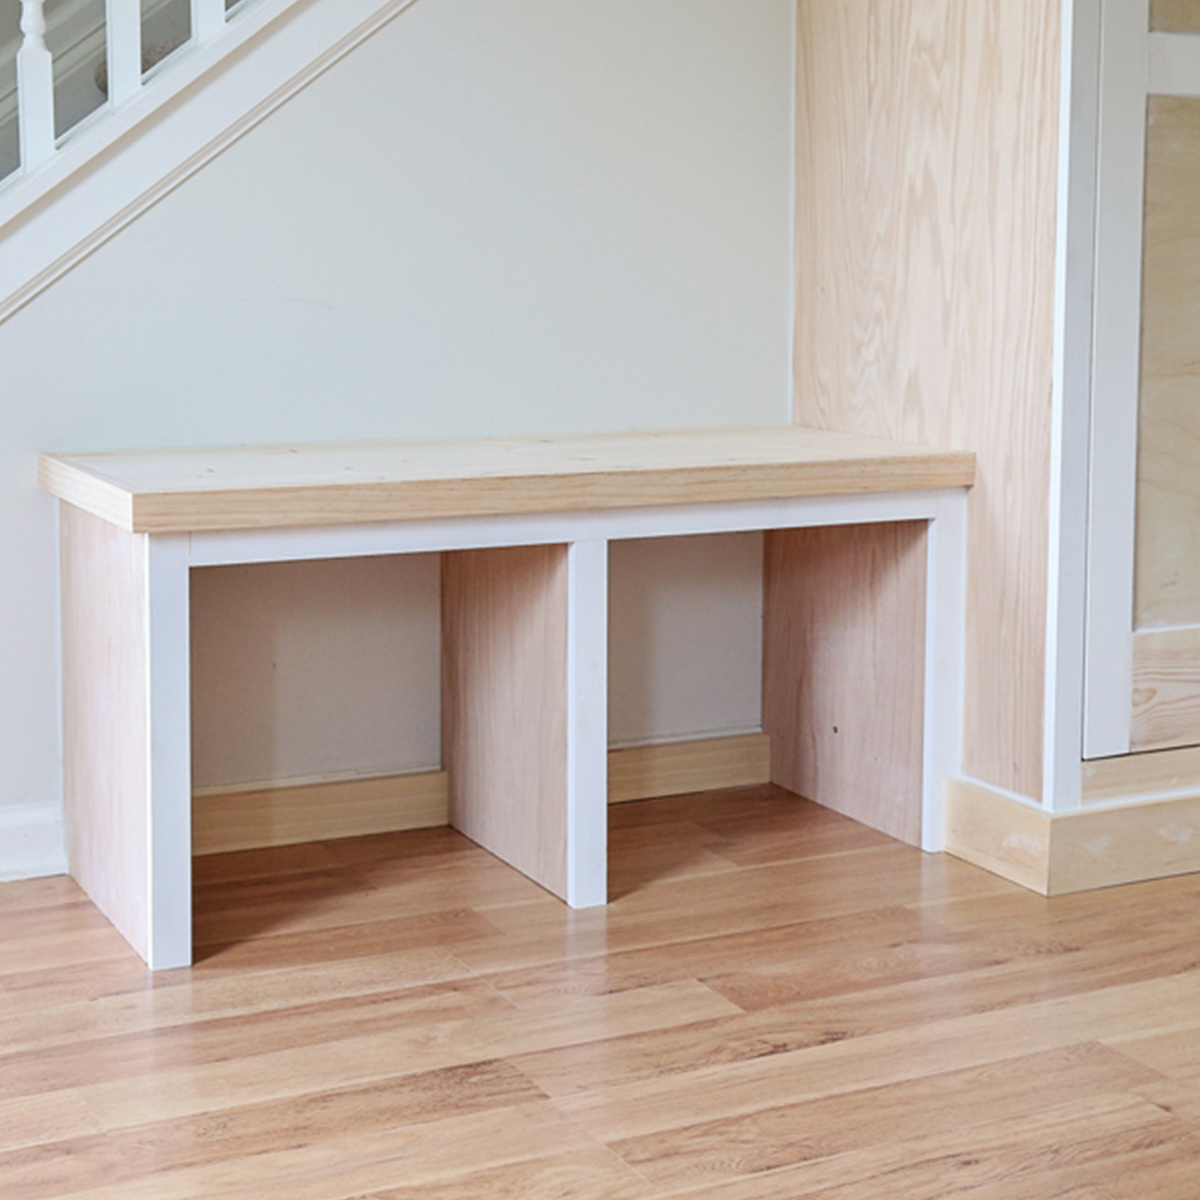
If your aim is how to build a built in bench with storage, this same frame works. Leave the centers open for bins, add a center support for wide spans, or frame vertical dividers to split loads.

Sheathing, face frames, and storage options
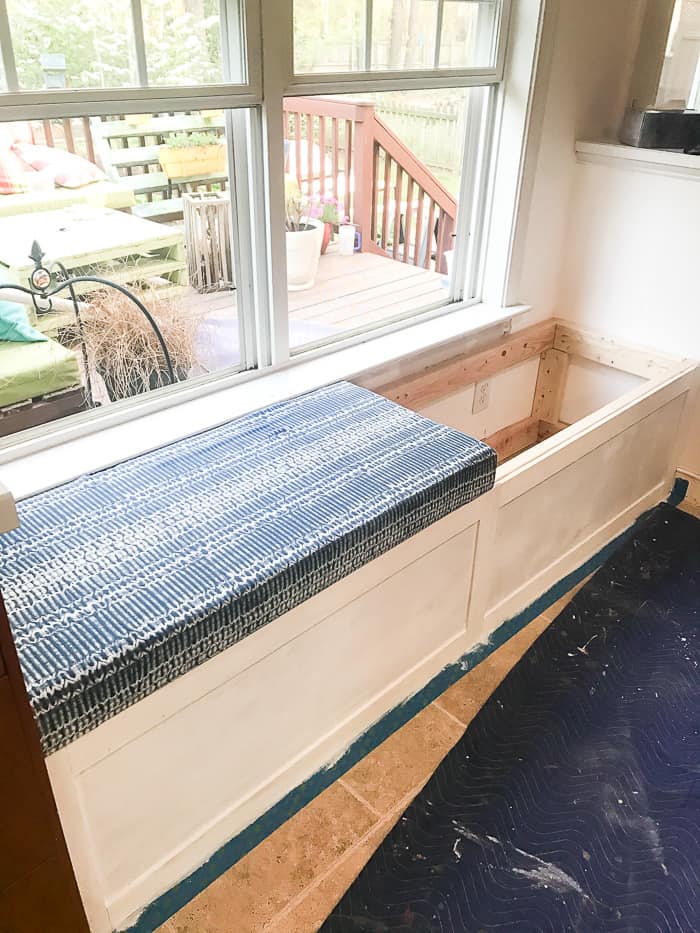
Skin the frame with plywood. Use 3/4 inch plywood for the seat. Use 1/2 or 3/4 inch for faces and sides. Glue and nail to prevent rattle. Keep nail lines straight for clean fills.
Choose a storage style:
- Lift-up lids. Cut the seat into sections. Add a piano hinge at the back. Use soft-close lid supports.
- Front doors. Frame openings. Add 1×2 face frames. Hang doors with cup hinges.
- Drawers. Use high-load slides. Keep drawers shallow in mudrooms for shoes.
Add a face frame for a furniture look. Use 1×2 or 1×3. Nail and glue to the plywood edges. Scribe end panels to walls to hide gaps.
From my jobs, the fastest path for how to build a built in bench with storage is lift-up lids. They need fewer parts, cost less, and hide bins well. Drawers look great but take more time to fit.
Finishing, trim, and cushions
Finish work sells the build. Small steps make a big difference.
Follow this order:
- Fill nail holes and seams with wood filler. Let cure.
- Caulk inside corners and wall joints. Use a paintable caulk.
- Sand all faces to 180 grit. Break sharp edges.
- Prime all wood. Sand light. Paint two coats for a smooth shell.
Add trim for style. Shaker rails, beadboard panels, or simple square stock all work. For dining, add a back panel or cushion rail. For mudrooms, add hooks and a shelf above.
For comfort, a 2 to 3 inch foam cushion with a washable cover is great. Add rubber feet under the cushion or a non-slip mat so it stays put.
If someone asks how to build a built in bench that looks high end, I say focus on paint. A sprayed enamel or careful brush-and-roll finish creates a clean, custom look.
Safety, codes, and common mistakes
Built-ins touch structure. Respect the rules and you will be fine.
Key checks
- Anchor into studs. Use a stud finder and test with small pilot holes.
- Do not block outlets or access panels. Keep code clearances.
- If you add lighting, follow electrical codes.
- Keep return air paths open if near HVAC. Use a toe-kick grille if needed.
Common mistakes to avoid
- Overspanning the seat. Add braces every 12 to 16 inches.
- Using thin plywood. Use 3/4 inch for the seat.
- Skipping glue and blocking. That leads to squeaks.
- Painting raw edges without sealing. Prime end grain well.
When friends ask me how to build a built in bench that is safe for kids, I remind them to round edges, set soft-close hardware, and avoid lift lids without supports. Fingers matter.
Budget, timeline, and sourcing
Costs vary by size, wood, and hardware. Here is a simple way to plan.
Cost ranges
- Lumber and plywood. 150 to 450 dollars for a typical 6 to 8 foot bench.
- Hardware and fasteners. 30 to 120 dollars based on hinges and slides.
- Paint and supplies. 50 to 150 dollars.
Time
- Planning and shopping. Half a day.
- Framing and sheathing. One day for a mid-size bench.
- Finish work and paint. One to two days with dry time.
Save money with smart choices. Use paint-grade plywood and poplar for trim. Buy structural screws in bulk. Keep the design simple. The cleanest path for how to build a built in bench on a budget is a lift-lid design with face frames and paint.
Care, upgrades, and longevity
A bench is a hard worker. A little care goes far.
Maintenance
- Tighten any loose screws once a year.
- Touch up paint on high-wear edges.
- Add felt pads where lids meet frames to cut noise.
Upgrades
- Add USB or a small outlet in a side panel if code allows.
- Swap bins for custom drawers later.
- Add a back cushion or seat cushion change for seasons.
If you want to future-proof how to build a built in bench, design in access. A removable seat panel or an end panel on screws lets you reach wires or vents later.
Frequently Asked Questions of how to build a built in bench
What is the best wood for a built-in bench?
Use 3/4 inch plywood for the seat and frame skins. Use poplar or pine for paint-grade trim, and hardwoods for stain-grade looks.
How deep should a built-in bench seat be?
Aim for 16 to 18 inches of seat depth. If you will add a thick cushion, reduce the wood depth by the cushion thickness.
How do I anchor a bench to the wall?
Screw a ledger into studs with structural screws every 16 inches. Add L-brackets or blocking for extra support at corners.
Can I add storage under the bench?
Yes. Use lift-up lids, doors, or drawers. Plan vertical dividers for support and to keep loads from sagging.
Do I need a backrest for comfort?
Not always. For dining, a backrest or wall cushion helps. For mudrooms, a simple seat with hooks above works well.
Conclusion
You can build a strong, clean bench with basic tools and a clear plan. Focus on safe anchors, smart spacing, and crisp finishes. Use standard seat sizes and test the fit with tape before you cut.
Now is the time to sketch, measure, and make it real. Start small, keep it square, and you will get pro results. If this guide on how to build a built in bench helped you, subscribe for more builds, ask a question, or share your project photos.