
I have helped new keepers set up hives, fix mistakes, and enjoy their first honey. I know the pinch of a sting, the joy of a strong spring flow, and the calm of a well-timed inspection.
Here is how to become a bee keeper in a simple, proven way. I will show you what works, what to skip, and how to start with confidence while keeping your bees healthy and your neighbors happy.
What Beekeeping Involves?
Beekeeping means you care for a colony of bees in a man-made hive. You give them space, watch their health, and guide their growth. Your job is to help them thrive and harvest honey without stress.
You will learn hive checks, seasonal tasks, and safe handling. You will also learn to read bee behavior. It is like learning a new language made of scent, sound, and motion.
You do not need a farm to start. One or two hives can fit in a backyard. Check local rules first. Good planning makes the work smooth and fun.

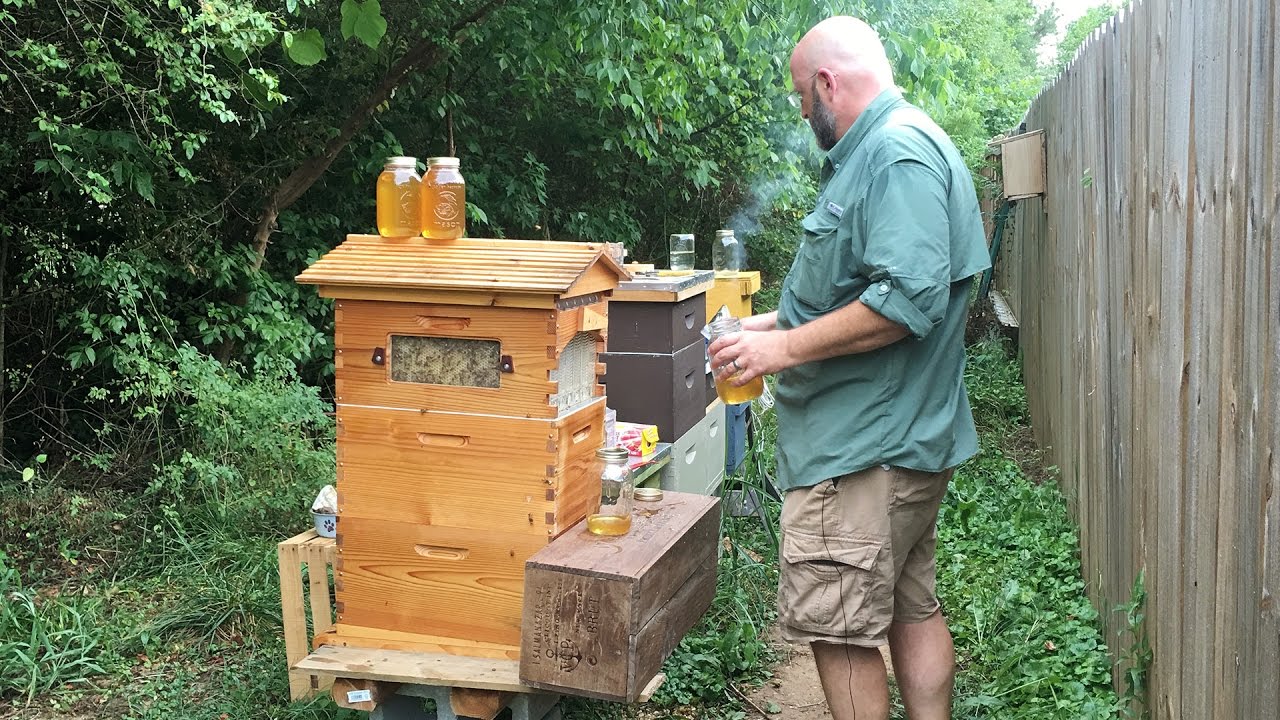
Tools And Gear You Need
Start with the basics. Keep it simple and safe.
- Bee suit or jacket with veil. Keeps your face and skin safe.
- Gloves. Choose soft, snug gloves for control.
- Smoker. Calms bees with cool smoke.
- Hive tool. Pry, lift, and scrape frames and boxes.
- Bee brush. Gently move bees off frames.
- Feeder. Helps new colonies in early weeks.
- Entrance reducer. Protects against robbers and cold.
- First aid kit. For stings and minor cuts.
Tip from the field: Spend on a good veil and smoker. A reliable smoker that stays lit saves time and stress.
Choose The Right Bees And Hive
Pick a hive style that matches common local gear. Langstroth hives are the most common in the US. They stack like blocks and make inspections easy.
Choose a bee source:
- Package bees. Cheapest and widely sold. Good for beginners.
- Nucleus colony (nuc). Costs more but starts faster. Comes with a laying queen and brood.
- Local splits. Great if you trust the seller. Local genetics adapt well.
Choose a gentle breed:
- Italian. Calm, steady, and great for beginners.
- Carniolan. Good in cooler areas. Fast spring build-up.
- Local survivor stock. Often more resilient to local pests.
Ask vendors about health checks for mites and disease. Healthy stock lowers your risk in the first season.
Step-By-Step Plan For Your First Year
Use this simple roadmap. It keeps you on track and reduces stress.
- Winter planning
- Learn basics through a class or club.
- Order bees and gear early.
- Set your budget and time plan.
- Early spring setup
- Place your hive in sun with a wind break.
- Install your package or nuc on a mild day.
- Feed light syrup if forage is low.
- Spring growth
- Inspect weekly for eggs, brood, and food stores.
- Add boxes as the hive fills 70% of frames.
- Watch for swarm signs like queen cells.
- Summer flow
- Keep entrances clear and add honey supers.
- Provide water nearby to prevent pool visits.
- Ventilate in heat with a top shim if needed.
- Late summer pest checks
- Test for varroa mites with a sugar roll or alcohol wash.
- Treat if thresholds are high based on proven methods.
- Reduce robbing by keeping entrances small.
- Fall prep
- Ensure they have enough stores for winter.
- Combine weak hives if needed.
- Install mouse guards and check ventilation.
- Winter care
- Do not open the hive in cold snaps.
- Heft the hive to gauge food.
- Provide emergency feed if light.
Pro insight: Set a recurring calendar reminder for inspections and mite checks. Consistency beats guesswork.
Safety, Laws, And Neighbors
Check city or county rules. Some places need permits or limits on hive numbers. Follow set-back rules and use a fence or hedge to guide flight paths up and away.
Tell your neighbors. Share honey when you can. Place water on your property to keep bees out of pools and birdbaths.
Wear gear every time. Even calm bees can get testy before storms or during nectar dearth. Keep an epinephrine auto-injector if you have a history of severe allergies. Train family members on what to do in a sting event.

Hive Care Through The Seasons
Spring
- Feed if needed until nectar flows.
- Inspect weekly for laying patterns and swarm signs.
- Add space before the hive gets crowded.
Summer
- Manage heat and water.
- Add honey supers as needed.
- Keep grass trimmed around the hive to reduce moisture.
Fall
- Check mite levels and treat if needed based on thresholds.
- Ensure good ventilation and adequate stores.
- Reduce entrances to stop robbing.
Winter
- Avoid long openings.
- Heft for weight and provide emergency feed if light.
- Keep the top dry. Moisture kills bees more than cold.
Think of your hive like a small town. In spring it grows fast. In summer it works hard. In fall it stocks up. In winter it rests. Your job is to keep the town safe and supplied.
Common Problems And Fixes
Varroa mites
Problem: They weaken bees and spread viruses.
Fix: Test monthly in season. Treat above thresholds. Rotate methods to prevent resistance.
Queen issues
Problem: No eggs, spotty brood, or queenless roar.
Fix: Requeen with a mated queen. Combine weak hives with strong ones.
Swarming
Problem: Bees leave when crowded.
Fix: Add space early. Split the hive or move brood frames up. Remove capped queen cells if you are sure a new queen is not needed.
Robbing
Problem: Other bees steal honey, causing chaos.
Fix: Reduce entrances. Work hives in late day. Stop open feeding during dearth.
Cross comb
Problem: Crooked comb makes inspections hard.
Fix: Use drawn comb or foundation. Fix early by cutting and rubber banding straight.
From my own yard: I lost a strong hive to late-season robbing once. Now I always tighten entrances at the first sign of dearth and avoid leaving honey exposed. It made a night-and-day difference.
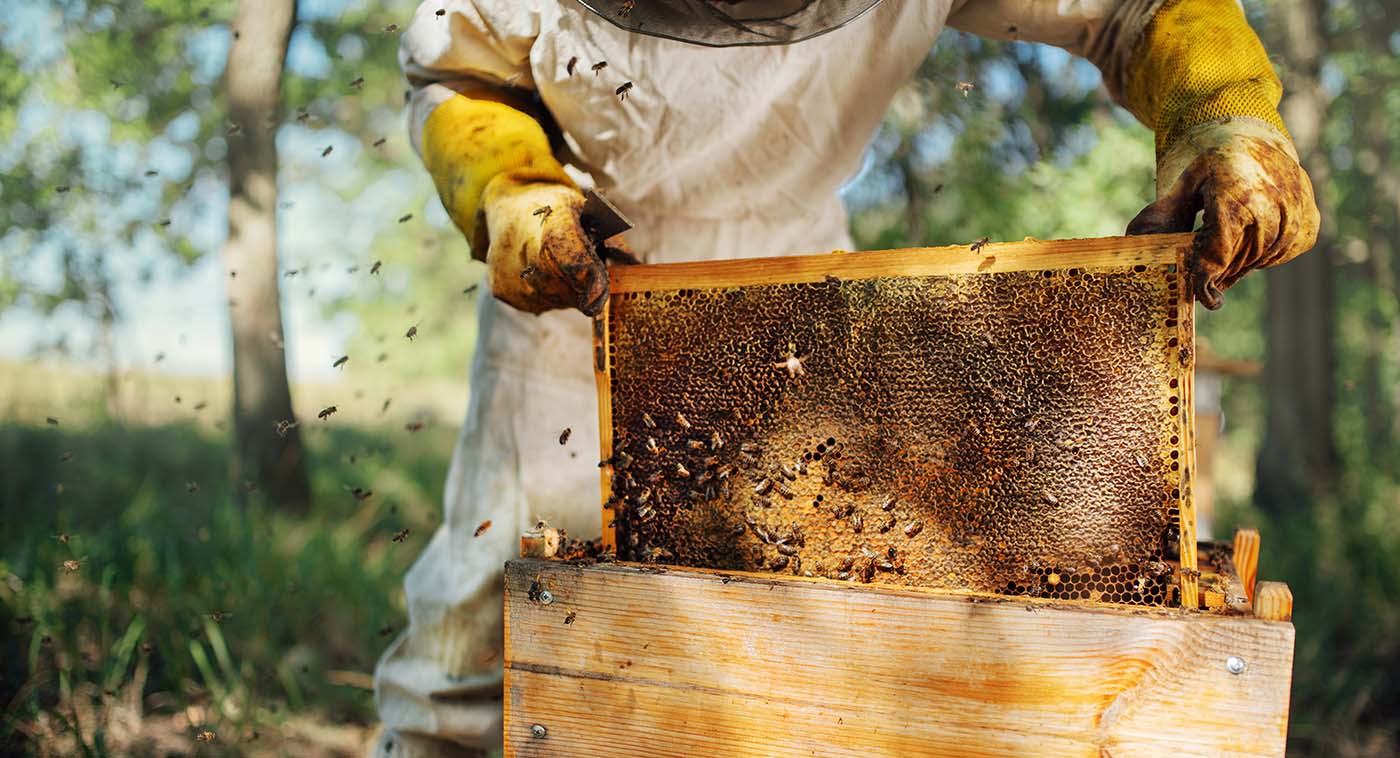
Harvesting Honey The Right Way
Harvest only when frames are at least 80% capped. Uncapped honey has too much water and can ferment. Pull frames on a warm, calm day.
Use a bee escape board or gentle brushing. Uncap with a knife or fork. Extract with a hand or electric extractor. Strain through a food-safe filter. Let it settle and bottle in clean jars.
Leave enough honey for the bees. They made it. You are borrowing. A healthy colony produces more next year when it is not stressed.
Costs, Time, And Profit Basics
Startup costs per hive vary. Plan for the hive, bees, suit, smoker, tools, and extras. Expect several hundred dollars for a solid start. Time needs run one to two hours a week in spring and summer, less in winter.
Honey sales can offset costs, but do not count on profit in year one. You may get a modest harvest late in the first season if all goes well. By year two, strong hives can produce enough to sell. Follow local food labeling rules for sales.
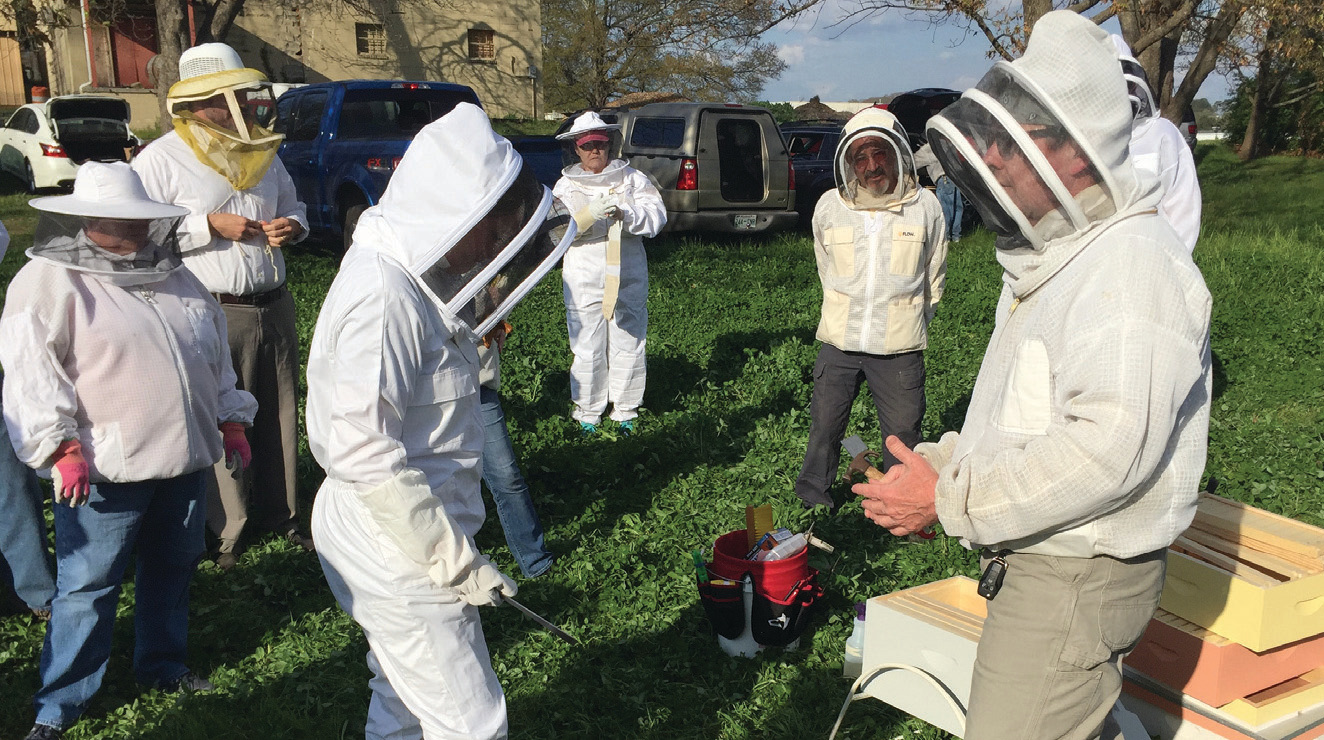
Learning, Community, And Next Steps
Join a local beekeeping club. You will gain mentors, find equipment swaps, and get regional tips. Take a short course or attend field days. Hands-on time is priceless.
Keep a hive journal. Note weather, bloom times, and what you see on frames. Patterns will emerge and guide your next moves.
Read trusted guides and check research-based advice. Track mite data and treatment windows. Good records make you a steady, calm keeper.
Frequently Asked Questions
How Much Space Do I Need?
A small yard is enough for one or two hives. Give each hive a few feet of room and a clear flight path. Sun in the morning helps a lot.
Will My Bees Bother Neighbors?
Bees fly up if you use a fence or hedge. Provide water on your property. Share your plan with neighbors. Most problems fade with good placement and water.
How Many Hives Should I Start With?
Start with two if you can. It gives you a backup for brood or resources. If one lags, the other can help. One hive is fine if budget is tight.
Do I Need To Treat For Mites?
Test before you treat, but expect to treat at some point. Mites are a top cause of colony loss. Use methods that follow labels and proven thresholds.
When Can I Harvest Honey?
Harvest when frames are mostly capped. Many areas see first harvest in late summer. Leave plenty for the bees, especially before winter.
Can I Keep Bees In The City?
Often yes. Check local rules first. Follow set-backs, keep water out, and keep colonies gentle. City forage can be great.
Conclusion
You can learn how to become a bee keeper with a clear plan, simple tools, and steady habits. Start with gentle bees, test for mites, and add space before crowds form. Keep notes, join a club, and treat your bees with respect. Small steps lead to strong hives and sweet harvests.
Pick a start date, order your bees, and set up your first hive with care. If you found this guide helpful, subscribe for more tips, share it with a friend, or leave a question below.